

The difference between a great image and a mediocre one usually isn't hidden in the model — it's hidden in the prompt. The same model produces ordinary results from a vague sentence, and striking ones from a clear, layered brief. In this guide, we'll walk you step by step through the method that gets you closest to the image in your head on the very first try with Oxava AI.
The anatomy of a great prompt
An effective prompt isn't a string of random words — it's a shoot brief. Think through five layers in order:
- Subject — what are we creating? (a product, a person, a landscape, an object)
- Setting / background — where? (studio, street, nature, abstract backdrop)
- Light — how is it lit? (soft side light, golden hour, hard shadow)
- Composition / camera — which angle and lens? (close-up, macro, wide angle)
- Style and quality — which aesthetic? (photorealistic, cinematic, 4K, editorial)
When you combine these five layers into a single sentence, the model knows exactly what to imagine.
Bad prompt vs. good prompt
A vague request forces the model to fill in the gaps on its own:
❌ "A perfume image"
Describe the same idea in layers:
✅ "Matte black glass perfume bottle, on wet rocks, in morning mist, soft side light, macro lens, photorealistic 4K product photo"
Because the second prompt spells out subject, setting, light, lens, and quality one by one, the result is predictable and on-brand.
Be specific — show your adjectives
Abstract adjectives like "beautiful," "professional," and "high quality" tell the model very little. Replace them with visible detail:
- instead of "nice light" → "soft natural light from a window, gentle shadows"
- instead of "professional" → "editorial fashion shoot, clean background, 85mm lens"
- instead of "vivid colors" → "warm orange-teal palette, high contrast"
Choose the right model
Every model shines at something. On Oxava, pick the model based on the subject:
- For realistic portraits and people, use human-focused models (face, skin, expression detail).
- For products and e-commerce, use models with strong composition and text/label consistency.
- For fast variations and idea scouting, use lightweight, fast models.
Starting with the right model is more efficient than forcing the prompt. For tips specific to product shoots, check out our AI Product Photography article.
Use a reference image
If you have a real product, model, or logo on hand, upload it as a reference. The model preserves the form and identity and only rebuilds the scene — it's the safest way to try unlimited variations without breaking brand consistency. You can provide multiple references at once (e.g., one model + a few outfits). If you'd rather start from a finished image and change only parts of it, that's a different approach — see our image-to-image editing workflow.
Choose the aspect ratio to fit the job
Aspect ratio matters as much as resolution: square (1:1) for e-commerce cards, vertical (9:16) for stories, and horizontal (16:9) for covers and banners. The right ratio prevents loss from cropping later.
Strengthen your prompt with "Enhance"
If you're struggling to describe what you want, write a short idea and use the Enhance feature: it turns your brief sentence into a layered, model-friendly prompt. When you add a reference image, it also reads the image's contents and folds them into the brief.
If you'd rather start from a blank page than from your own draft, our free AI prompt generator assembles a structured prompt — subject, setting, light, lens, style — from a handful of words.
Common mistakes
- Overloading: Ten different requests in a single frame scatter the model. Focus on one idea.
- Contradictory instructions: Opposites like "minimal but detailed, plain but flashy."
- Mistaking resolution for a prompt: "4K" boosts quality but doesn't build composition.
- Giving up after one try: The first output points the way; you close in with small tweaks.
Go deeper on any one layer
Prompting is a broad skill, and each of these guides takes one part of it further:
- Say what you don't want with negative prompts
- Match the look you're after in the style prompt guide (photo, illustration, 3D)
- Get the frame right with aspect ratio and composition
- Edit an image you already have via the image-to-image workflow
- Keep the same face or figure across a set with character consistency
- Push a finished frame to print size with the upscaling guide
- Applying this to products? Start from the AI product photography guide
The next step
Pick an idea, gather the five layers into a single sentence, and start generating in the Oxava studio. A prompt rarely lands perfectly on the first pass, and that's fine — the studio is built for the loop rather than the single shot. Keep a reference image attached so the subject holds steady, adjust one layer at a time, and when a frame is right you can upscale it up to 4K for print, strip its background to a transparent PNG in one click, or convert it to vector — without leaving the page you generated it on. For inspiration, browse the examples on the Explore page.
Egemen Küpçü
Egemen Küpçü is the founder of Oxava, with 10+ years of hands-on experience in 3D and visual production. He writes about the craft of generating product, brand and campaign visuals with AI.
Related Articles
ALL POSTS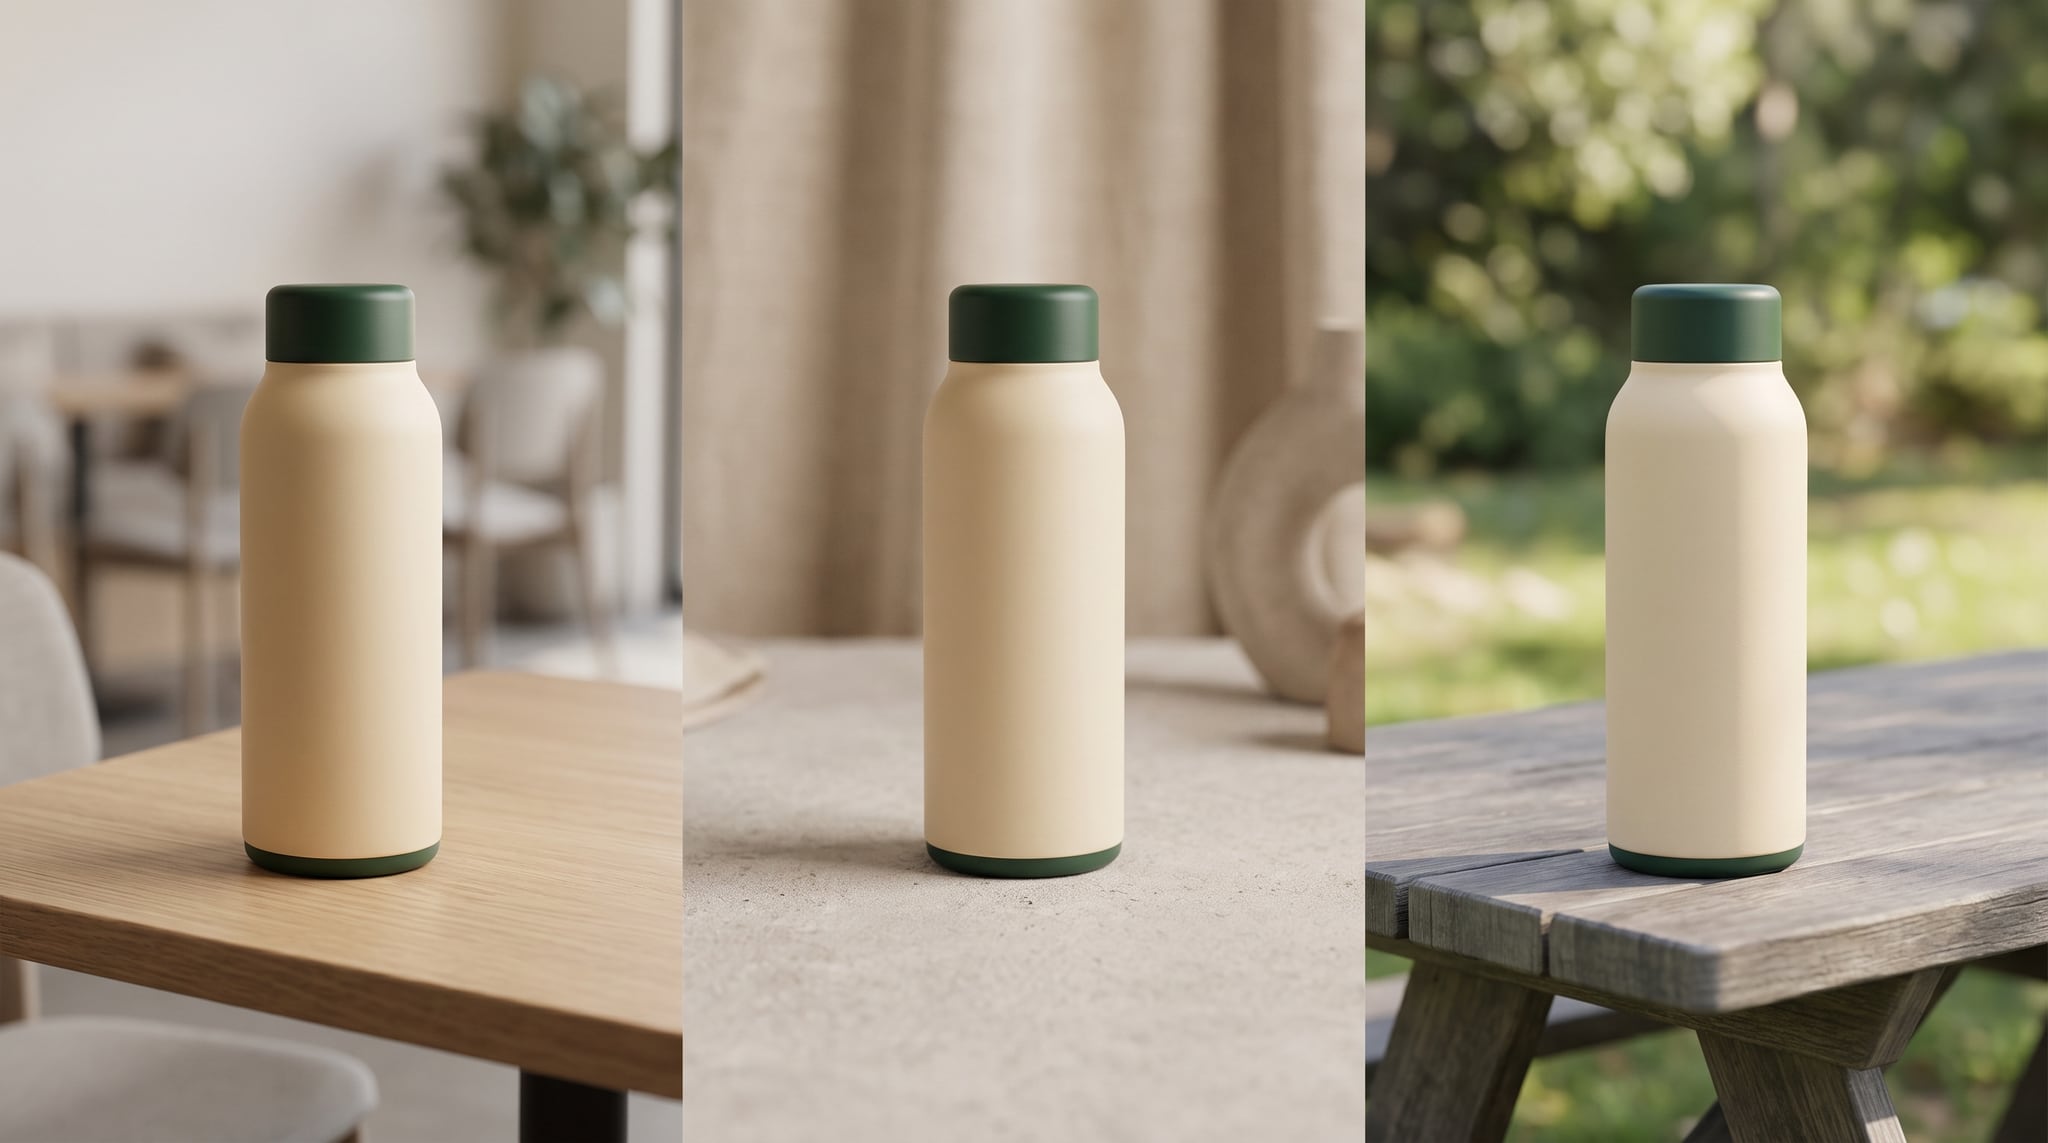

Subscribe to our newsletter
Be the first to hear about new techniques, model updates and ideas on AI generation.