
Most people meet AI imagery through text-to-image: you type a sentence, you get a picture. That's a great party trick, but it's rarely how real creative work gets done. When you already have a product shot, a hero image, or a brand asset you like, you don't want a brand-new picture from scratch — you want this one, slightly different. A different background. A new color. A removed distraction. That is exactly what an AI image to image editing workflow is for, and once you internalize it, it becomes the single biggest productivity unlock in your visual pipeline.
In this guide we'll cover what image-to-image editing actually is, the core use cases that matter for e-commerce and content, how context-aware models keep your subject recognizable across edits, and a step-by-step loop you can run today.
What image-to-image editing is (and how it differs from text-to-image)
Text-to-image starts from nothing. You hand the model words, it invents pixels. Every run is a fresh roll of the dice — composition, lighting, and the subject itself can shift completely between generations. That's perfect for ideation and useless when you need consistency.
Image-to-image editing starts from a picture you already have. You give the model a reference image plus an instruction, and it changes only what you asked for while preserving the rest. Instead of "a sneaker on a white background," you say: "keep this exact sneaker, change the background to a wet city street at night."
The mental shift is from generation to direction. You stop being a person who describes images from memory and become a person who directs an image you can already see. For anyone working with real products, real brand assets, or a hero shot they've already approved, that distinction is everything.
A quick way to know which tool you need:
- Use text-to-image when the subject doesn't exist yet, or you're scouting ideas with no fixed reference.
- Use image-to-image editing when you already have an asset that's "right" and you need a controlled variation of it.
Core use cases that actually pay off
Image-to-image editing isn't one feature — it's a family of related moves. These four cover the vast majority of real work.
Product colorways
You shot one product once. You sell it in six colors. Reshooting each variant is slow and expensive, and the lighting never quite matches between sessions.
With editing, you keep the original shot — same angle, same light, same shadows — and instruct the model to recolor the product: "change the bag's leather from tan to deep forest green, keep the hardware and stitching identical." Because the scene is frozen, your whole catalog stays visually consistent, which is exactly what a clean product grid needs.
Background swaps
A clean studio shot is versatile, but a contextual shot sells. The same mug photographed on seamless white can become:
- a mug on a sunlit wooden breakfast table (lifestyle)
- a mug on a marble countertop with soft morning light (premium)
- a mug on a desk beside a laptop (work-from-home audience)
You're not regenerating the mug. You're relocating it. The product's geometry, label, and reflections stay locked while the environment changes around it. For a deeper look at how to craft compelling scene setups, see our guide on AI lifestyle product images for e-commerce.
Inpainting (targeted fixes and removals)
Inpainting edits a specific region while leaving everything else untouched. It's your cleanup and surgery tool:
- remove a distracting object, cable, or reflection
- erase a stray logo or watermark from a backdrop
- fix a small defect on a product
- add an element into one area (a shadow, a prop, a second item)
The skill here is masking precisely and instructing narrowly. You're telling the model, "only touch this patch, and here's what should be there instead."
Style transfer
Style transfer keeps the content of an image and restyles its look: turn a flat product photo into a moody cinematic frame, render a portrait in an illustrated editorial style, or unify a mixed set of images under one consistent aesthetic. For brands juggling assets from different sources, this is how you make everything feel like it came from the same shoot. If keeping that look consistent across your whole library is a goal, our AI brand visual consistency guide covers the system for doing it at scale.
How context-aware models preserve subject identity
The reason modern editing works so much better than the early "img2img" sliders is a new generation of context-aware editing models. FLUX.1 Kontext (bfl.ai/models/flux-kontext) is a good reference point for how this category behaves.
Older image-to-image approaches worked with a blunt "strength" dial. Low strength barely changed anything; high strength changed your subject too, drifting away from the thing you actually wanted to keep. You were constantly trading edit power against identity.
Context-aware models break that trade-off. They treat your reference image as context the model genuinely understands, not just a noisy starting canvas. In practice that means:
- Subject persistence. The product, face, or object stays recognizably the same across multiple edits, even when the background changes dramatically.
- Local edits stay local. Ask to change the sky and the foreground doesn't quietly mutate.
- Instruction-following. You describe the change in plain language ("make the jacket red," "put this on a beach at sunset") rather than re-describing the entire scene.
- Chained edits. Because identity holds, you can run edit after edit — swap background, then recolor, then restyle — without the subject degrading into something off-brand.
That last point is what makes a true workflow possible. When each edit preserves what came before, you can iterate in small confident steps instead of gambling on one big prompt.
The step-by-step iterative editing workflow
Here's the loop. It's deliberately simple, because the value is in repeating it, not in any single heroic prompt.
Step 1 — Start from the right reference image
Your edit can only be as good as your source. Pick (or shoot) the cleanest, sharpest version of your subject: well-lit, in focus, minimal noise, with the subject clearly separated from its surroundings. If you're starting from a raw product photo and aren't sure it's strong enough yet, our companion guide on AI product photography walks through getting that first shot right — that piece covers generation from scratch, and this one picks up where it leaves off.
Step 2 — Write a single, focused instruction
Don't bundle five changes into one prompt. State one clear edit and what must stay fixed. Compare:
❌ "Make it better, nicer background, different color, more professional"
✅ "Replace the plain white background with a sunlit wooden kitchen table. Keep the ceramic mug, its handle, and the steam exactly as they are."
Notice the good version names both the change and the things to preserve. That explicit "keep" clause is your strongest tool for protecting subject identity.
Step 3 — Generate and read the result honestly
Look at the first output as a direction, not a verdict. Did the model change what you wanted? Did it leave the rest alone? Is the lighting on the new background consistent with the subject? Identify the single biggest issue.
Step 4 — Refine with the next instruction
Now chain the next edit on top of the result you like:
"Good. Now warm up the lighting slightly and add a soft shadow under the mug so it sits naturally on the table."
Repeat steps 3 and 4 until it's right. Most strong results are three to five small edits deep, not one perfect prompt. If a single region needs surgery, switch to inpainting and mask just that area instead of re-editing the whole frame.
Step 5 — Lock it and export
Once the composition is right, finalize. Pick the aspect ratio for where it's going (1:1 for product cards, 9:16 for stories, 16:9 for banners) and export at the resolution your channel needs. You can also upscale the final frame so it's print- and listing-ready.
Common mistakes: when to edit vs. when to regenerate
The most expensive mistake in image-to-image work is forcing an edit that should have been a fresh generation — and vice versa. A few rules of thumb:
- Edit when the bones are right. If the subject, angle, and core composition are what you want and you're changing surface details (color, background, style, small fixes), edit. You'll keep consistency and move fast.
- Regenerate when the foundation is wrong. If you want a different angle, a different pose, or a fundamentally different layout, don't fight it with edits. Generate fresh from a strong prompt, then edit that result.
- Don't over-edit a single frame. If you've run eight edits and it's getting muddy, step back to your last clean version and re-branch. Endless tiny tweaks can accumulate artifacts.
- Don't change two big things at once. Background swap and recolor and restyle in one prompt invites drift. One major change per pass keeps identity intact and makes it obvious what each edit did.
- Match the lighting. The most common tell of an obvious composite is a subject lit one way sitting on a background lit another way. When you swap a background, add a follow-up edit to harmonize the light and shadow direction.
Putting it together: a real e-commerce editing session
Let's run the whole loop on one product — a leather crossbody bag — start to finish.
The asset. We have one clean studio shot of the bag in tan, three-quarter angle, soft side light, plain white background. It's sharp and well-exposed — a strong reference.
Goal. From this single shot we need: the same bag in two extra colors, one lifestyle background, and a moody hero image for the homepage.
Colorway 1. "Keep this exact bag, angle, hardware, and stitching. Change the leather color to deep forest green." One pass, done. The shadows and highlights carry over, so it reads as the same studio session.
Colorway 2. "Keep everything identical. Change the leather to burgundy." Now we have three on-brand colorways that sit perfectly together in a product grid — no reshoot, consistent light across all three.
Lifestyle background. Take the tan original. "Place this bag on a marble café table next to a coffee cup, warm morning light from the left. Keep the bag exactly as is." First result looks pasted-on, so we refine: "Add a soft contact shadow under the bag and warm the overall tone to match the morning light." Now it sits in the scene.
Hero image. Take the tan original again. "Restyle into a cinematic, high-contrast editorial frame: dramatic side lighting, dark moody backdrop, shallow depth of field. Keep the bag's shape and texture intact." One style pass, one small refinement to dial back the contrast, and we have a banner.
Export. Colorways at 1:1 for listing cards, lifestyle at 4:5 for the product gallery, hero at 16:9 for the homepage — each upscaled for its slot.
From one photo and roughly a dozen instructions, we produced a complete, visually consistent set: three colorways, a lifestyle shot, and a hero image. No second shoot, no lighting setup, no waiting on a studio.
Run your AI image-to-image editing workflow today
The iterative loop — reference image, one focused instruction, read the result, refine — is the whole game. It rewards working inside one environment where your reference, your prompt, your generations, and your refinements all live together, so chaining edits is frictionless rather than a file-shuffling chore.
That's exactly what the Oxava studio is built for: bring in your reference image, describe the change in plain language, and run the refine loop pass after pass while your subject stays consistent. If you're starting from a raw product photo rather than a finished asset, begin with our AI product photography guide, then come back here and start editing. Open the studio, upload your best shot, and make your first edit.
Oxava Team
From the Oxava content team. Writing about the creative side of generating images and video with AI.
Related Articles
ALL POSTS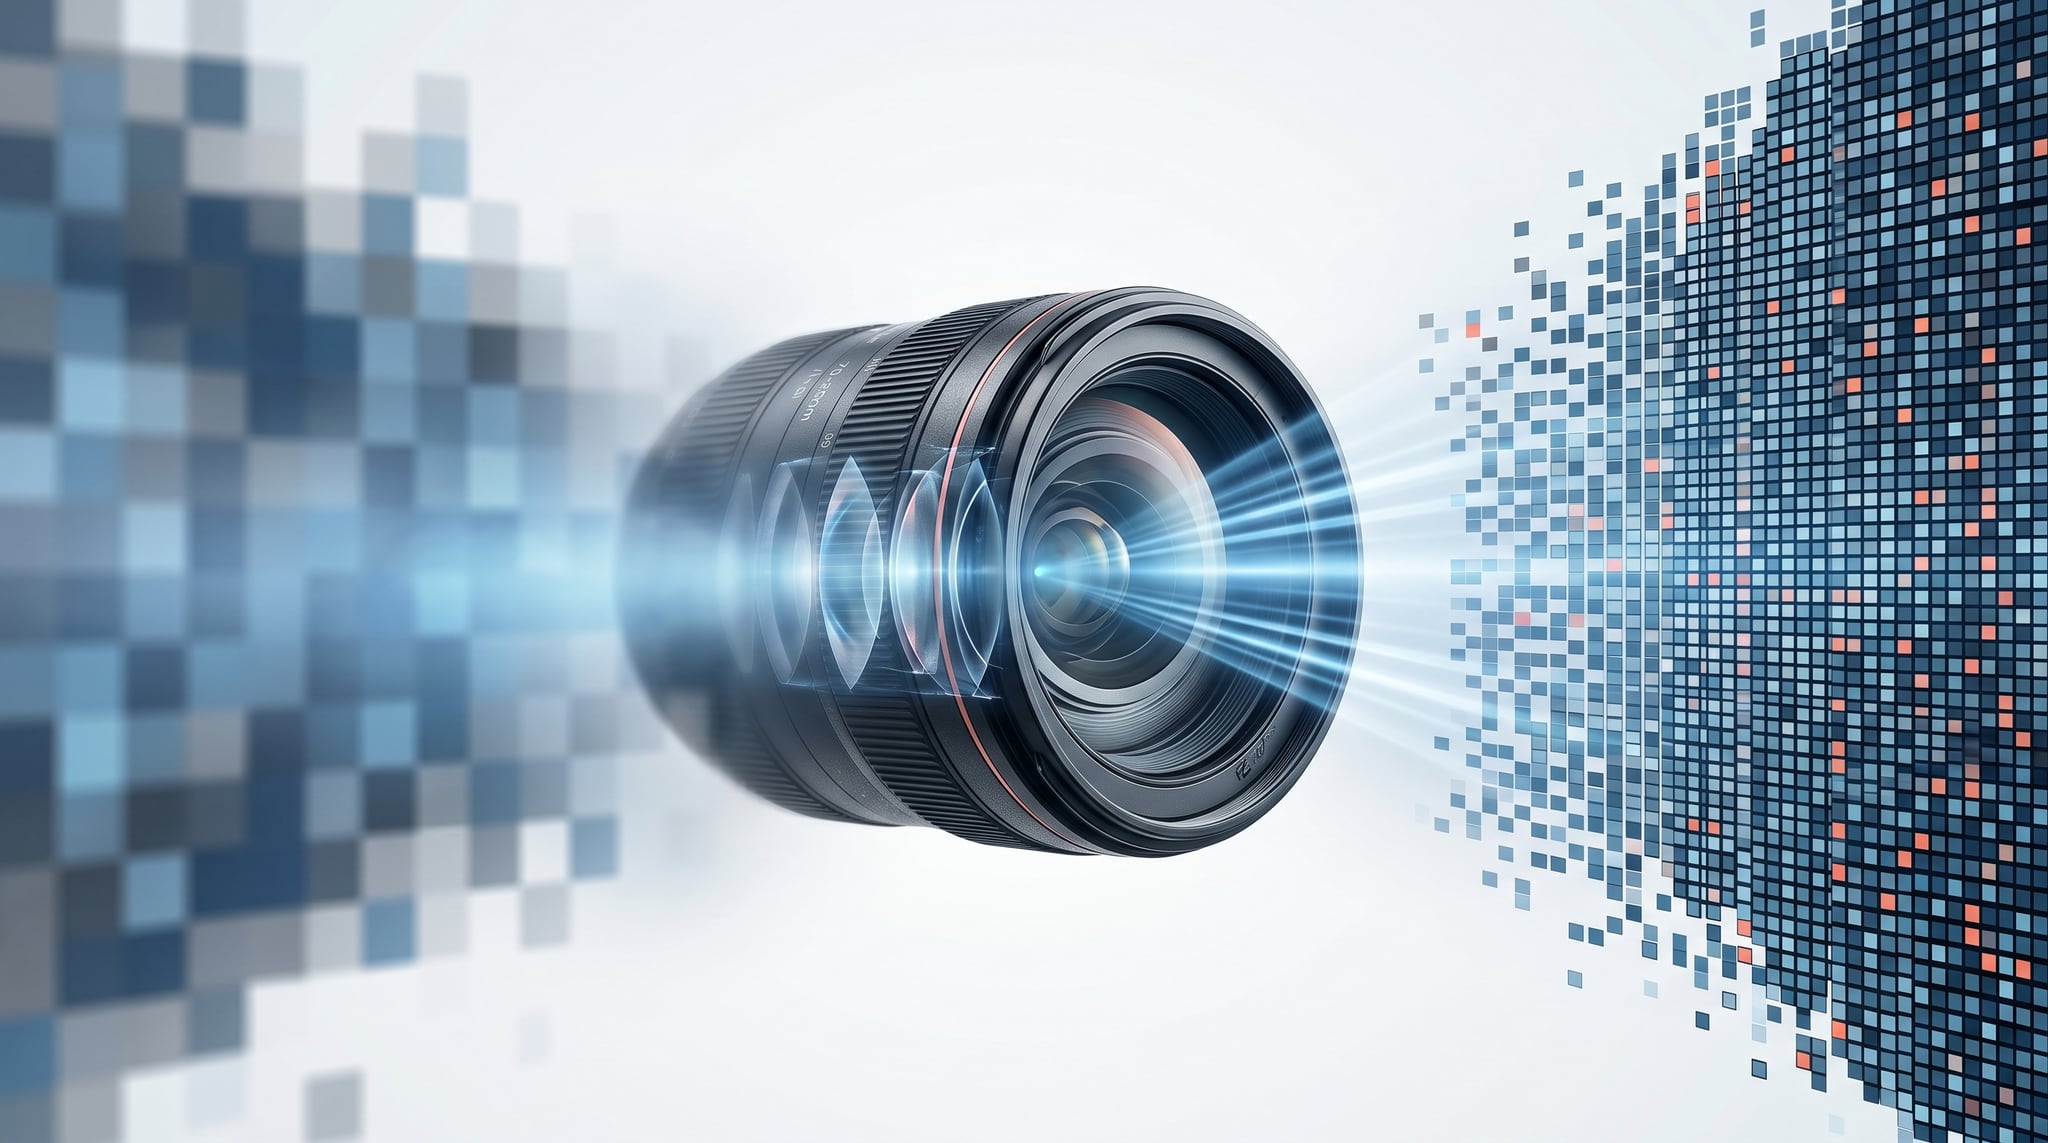

Subscribe to our newsletter
Be the first to hear about new techniques, model updates and ideas on AI generation.