

AI lifestyle product images for e-commerce are the images that actually sell. A clean white-background packshot tells a shopper what your product is — but a lifestyle image tells them what their life looks like with it: the candle glowing on a styled nightstand, the sneaker mid-stride on wet pavement, the moisturizer held in a model's hand by a sunlit window. That contextual image is the one that drives clicks, and it is exactly the one traditional photography makes slow and expensive to scale.
This guide covers the harder, higher-value half of catalog imagery: generating AI lifestyle images that look real, keep your product accurate, and can be produced at the scale a full catalog demands. If you only need clean packshots first, start with our companion piece on AI product photography — this article is the level above it.
White background vs. lifestyle shot: why the distinction matters for conversions
Both image types earn their place in a listing, but they do different jobs.
A white-background shot is informational. It isolates the product, removes distractions, and meets the technical requirements of marketplaces like Amazon, where the primary image usually must be on pure white. It answers: what does this thing look like, exactly?
A lifestyle shot is emotional and contextual. It places the product in use, at scale, and in an aspirational setting. It answers a different question: what does owning this feel like, and does it fit my world?
The practical takeaway for sellers is simple:
- Use the white-background image as the primary, especially on marketplaces.
- Use lifestyle images for the secondary slots, the carousel, ads, and your own store, where context and emotion drive the click and the add-to-cart.
Lifestyle imagery also communicates scale and use in a way packshots cannot. A phone stand looks abstract on white; on a desk next to a laptop, the shopper instantly understands its size and purpose. That clarity reduces hesitation, which is the entire game in e-commerce. The problem has never been whether lifestyle images help — it is that shooting them for every SKU, in every season, was never affordable. That is what AI changes.
What "lifestyle image generation" actually means in AI terms
"Generate a lifestyle image" sounds like one action, but underneath it's three distinct AI capabilities. Knowing which one you're using is what separates a believable result from an obviously fake one.
Image-to-image
You feed the model your real product photo plus a prompt describing the scene. The model uses your image as the starting point and reimagines the surroundings. This is your workhorse for lifestyle generation: it keeps the product's shape and look while rebuilding the background, lighting, and context around it. A higher "strength" setting lets the model change more (great for dramatic new scenes); a lower setting keeps the result closer to the original (great for subtle backdrop swaps).
Inpainting
Instead of regenerating the whole frame, you mask a specific region and tell the model to change only that area. This is how you place a product into an existing scene without touching the product itself — mask the empty kitchen counter, generate your product onto it, and the rest of the photo stays untouched. Inpainting is also the cleanest fix when one detail goes wrong: re-mask just the warped cap or the smudged label and regenerate that patch alone.
Reference consistency
The most important concept for a catalog. When you upload your real product as a reference, the model is instructed to preserve its identity — shape, color, logo, label — and only build new scenes around it. This is what keeps a brand coherent across fifty images instead of fifty slightly-different inventions of your product. Many workflows let you supply multiple references at once (for example, a model plus the product they should be holding) so the scene assembles from real inputs rather than guesses.
In practice you combine these. A typical lifestyle shot is image-to-image driven by a strong product reference, with a quick inpainting pass to fix any drift. In the Oxava studio these live as uploadable references and an Enhance step, so you rarely think in terms of the underlying mechanic — but understanding them tells you which lever to pull when a result isn't landing.
There's a fourth mechanic worth knowing about, because it's the one that connects this work to your catalog's compliance images: background removal. Every image you generate in the studio can be reduced to a transparent PNG in one click, on any plan. Lifestyle scenes are what sell the product on social and secondary slots, but marketplaces still want a clean product on white for the main image — and being able to strip a background in the same place you built the scene means one session produces both halves of the listing. Our background removal and replacement guide covers where that cutout does and doesn't do the job.
Step-by-step workflow: from product photo to lifestyle scene in 5 prompts
Here is a repeatable five-prompt flow that takes a flat product shot to a finished lifestyle image. We'll use a matte-ceramic coffee mug as the running example, but the structure works for any SKU.
Prompt 1 — Establish the scene (wide context). Upload your product photo as a reference, then describe the world it lives in. Think like a brief: subject, setting, light, camera, style.
"Matte sage-green ceramic coffee mug on a light oak kitchen counter, morning, soft natural window light from the left, shallow depth of field, 50mm lens, photorealistic lifestyle product photography"
Prompt 2 — Add a human or interaction. A hand holding or using the product adds warmth and scale.
"Same mug held by a woman's hand near a sunlit window, steam rising gently, cozy out-of-focus living room behind, warm morning tones, editorial lifestyle shot"
Prompt 3 — Shift the setting for variety. Reuse the same reference, change the world. This is how one product yields many distinct catalog images.
"Same sage-green mug on a wooden cafe table outdoors, autumn leaves softly blurred in the background, golden-hour side light, candid lifestyle composition"
Prompt 4 — Match a seasonal or campaign mood. Tie the product to a moment your marketing calendar cares about.
"Same mug on a windowsill beside a knit blanket and a single lit candle, cold blue winter evening light outside, warm interior glow, intimate cozy atmosphere"
Prompt 5 — Produce a clean hero with copy space. Leave negative space for text so the image doubles as an ad or banner.
"Same mug on a minimalist marble surface, soft even studio-style daylight, large empty area on the right for text, calm neutral palette, premium brand aesthetic, 16:9"
Notice what stays constant across all five: the product reference and the phrase "same mug." What changes is only the world around it. That discipline — fix the product, vary the scene — is the core habit of lifestyle generation. If you struggle to describe a scene, write a short version and use the Enhance step to expand it into a layered, model-ready prompt; with a reference attached it will read your image and fold those details in too. For a deeper look at prompt construction, the AI image prompt guide covers the full anatomy of a strong prompt — scene, lighting, lens, and style language.
A quick word on aspect ratio: match it to the destination. Square (1:1) for product cards, vertical (9:16) for stories and Reels, horizontal (16:9) for banners and ads. Choosing the ratio up front avoids destructive cropping later.
Keeping products accurate: avoiding logo blur, color drift, and shape distortion
This is where most AI lifestyle attempts fall apart — and where careful work pays off. Three failure modes recur:
Logo and text blur. The model "paints" a vague impression of your branding instead of rendering it crisply.
- Use a sharp, high-resolution product reference where the logo is clearly legible.
- Lower the image-to-image strength so the model alters the scene more than the product.
- If the logo still drifts, fix it with inpainting: mask only the label region and regenerate, or composite the original label back over a small area.
Color drift. A precise brand color shifts a shade or two under the new lighting.
- Name the color explicitly in the prompt ("matte sage-green, hex-accurate"), not just "green."
- Be aware that warm or cold scene lighting will tint the product — sometimes realistically, sometimes too far. Generate a few variants and pick the one closest to your real product.
- For strict brand palettes, prefer neutral lighting setups that don't push the hue.
Shape distortion. Straight edges bow, handles warp, symmetric objects go lopsided.
- Keep the product reference strong and the strength moderate.
- Avoid extreme perspectives the model has to "invent" — gentle angles distort less.
- Generate a small batch and discard the warped ones; it's faster than fighting a single bad seed.
The golden rule: the product comes from your photo, the scene comes from the prompt. When something is wrong with the product, the answer is almost always a stronger reference and a lower strength — not a longer prompt. When something is wrong with the scene, that's when you reach for more descriptive language.
A good QA habit before anything ships: zoom to 100% and check the three danger zones — logo legibility, color match against your real product, and edge geometry. Catching drift here is far cheaper than discovering it after the image is live on fifty listings.
Batch scaling: generating 50+ AI lifestyle product images across a full SKU catalog
One great image is a proof of concept. A catalog needs systems. Here's how to go from one product to dozens of consistent lifestyle images without the quality collapsing into chaos.
1. Build a scene library, not one-off prompts. Decide on a fixed set of "scene templates" your brand uses — say, kitchen counter, held-in-hand, outdoor cafe, cozy windowsill, minimal hero. Write each as a reusable prompt where only the product name swaps in. Now every new SKU instantly inherits five on-brand scenes.
2. Lock your brand variables. Keep lighting direction, palette, and lens language consistent across the library so images from different products still feel like one catalog. A coffee mug and a teapot shot in the same kitchen-counter template will look like a coherent collection, not two unrelated photos.
3. Process by template, not by product. Run all your products through the kitchen-counter scene, then all through held-in-hand, and so on. Working one template at a time keeps the look uniform and makes review faster — you're comparing like with like.
4. Generate variants, then curate. For each product-scene pair, produce several candidates and keep the best. Treat generation as cheap and selection as where the quality lives. A loose rule: budget two to three generations per final image you intend to keep.
5. Standardize output specs. Decide your aspect ratios and resolution up front, and upscale the winners — in Oxava you can push selected images up to 4K so lifestyle shots are sharp enough for hero banners and print, not just thumbnails. (Upscaling is a Pro-and-above feature; on Starter you'd set your target resolution at generation time instead.)
A catalog of 10 SKUs across 5 scene templates is 50 lifestyle images — a volume that would take weeks and a real studio the traditional way, and an afternoon of generate-and-curate with a reference-driven workflow. The work shifts from shooting to art-directing, which is exactly where a small e-commerce team should be spending its time.
Legal note: AI labeling under the EU AI Act, from August 2026
One practical thing to plan for. The EU AI Act introduces transparency obligations for AI-generated content, with key provisions for general-purpose and generative AI systems applying from August 2026. The broad expectation is that AI-generated or AI-manipulated media should be detectable and, in many cases, disclosed — both through machine-readable markings and, in certain contexts, clear labeling for users.
What this means for you as an e-commerce seller, in general terms:
- If you sell into the EU, expect that AI-generated marketing imagery may need to be identifiable as such, and keep an eye on how marketplaces and ad platforms implement their own labeling requirements.
- Be especially careful with images that could mislead about the product itself — showing capabilities, contents, or scale the real item doesn't have. Lifestyle context is fine; misrepresentation is a separate (and older) legal problem that AI only makes easier to stumble into.
- Keep your real reference photos and a record of what was generated. Provenance and documentation are cheap insurance as the rules settle.
This isn't legal advice, and the details will keep evolving — treat it as a prompt to check the current requirements for your markets before a large rollout, not as a reason to avoid AI lifestyle imagery. Used honestly, it's exactly the kind of transparency most brands can comply with without changing their workflow much.
Putting it to work
AI lifestyle product images for e-commerce used to be the part of a catalog you couldn't scale. Now it's a repeatable process: anchor every shot to a real product reference, vary the scene through a small library of on-brand templates, fix drift with inpainting, and curate the best of a cheap batch. The skill that matters is no longer lighting a set — it's art direction.
Pick one product, write your five scene prompts, and generate your first lifestyle set in the Oxava studio. When you're happy with the look, upscale the winners to 4K and roll the same templates across the rest of your catalog. For the foundational packshot side of the equation, the AI product photography guide pairs directly with this one, and our AI for ecommerce overview shows what the full catalog workflow looks like end to end.
Egemen Küpçü
Egemen Küpçü is the founder of Oxava, with 10+ years of hands-on experience in 3D and visual production. He writes about the craft of generating product, brand and campaign visuals with AI.
Related Articles
ALL POSTS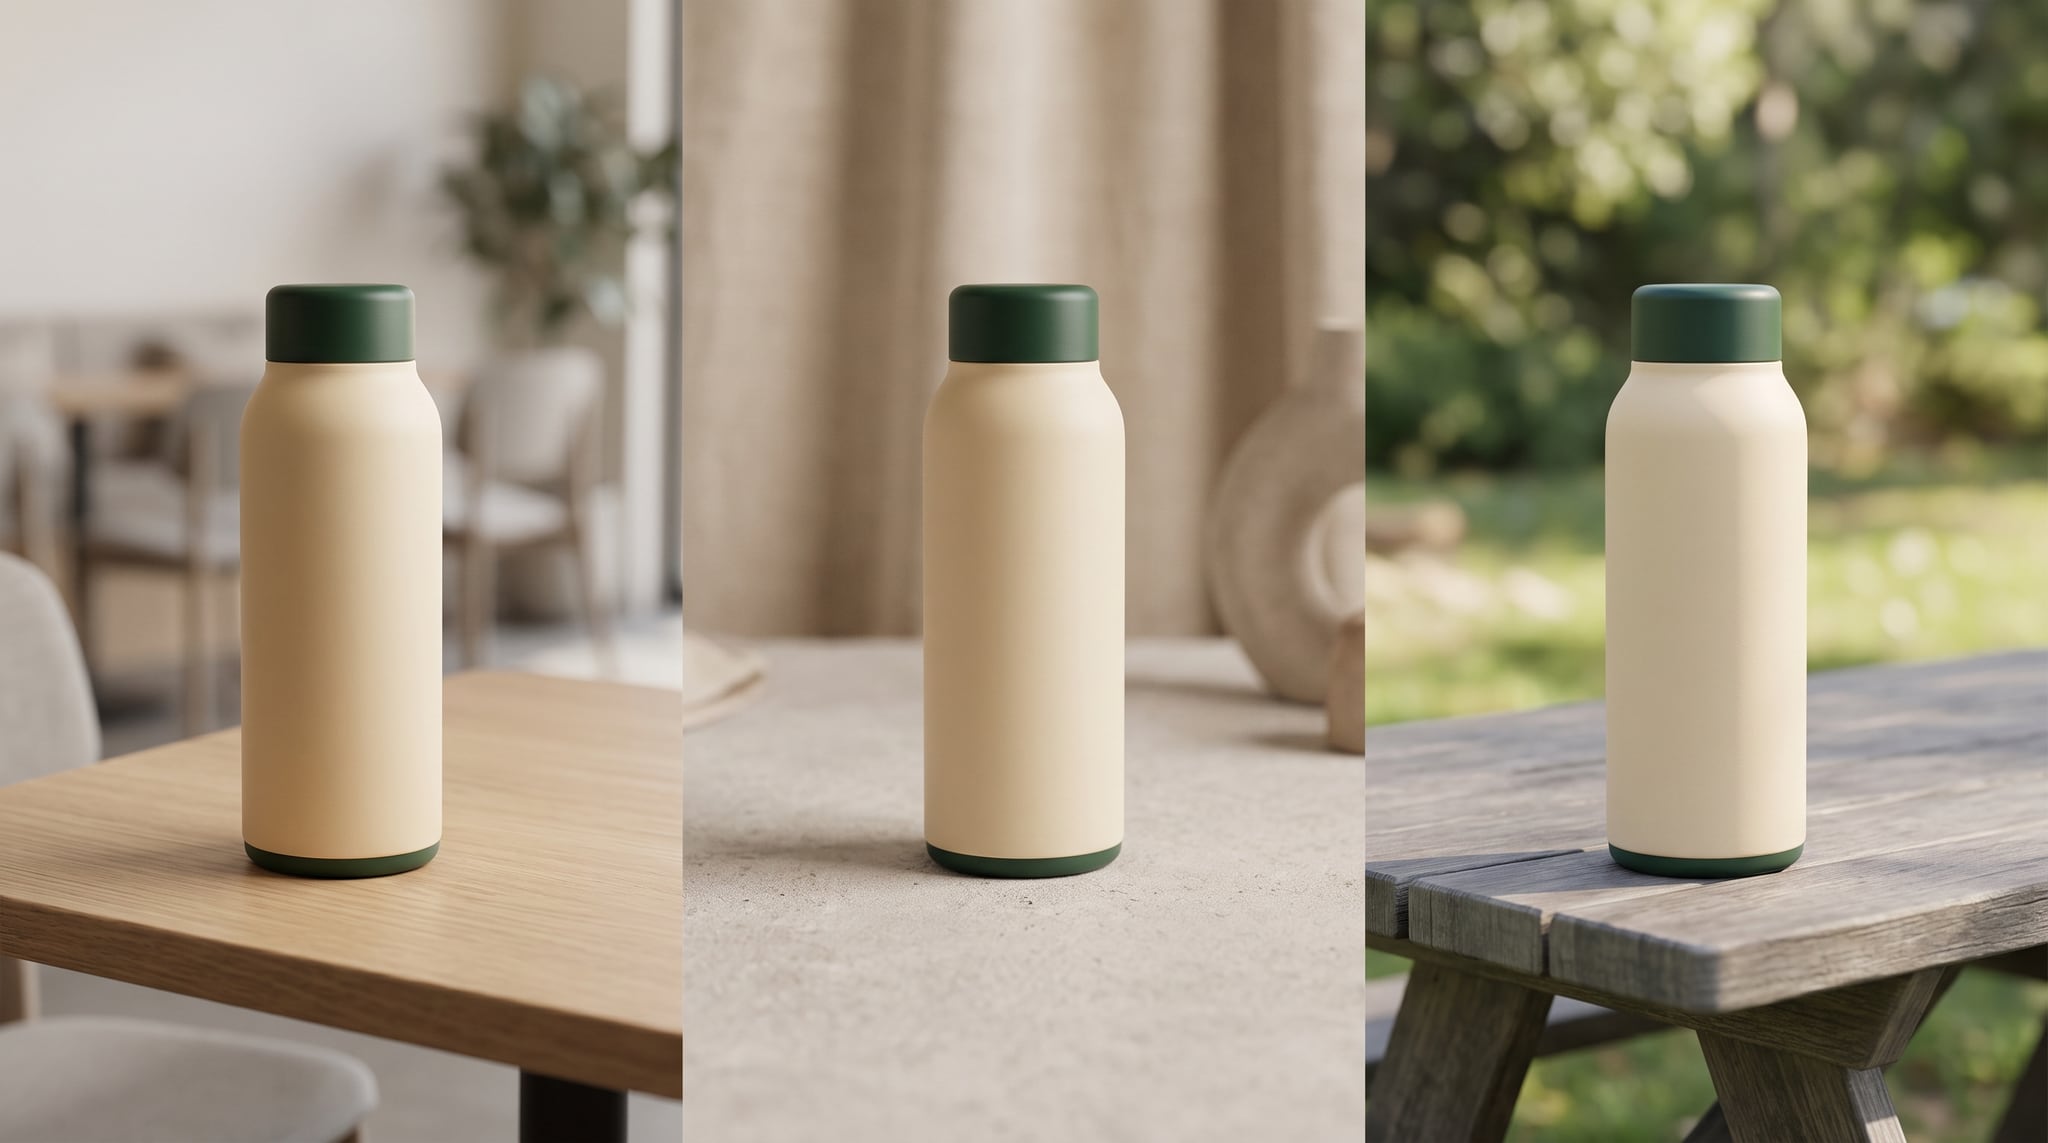

Subscribe to our newsletter
Be the first to hear about new techniques, model updates and ideas on AI generation.