
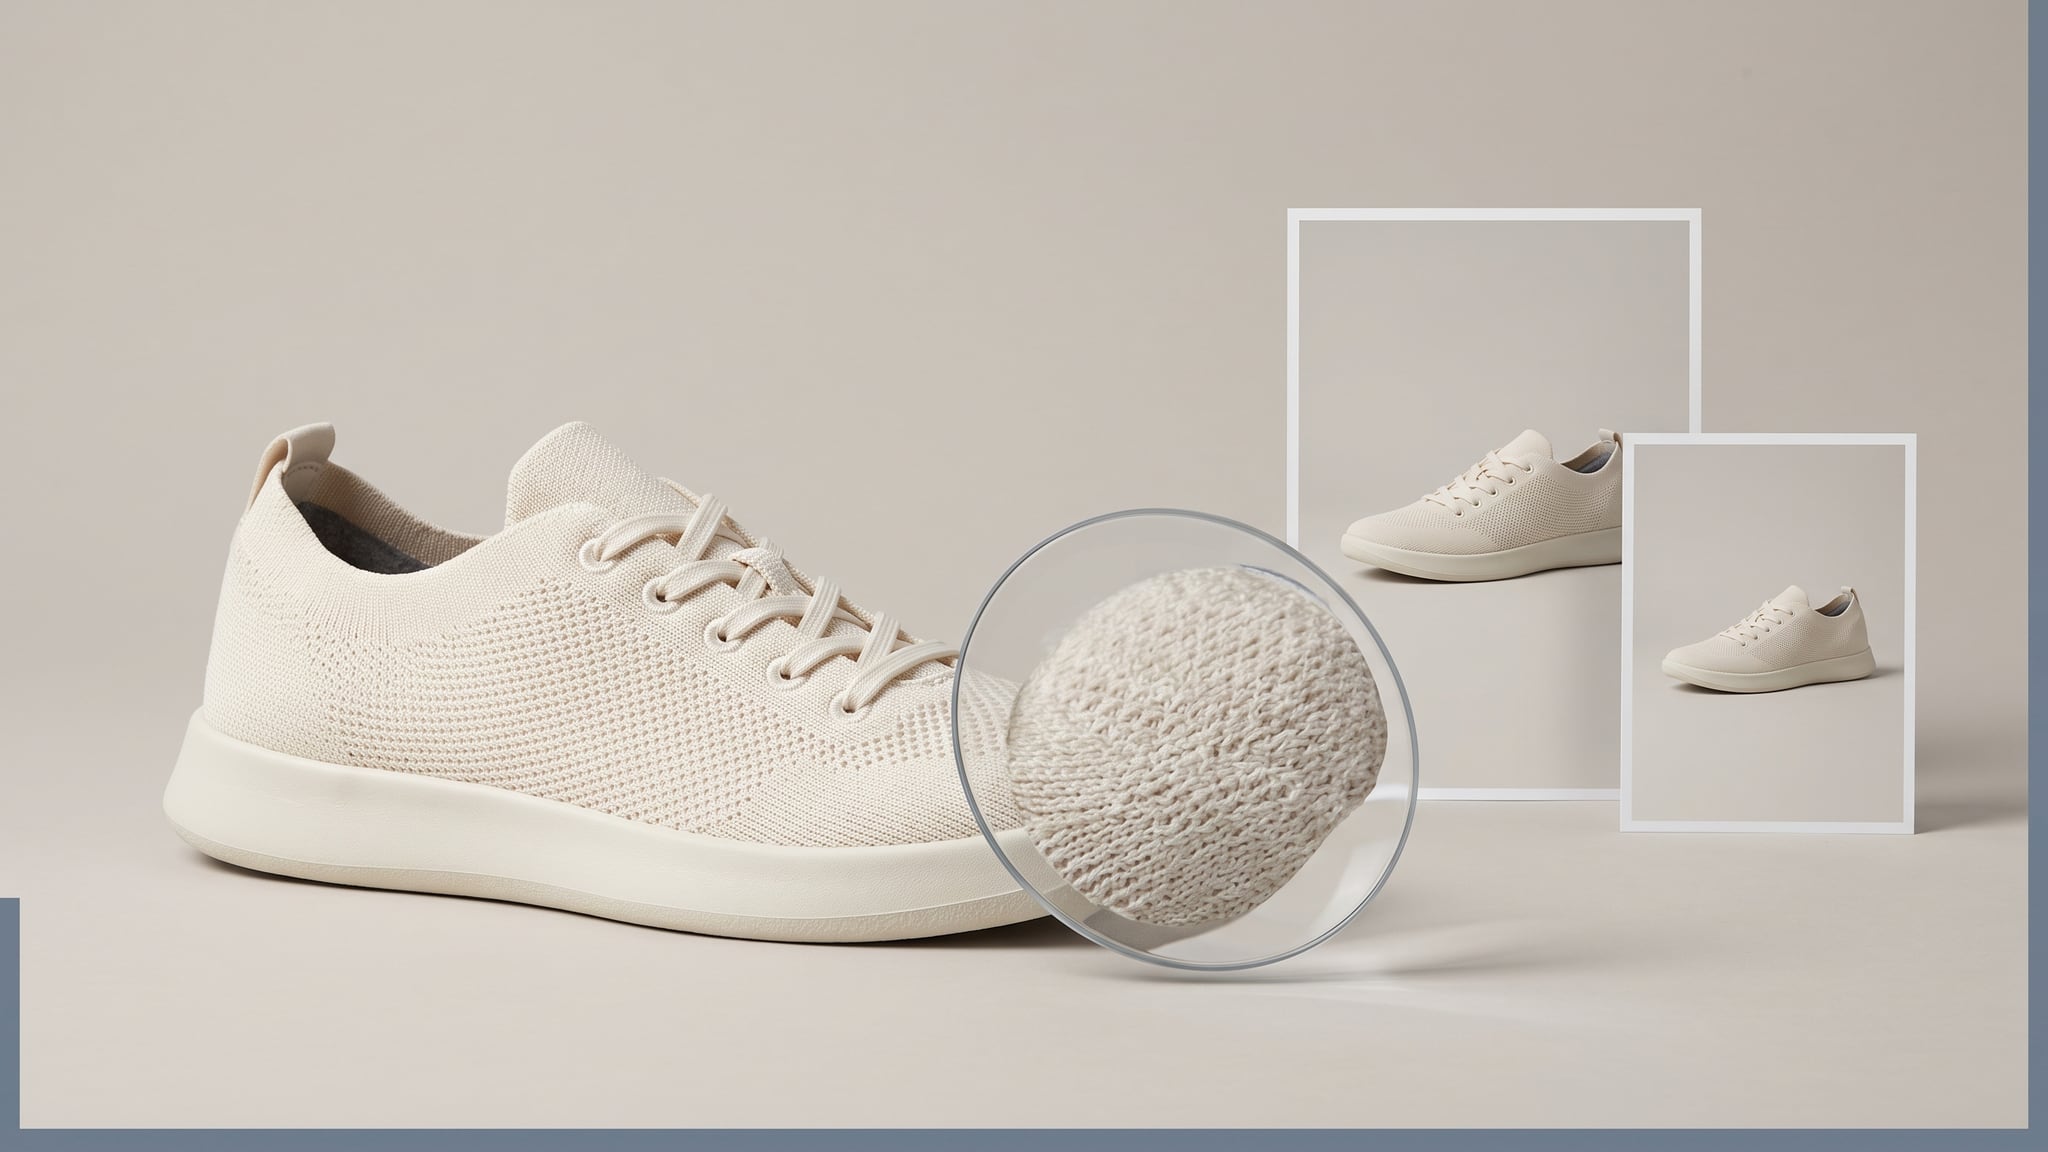
You have approved the product image. The color is right, the shape matches the item, and the background works. AI product image optimization is the finishing stage that keeps those decisions intact when the image leaves your editor. A smaller file is useful only if it still shows the product accurately, works at its destination, and retains any required source information.
The tricky part is that one approved image can become several different files: an upload to your store, a browser-delivered version, and an image referenced by a shopping feed. Treating all three as the same export creates avoidable problems.
This guide gives you a practical handoff process, including a fictional cream knitted sneaker example. It starts after creative approval; for the earlier stages, see our AI product photography guide.
Start AI Product Image Optimization With the Destination
Before opening an export dialog, write down where the image will go and who controls its delivery. This takes less effort than rebuilding a batch after discovering that an export preset removed information you needed.
Use a short destination brief:
- Placement: collection card, product gallery, zoom view, or external feed.
- Appearance: aspect ratio, background, visible product area, and transparency needs.
- Technical limits: accepted formats, pixel dimensions, and maximum upload size.
- Delivery owner: your store platform, an image service, or your own website implementation.
- Release checks: visual approval, required metadata, and the final image address.
Separate upload requirements from delivery behavior. Shopify advises high-quality uploads without manual precompression, and can deliver WebP or AVIF to compatible browsers.
Its product-media guidance favors PNG, then JPEG; the general image guide favors JPEG for photography. Apply each recommendation to the relevant asset and upload surface.
Our Shopify product photography workflow covers creating the image set. Use this destination check when finishing an already-approved set.
Keep an Original, a Working Master, and Destination Exports
Give each file a clear job:
- Original download: the untouched output you received. Keep it with its existing metadata and enough internal context to identify the approved image.
- Working master: the file you use for intentional finishing edits. Preserve useful resolution, editable elements where available, and verified source information.
- Destination export: a derivative made for one specified use. It can be replaced without destroying the source or reopening creative approval.
For example, keep the sneaker's original download separately from its editable crop and its approved store-upload version. Store export settings alongside the work so another person can repeat them. Avoid a folder full of files called “final,” “final-new,” and “final-really.”
Make subsequent exports from the master. Do not use a previously reduced delivery file as the source for another channel when a better source exists. If you change the product's appearance during finishing, return it to the creative review step.
You can generate and review source product images in the Oxava studio, then download the approved result. Perform format conversion, metadata inspection, and destination checks in an appropriate external editor and your storefront or feed tools.
Choose the Format for the Job
The technical distinction is straightforward: JPEG uses lossy compression and has no transparency channel; PNG is lossless and supports transparency; WebP and AVIF support both lossy and lossless encoding. MDN's image-format guide explains these capabilities.
The practical decision depends on the next system in the chain:
| Situation | Useful starting point | What to verify |
|---|---|---|
| Approved source already fits a managed store's upload requirements | Keep a high-quality accepted upload | Product detail survives the store's delivered versions |
| Opaque product photograph for a compatible destination | Consider JPEG | Texture and fine edges remain acceptable |
| Cutout that genuinely needs transparency | Consider PNG | The destination handles the transparent area correctly |
| Website where you control image delivery | Test WebP or AVIF where supported | Real output quality, compatibility, and fallback behavior |
| Shopping feed | Use the feed's documented accepted format | Exact URL, actual file type, and required metadata |
Compatibility needs its own check. Google Search supports AVIF, according to its image guidance. Google Merchant Center's image-link specification lists JPEG, WebP, PNG, GIF, BMP, and TIFF, but not AVIF. It also requires a matching file extension, an accurate product image, and no promotional overlays. Do not assume an image suitable for search or a browser is automatically suitable for a feed.
Changing a filename is not format conversion. If a destination needs JPEG, create a real JPEG export and inspect it. For background requirements, consult our marketplace white-background guide before flattening a cutout onto a color.
Set Dimensions Around the Product's Viewing Tasks
Start with the views shoppers actually need. A collection card must make the product recognizable; a gallery image must show its shape; a detail or zoom view must explain material and construction.
For the knitted sneaker, identify three critical inspection areas before resizing:
- Knit fibers across the toe box
- Separation between the laces and the upper
- The boundary between the sole and the background
Choose dimensions that satisfy the destination and preserve those features at the intended viewing sizes. A square canvas alone does not tell you whether the product is large enough inside it. A generously padded image may have plenty of pixels while leaving the sneaker too small to inspect.
Review the crop before considering enlargement. If more detail is needed, first check whether a better approved source or a dedicated close-up exists. When upscaling is appropriate, examine the result against the reference product: added crispness should not become invented knitting, extra lace holes, or a redesigned sole.
Keep different placements deliberate. A thumbnail and a detail image can have different dimensions while still sharing a coherent composition. Record the crop and intended use so a later export does not accidentally replace the detailed gallery view with the collection-card version.
Compare Compression Only Where You Control It
Manual compression testing makes sense when you are responsible for the final delivery file, or when a destination imposes a limit your current file exceeds. Follow the managed platform's documented upload workflow when it handles optimization for you.
For a controlled comparison, export two or three candidates from the same master. Hold dimensions, crop, background, and other settings constant. Change one compression choice at a time so you can tell what caused a visible difference.
Use this review order:
- Normal display size: Does the image communicate the product clearly without inspection tricks?
- Detail view: Are material, stitching, lettering, and edge transitions still believable?
- Side-by-side comparison: What changed compared with the approved master?
- File properties: What are the actual format, dimensions, and byte size?
- Metadata inspection: Did the export preserve the fields needed for this destination?
For the sneaker, reject an export if the knit turns into a flat cream patch, the laces merge, or the sole acquires a distracting fringe. Saving bytes does not compensate for making a material look different.
There is no universal “200 KB” target or quality-slider value for every product image. Write down what passed and why, then reuse the process on representative products. A preset that works for a smooth bottle may need different handling for woven fabric or tiny printed packaging.
Preserve Required AI Source Metadata Deliberately
Google Merchant Center's AI-content guidance requires AI-generated images to carry source-identifying metadata and warns against removing embedded DigitalSourceType information. This is a requirement to verify in your actual file, not a property to assume from the name of the generation tool.
The IPTC Photo Metadata User Guide identifies Digital Source Type as an XMP field using a controlled vocabulary. A file-properties panel that only shows dimensions and camera details is not a sufficient inspection tool.
Our suggested handoff procedure is to compare three checkpoints: the original download, the local destination export, and the file retrieved from the exact feed image URL. Use a metadata-capable viewer that exposes the relevant XMP/IPTC fields. Record the values you actually see, rather than ticking “metadata retained” because an export checkbox was enabled.
If required source information is missing or its meaning is unclear, pause that feed handoff. Return to a metadata-capable workflow, consult the originating tool's documentation, or ask the platform's support team how to preserve or correctly supply the required information. Never invent provenance to make a checklist pass.
Be selective about other metadata. Review what is appropriate for public delivery instead of copying every field from private working files. Production notes, personal details, and internal references do not become necessary public information merely because they sit beside useful source fields.
This inspection does not establish that any particular app or storefront preserves AI metadata. Test the specific path you use.
Give the Image a Useful Filename and Alt Text
Source metadata and storefront descriptions serve different purposes. Keep both tasks on the handoff checklist.
Google's image SEO guidance recommends descriptive filenames, useful contextual alt text, and relevant surrounding page content. Avoid keyword stuffing; these practices do not promise a ranking position.
For the fictional sneaker, a useful filename could be cream-knit-sneaker-side-view.jpg. Suitable alt text might be “Cream knitted sneaker in side view with matching laces and a white sole.” Adjust that description to what the image actually shows and how it functions on the page.
Do not add invisible features, unsupported material claims, or a list of search terms. Check that the product title, selected variant, and image agree. A beautifully optimized cream sneaker image is still the wrong asset on the black variant's listing.
Alt text also cannot stand in for source metadata embedded in an image. Complete each check in the system where it belongs.
Inspect the Storefront and the Exact Feed File
The local export is an intermediate checkpoint. Finish by opening the destination where the image will be used.
On the storefront, examine the collection view, product gallery, and available zoom on desktop and mobile. Watch for a clipped toe, a cramped crop, unexpected background treatment, or lost separation around the sole. If the page serves a different image than expected, investigate the selected variant and image request before recompressing the master.
For a feed, retrieve the file from the exact submitted image URL. Verify its actual format, dimensions, appearance, and required source fields. A browser screenshot of the product page cannot tell you what metadata the feed image contains.
Where an image service changes output according to the request, involve the storefront or feed owner in verifying the consumer-facing response. A successful local download alone does not prove every downstream request receives the same file.
Assign the final check to a named person. That makes “ready to upload” and “checked at destination” distinct, useful states instead of vague approval labels.
Worked Example: A Cream Knitted Sneaker
This is an illustrative workflow, not a measured performance study or a report of an actual catalog test.
Imagine that you approved a side-view sneaker image after comparing it with the product reference. Your collection uses square cards, the gallery needs a closer material view, and a shopping feed will use a clean product image.
Keep the original download, then create the necessary crops from a working master. For a managed-store upload, follow its high-quality upload guidance. For any separately controlled delivery export, compare candidates at identical dimensions. Keep the feed handoff pending until its final file has been inspected.
A practical inspection record could look like this:
| Record field | Example entry or action |
|---|---|
| Product and view | Cream knitted sneaker, side view |
| Approved source | Record the original filename and approval version |
| Critical details | Toe-box knit, separate laces, clean sole edge |
| Destination | Record store placement or exact feed image URL |
| Export properties | Enter observed format, dimensions, and byte size |
| Visual result | Record pass or the specific defect to correct |
| Source metadata | Record observed fields and any unresolved mismatch |
| Release owner | Name, check date, and ready or hold status |
Suppose a candidate looks fine as a small card but blurs the knitting in the detail view. Keep that observation attached to the candidate; do not declare it suitable for the entire gallery. If another version looks excellent but has unresolved required metadata, hold the feed release while retaining the visual approval.
The record turns a subjective export decision into a repeatable handoff without pretending every check has the same outcome.
Frequently Asked Questions
What is the best format for AI product images?
Choose it after naming the destination, deciding whether transparency is needed, and checking who controls delivery. Use the decision table above to shortlist an export, then test your product's difficult details. Preserve a better-quality master regardless of the final choice.
Should I compress images before uploading to Shopify?
Usually not: follow the high-quality upload guidance linked above. Inspect the storefront result instead of imposing an arbitrary small-file target.
How small should a product image file be?
Small enough for its delivery requirements while preserving the details shoppers need. Test at the intended viewing sizes and respect destination limits. A universal byte target ignores differences in texture, dimensions, and the platform's own processing.
Can I remove all metadata to reduce file size?
Do not apply blanket removal when source information is required. Inspect the original, export, and final destination file with a capable tool, preserving necessary fields while reviewing unrelated private information separately.
Is a browser-supported image automatically ready for a shopping feed?
No. A feed has its own format, content, and metadata requirements. Check the exact image it receives rather than relying on the storefront preview or the file's extension alone.
Finish With a Verified Handoff
Good AI product image optimization keeps the approved product intact from source to destination. Retain the original, maintain a reusable master, export for the actual channel, and verify the file that shoppers or feed systems receive.
Start your next source image in the Oxava studio. Review the product carefully, download the approved result, and use this finishing checklist with your external editor and storefront tools before release.
Oxava Team
Egemen Küpçü is the founder of Oxava, with 10+ years of hands-on experience in 3D and visual production. He writes about the craft of generating product, brand and campaign visuals with AI.
Related Articles
ALL POSTS


Subscribe to our newsletter
Be the first to hear about new techniques, model updates and ideas on AI generation.