

Every new SKU you add to your Shopify store needs images — and if you are shooting each one in a studio, the math stops working fast. A ten-product line is manageable. A hundred-product catalog with three colorways each becomes a full-time photography job with a studio bill to match. This is the gap an AI product photography workflow for Shopify is built to close: instead of booking a shoot for every variant, you photograph one clean reference and generate everything else — backgrounds, colorways, angles, on-model shots, and lifestyle scenes.
It matters more than convenience suggests. Product images are the single biggest lever on whether a shopper buys — Nightjar's research on AI product photography cites listings with five or more images converting at roughly twice the rate of one-image listings — and they're also a major driver of whether that shopper keeps the item or ships it back. This guide walks the entire workflow end to end, from a single phone photo to a Shopify-ready listing, and it's honest about the one step AI can't do for you.
Why Product Photos Make or Break Your Shopify Conversion Rate
Shopify gives you a fast, clean storefront, but it can't sell a product the shopper can't picture. On a product page, images do the job a salesperson and a physical shelf do in a store: they answer "what is this, what's it made of, what will it look like in my hands?" When the images answer those questions well, people buy. When they don't, people either bounce or — worse — buy and return.
The conversion side is well documented. Listings with a fuller gallery of five or more images tend to convert at roughly double the rate of thin, one-image listings, per Nightjar's product-photography research. More angles, more context, and a clear look at scale and finish all reduce the hesitation that kills a sale.
The returns side is the quieter cost, and it's enormous. A 2025 Salsify survey found that 71% of shoppers had sent something back because the product didn't match how it looked online. Returns aren't just lost sales; they eat shipping, restocking, and margin. The National Retail Federation estimated that 19.3% of online purchases were returned in 2025 — an estimated 849.9 billion dollars of merchandise flowing backward. A meaningful slice of that is preventable with images that represent the product honestly: true color, real texture, accurate scale.
That reframes the whole exercise. The goal of an AI workflow isn't just "more images, faster." It's more images that are accurate — because an accurate image both earns the sale and prevents the return. Treat these figures as directional rather than guarantees, but the direction is consistent, and it points the same way: better product photography is one of the highest-leverage things a Shopify seller can fix.
What Shopify Actually Requires From Your Images
Before you generate anything, it helps to know the target you're producing for. Shopify is refreshingly relaxed compared with strict marketplaces — it doesn't dictate backgrounds or props — but it does have technical specs that decide how sharp your images look, whether zoom works, and how fast your pages load. Here's the spec card to design against.
| Spec | Shopify guidance |
|---|---|
| Recommended size | 2048 × 2048 px, square — Shopify's suggested default for product media |
| Zoom threshold | ~800 × 800 px and up enables zoom on most themes |
| Maximum dimensions | 5000 × 5000 px (25 megapixels) |
| Maximum file size | 20 MB per image |
| Preferred format | PNG first, then JPEG |
| Aspect ratio | Keep one consistent ratio across every image in the store |
A few of these deserve a note. The 2048 × 2048 square recommendation isn't arbitrary — a square crop displays cleanly across Shopify's grid, product page, and mobile layout without awkward cropping, and 2048 px is large enough that the built-in zoom stays crisp. You can go larger, up to 5000 px, but past a point you're just adding file weight that slows the page; 2048 px is the practical sweet spot for most stores.
The most underrated rule is the last one: a consistent aspect ratio. Shopify won't stop you from mixing a square hero, a portrait lifestyle shot, and a landscape detail — but the result is a product grid that jumps and reflows as the shopper scrolls, which reads as sloppy. Pick one ratio (square is the safe default) and hold it across the catalog. This is one place AI helps enormously, because you control the output canvas exactly instead of cropping inconsistent camera files after the fact.
One caveat if you sell beyond Shopify: Shopify itself has no pure-white-background rule, but Amazon and Walmart do, strictly. If your products also live on those marketplaces, that decision comes up in Step 3 below — you'll want a compliant pure-white hero for them even though Shopify doesn't demand it.
The 7-Step AI Product Photography Workflow for Shopify
Here's the workflow itself: seven steps that take you from a single phone photo to a full set of listing-ready images. Not every product needs all seven — an apparel seller leans on Step 5, a furniture brand with 3D files might jump to Step 7 — but this is the complete path, in order. Every image-generation step below runs in the Oxava studio, so you can move through the whole sequence in one session.
Step 1 — Shoot One Clean Reference Photo
Everything downstream inherits the quality of this one input, so it's worth two minutes of care. Put the product on a plain surface, get even, diffuse light (a window on an overcast day is ideal), and shoot straight-on with the whole product in frame and in focus. You don't need a studio — a modern phone camera is fine — but you do need the product to be sharp, correctly colored, and free of harsh shadows or clutter. AI can rebuild the background, relight the scene, and change the angle, but it can't invent detail that isn't in the source. Clean reference in, options out.
Step 2 — Remove or Replace the Background
With a clean reference in hand, the first transformation is separating the product from wherever you shot it. A clean cutout is the foundation for almost everything else — variants, lifestyle shots, and marketplace heroes all start from a crisp silhouette you can drop onto white, a brand color, or a generated scene. Getting the edge right (hair, transparency, reflective surfaces, and how to avoid a ragged halo) is a craft of its own; our AI background removal and replacement guide is the deep dive. For this workflow, the goal here is simple: a clean cutout you can place anywhere.
Step 3 — Decide: Pure White Main Image or Contextual Scene?
Now a strategic fork. Your Shopify main image can be the product on clean white (crisp, catalog-standard, easy to compare) or the product in a styled scene (warmer, more aspirational). Shopify allows either, so the right answer depends on your brand and where else the images live. If you also sell on Amazon or Walmart, the decision is partly made for you: those platforms require a pure-white main image at exactly RGB 255, 255, 255, and a near-white generated background will fail their automated check. Our guide to marketplace white-background standards covers how to hit that exact value and when you don't need to. For a Shopify-only store, a clean white hero plus contextual gallery shots is a reliable default.
Step 4 — Generate Every Color and Angle Variant Without Reshooting
This is where AI turns a single shoot into a full product line. From one master image, you can recolor the product to every colorway you sell and re-angle it — front, three-quarter, back, detail — while keeping the shape, material, and shadows consistent. The hard part is consistency: a variant set only works if the blue and the red look like the same product in the same lighting, not two different photos. Recoloring with exact hex codes and preserving texture is its own discipline, covered in our guide to consistent product variant images. For your catalog, this step is what makes "12 SKUs, 3 colors each" feasible without 36 photo sessions.
Step 5 — (Apparel Sellers) Turn Flat Lays into On-Model Photos
If you sell clothing, a flat lay or ghost-mannequin shot converts far worse than the same garment on a person — but on-model photography usually means models, a stylist, and a booking. AI closes that gap: you can turn a flat lay into a natural on-model photo, preserving the garment's print, cut, and color while placing it on a realistic figure. The trick is avoiding the "fake" look — warped prints, impossible drape, uncanny hands — which comes down to input prep and the right approach. Our guide to on-model apparel photos from flat lays walks the whole process. Non-apparel sellers can skip this step.
Step 6 — Add Lifestyle and In-Context Gallery Images
A white hero earns trust; lifestyle images earn the click. Placing the product in a styled scene — a mug on a sunlit breakfast table, a lamp in a designed living room — helps the shopper picture owning it, and those in-context frames are where a lot of the conversion lift lives. The catch is keeping the product itself accurate while everything around it is generated: the scene should change, the product should not. Our guide to AI lifestyle images for e-commerce catalogs covers building believable scenes that keep the SKU faithful. Add two to five of these per listing to round out the gallery Shopify rewards.
Step 7 — (Advanced) Have a 3D Model? Render Instead of Reshooting
If your product already exists as a 3D file — common for furniture, jewelry, industrial goods, and anything designed in CAD — you can skip photography entirely and render photoreal images straight from the model. That means unlimited angles, materials, and scenes without ever owning a physical sample or booking a shoot. It's an advanced path with its own prep, material, and lighting considerations, walked through in our guide to turning a 3D model into a photoreal render. Most sellers won't need this step; the ones sitting on a library of 3D assets get enormous leverage from it.
Finishing the Image: Resolution, Export, and Shopify-Ready Formatting
Once the creative work is done, one technical pass gets each image genuinely listing-ready. First, resolution. Generated images don't always come out at Shopify's recommended 2048 × 2048, and a soft or undersized image kills the zoom experience that helps close a sale. Run an upscale to bring each final image up to a crisp 2048 px on the longest side — our AI image upscaling guide covers picking the right target resolution and upscaling without introducing artifacts. Upscale last, after the composition is locked, so you're sharpening the final frame rather than an intermediate one.
Then export against the spec card from earlier. Keep files under Shopify's 20 MB ceiling — you'll rarely get close if you export a well-compressed JPEG, and 100–300 KB per image is a healthy practical range that keeps pages fast without visible quality loss. Hold one consistent aspect ratio (square is the safe default) across the whole catalog so your product grid stays even. Do this pass on every image and your gallery will look deliberate instead of assembled.
Uploading to Shopify: What AI Can (and Can't) Do For You
Here's the honest part, and it's worth being clear about because some tools blur it. Oxava is an AI image studio — it generates and edits your product images. It does not plug into your Shopify store, and there's no button that pushes finished images live or bulk-syncs them to your product catalog. Anyone promising "generate and publish to Shopify without leaving the app" is overselling; the realistic workflow keeps you in control of what actually goes live.
So the last step is a manual one, and it's quick. You download your finished images from Oxava, then upload them in Shopify under Products → [your product] → Media, dragging them into the order you want (main image first). For a handful of products this takes seconds each. For a large catalog, use Shopify's own bulk tools — the CSV product import accepts image URLs, and Shopify's bulk media handling is built for volume — rather than uploading one file at a time.
Why frame a limitation as a feature? Because the separation is a good thing. You review every image before it touches your storefront, you decide the gallery order per product, and nothing goes live by accident. The AI does the expensive, slow part — creating the images — and you keep a fast, deliberate hand on publishing.
Build a Repeatable "Recipe" for Your Whole Catalog
The real payoff of an AI workflow isn't any single image — it's turning the seven steps into a repeatable recipe you run on every new product. Once you've dialed in the lighting, background, angles, and export settings that match your brand, save those choices as your default and apply them SKU after SKU. Consistency stops being something you police and becomes something your process produces automatically. That's how a catalog ends up looking like one brand shot it in one session, even when you added products over months.
Not every product needs all seven steps, though. Use this map to jump straight to what matters for each type of item.
| Your scenario | Where to focus |
|---|---|
| Single product, one hero image | Steps 1–3: clean reference, background, and the white-or-scene decision |
| Multi-color variant line | Step 4 — generate every colorway and angle from one master |
| Apparel and accessories | Step 5 — flat lays to on-model, plus lifestyle in Step 6 |
| Furniture, jewelry, or CAD-designed goods with 3D files | Step 7 — render straight from the model |
| Also selling on Amazon or Walmart | Step 3 — build a strict pure-white hero for those marketplaces |
Whatever the mix, the workflow scales the same way: nail the recipe once on a representative product, then let it carry the rest of the catalog. This guide is one workflow inside our broader AI product photography coverage, which ties these steps into the full picture of building a product-image library with AI.
Frequently Asked Questions
Does Shopify allow AI-generated product photos?
Yes. Shopify has no policy against AI-generated or AI-edited product images — it cares about technical specs and your own catalog quality, not how the image was made. The practical guardrail is accuracy: your images must honestly represent the product a shopper receives, or you'll drive returns and, over time, chargebacks. Use AI to save time and add angles, not to misrepresent color, size, or finish.
What's the ideal image size for Shopify product photos?
Shopify recommends 2048 × 2048 pixels, square, as the default for product media. That's large enough for crisp zoom and displays cleanly across the grid, product page, and mobile. Zoom generally activates around 800 × 800 and up, the maximum is 5000 × 5000 (25 megapixels), and files must stay under 20 MB — though a well-compressed JPEG in the 100–300 KB range is plenty. The most important rule is holding one consistent aspect ratio across every product.
Can AI keep my product variants (colors) visually consistent across a whole line?
Yes, and it's one of the biggest wins of the workflow. Starting from a single master image, you can recolor a product to exact hex values and re-render angles while keeping the shape, material, and lighting identical across the set — so your red, blue, and green all read as the same product. It takes the right approach to keep shadows and texture intact through a recolor, but it's very achievable from one master shot instead of a separate shoot per color.
Should my Shopify main image have a pure white background?
Not necessarily. Shopify has no white-background rule, so a clean lifestyle or scene image can absolutely be your main image if it fits your brand. Many stores still choose white for the hero because it's crisp and easy to compare, then use lifestyle shots in the gallery. The exception is if you also sell on Amazon or Walmart, which strictly require a pure-white (RGB 255, 255, 255) main image — in that case, build the compliant hero once and reuse it.
Can Oxava upload images directly to my Shopify store?
No. Oxava is an AI image studio for creating and editing product photos, not a store-management or sync tool — there's no direct Shopify integration or auto-publish. You download your finished images and upload them yourself in Shopify under Products → Media, or use Shopify's bulk CSV import for a large catalog. That keeps you in full control of exactly which images go live and in what order.
Bring the Whole Workflow Into One Session
A sustainable AI product photography workflow for Shopify comes down to a repeatable loop: shoot one clean reference, remove or replace the background, decide on a white or contextual hero, generate every variant and angle, add on-model and lifestyle shots where they help, and finish at zoom-ready resolution. Do it once as a recipe and it scales to a catalog of any size — more images, more accurate, without a studio bill per SKU.
Every creative step in that loop runs in one place. Open the Oxava studio, upload a single product photo, and work through all seven steps in one session — background, variants, apparel, lifestyle, and upscaling — then download your finished set and drop it into Shopify. Start with one product, build your recipe, and let it carry the rest of your store.
Egemen Küpçü
Egemen Küpçü is the founder of Oxava, with 10+ years of hands-on experience in 3D and visual production. He writes about the craft of generating product, brand and campaign visuals with AI.
Related Articles
ALL POSTS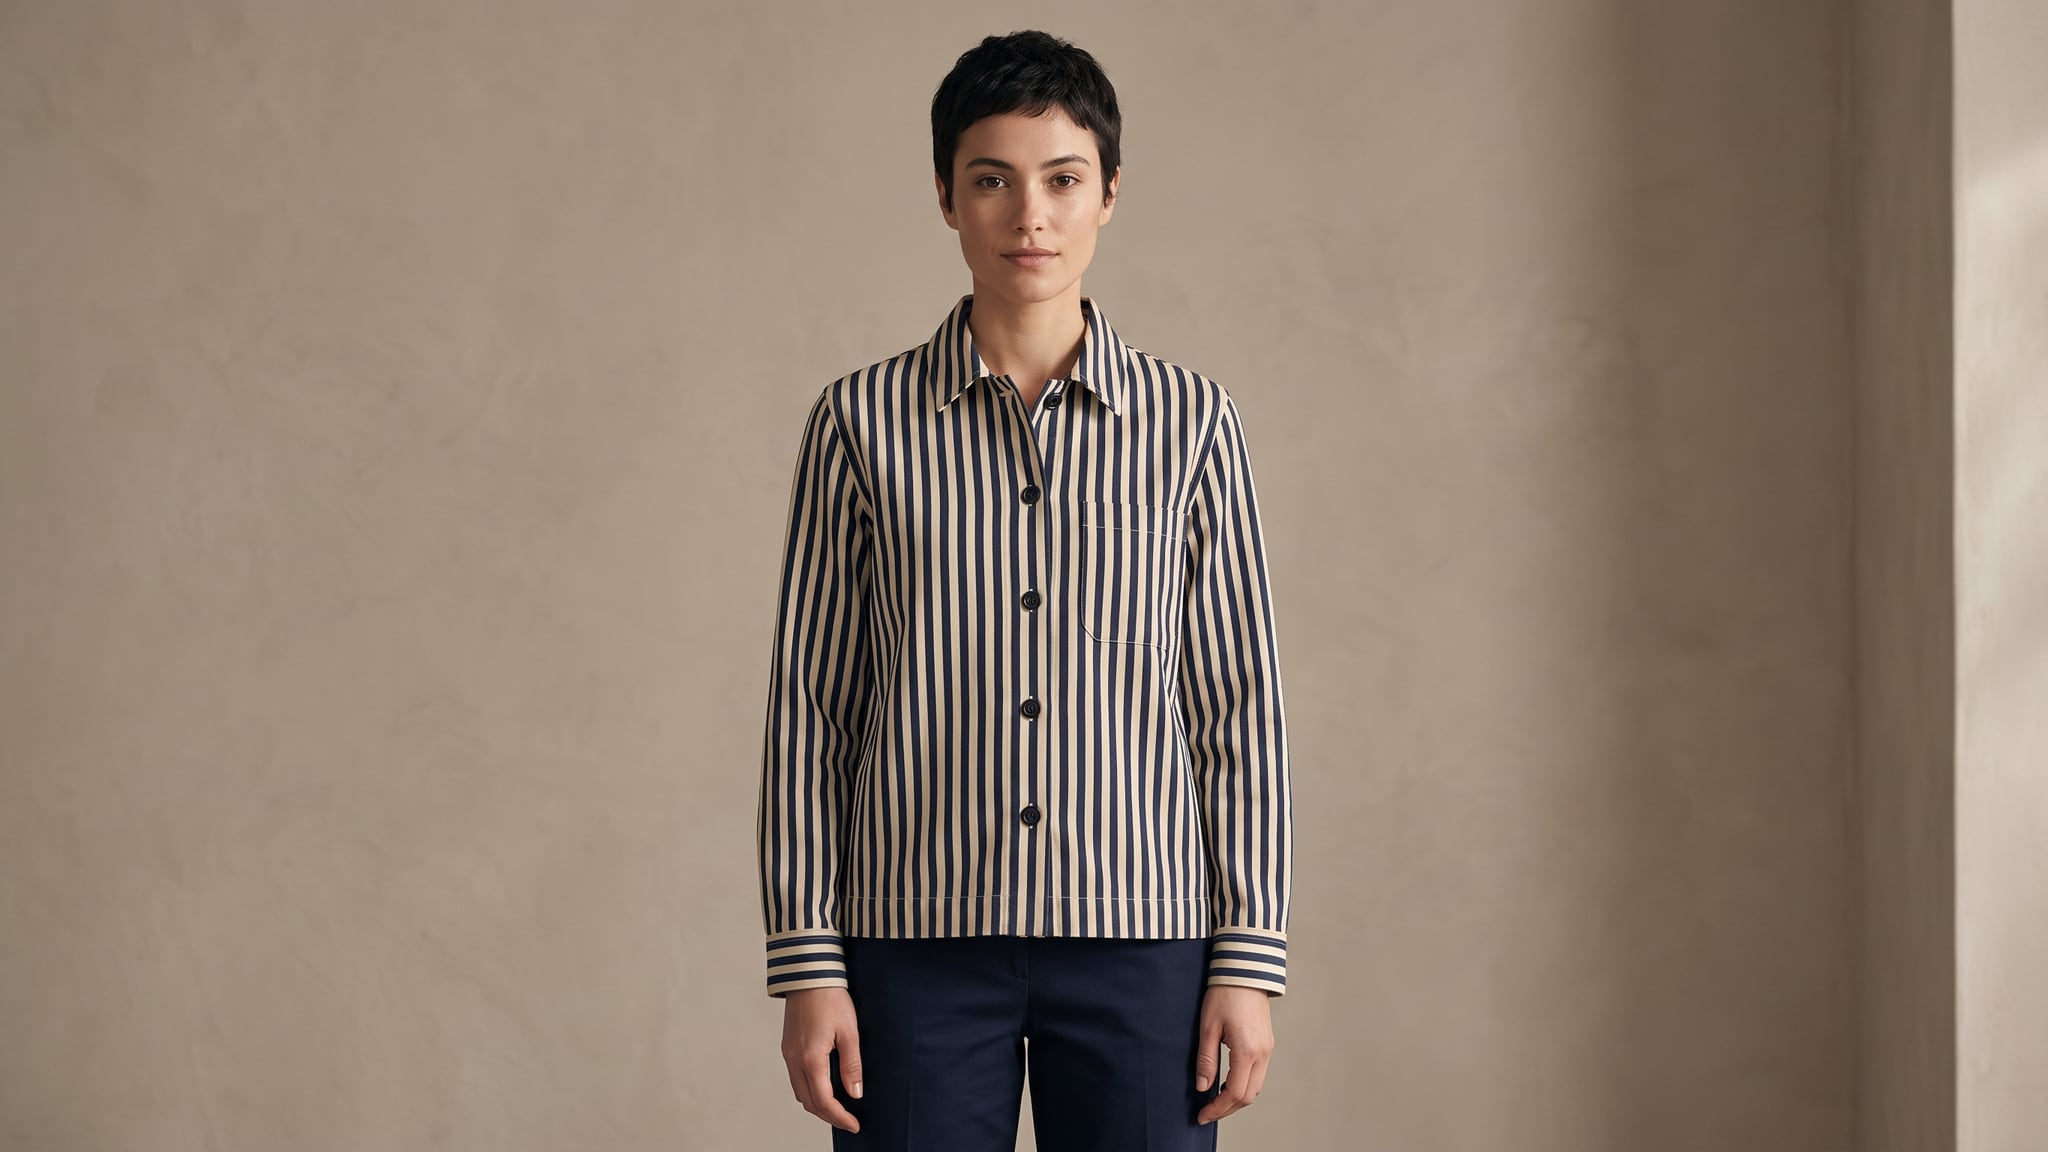
Subscribe to our newsletter
Be the first to hear about new techniques, model updates and ideas on AI generation.