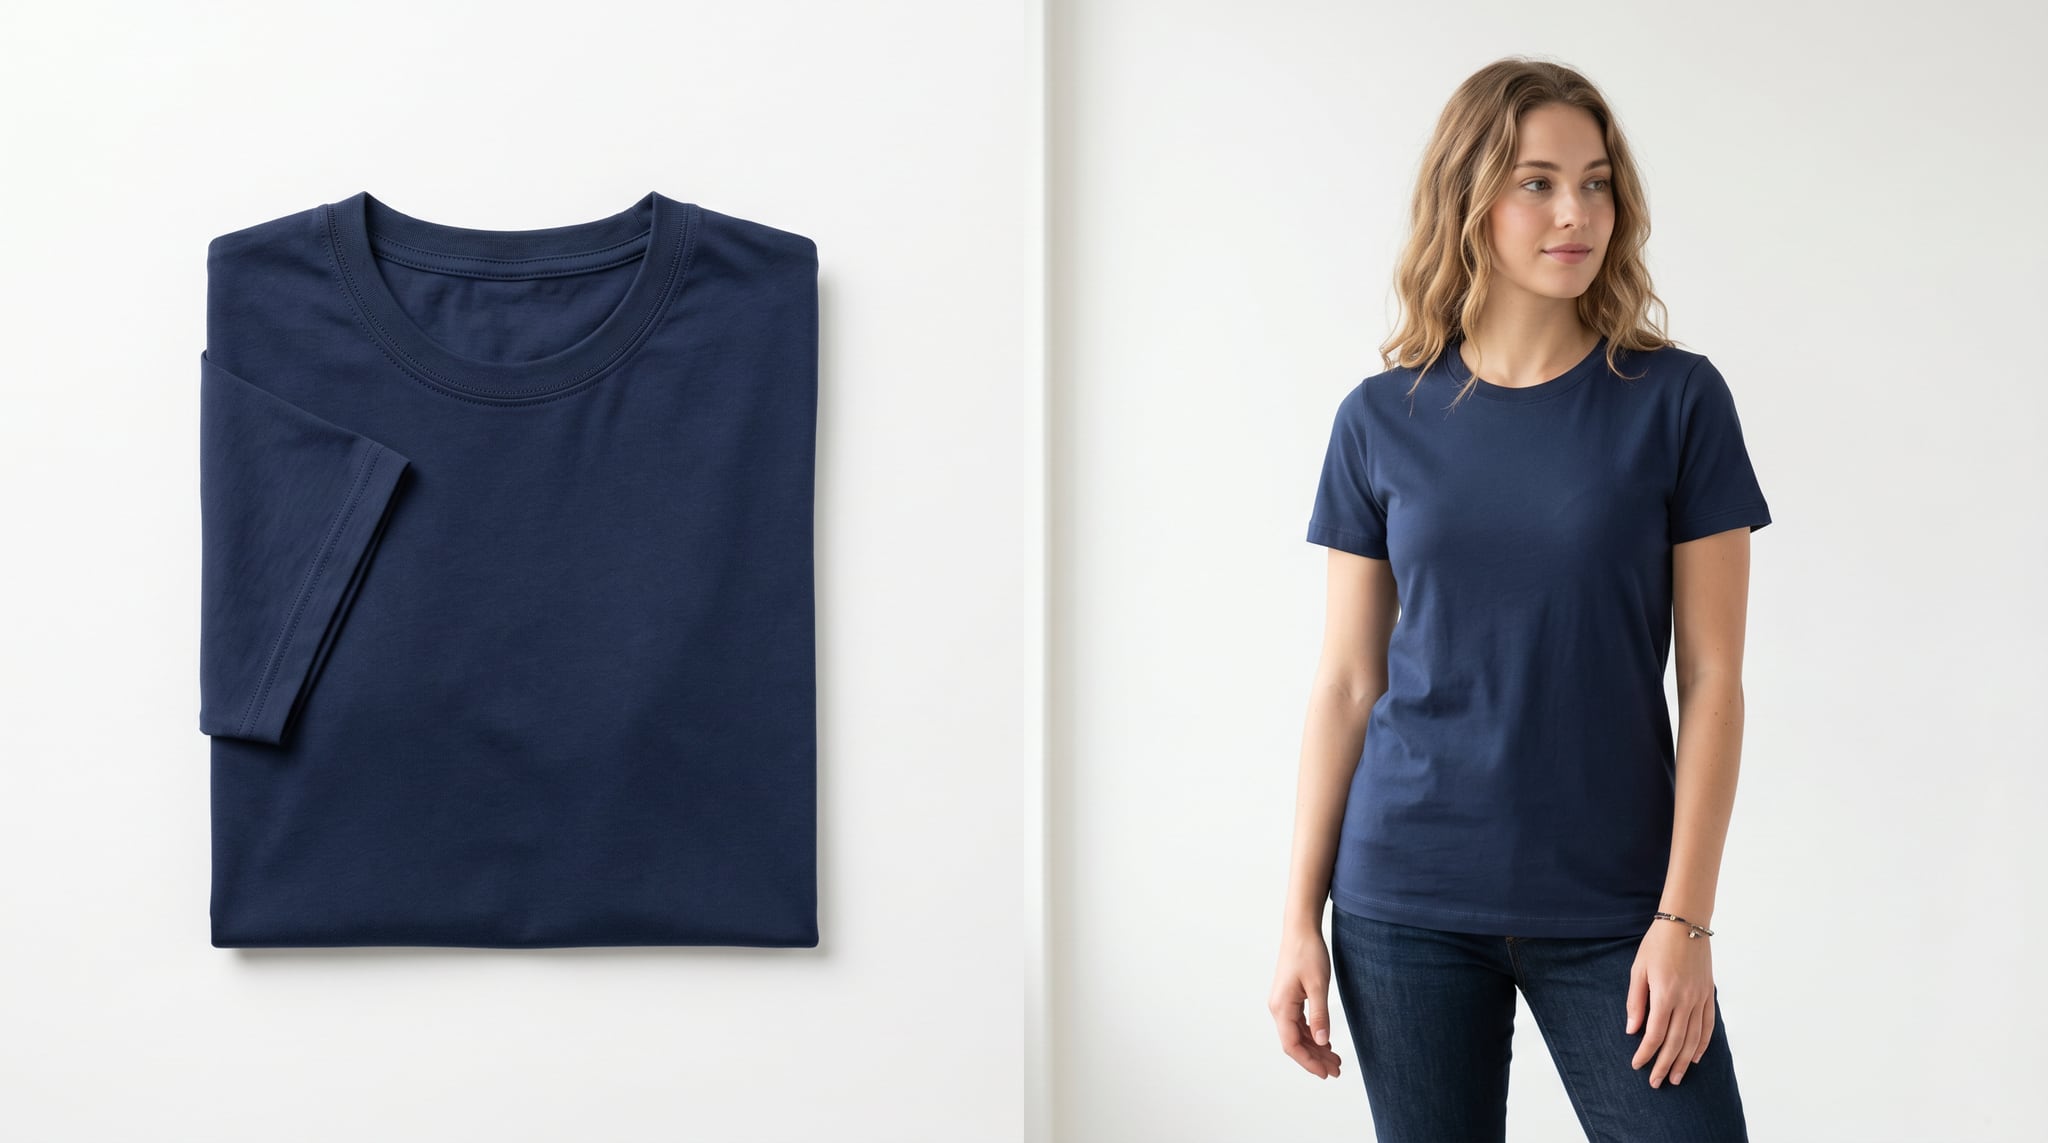
A flat lay sells the garment. An on-model photo sells the feeling of wearing it — how the fabric falls, where the hem lands, how the print sits across a shoulder. For apparel sellers that gap is real money: shoppers convert better when they can picture clothes on a body instead of folded on a table. The problem has always been cost. A model, a photographer, a studio, and a half-day of styling for every product line is a budget most small brands don't have.
Flatlay to model AI closes that gap. With the right workflow you can take the shots you already have — a flat lay, a ghost-mannequin cutout, or a mannequin photo — and generate diverse, believable on-model images without booking a single shoot. The same approach works whether you're converting a ghost mannequin to model AI output or starting from a plain folded-garment photo. The catch is that "the right workflow" matters far more than the tool: most results that look fake fail at the same two points, and both are avoidable. This guide walks you through the whole process, from prepping your input to culling your final set in Oxava.
Why on-model beats flat lays for conversion (and when flat lays still help)
On-model imagery does something a flat lay structurally can't: it shows proportion. A shopper sees the sleeve length relative to a wrist, the silhouette relative to a torso, the way a relaxed fit drapes versus how a bodycon cut hugs. That visual answer to "will this look right on a person?" is often the difference between an add-to-cart and a bounce.
That said, flat lays aren't obsolete — they're a different job. Keep them for the detail slots in your gallery: stitching close-ups, fabric texture, the exact print at full scale, the inside of a collar. The strongest product pages usually pair both — an on-model hero that sells the vibe, then flat or close-up shots that prove the craftsmanship. The goal here isn't to replace flat lays; it's to add the on-model layer you previously couldn't afford. If you want to go a step further and place those on-model shots into styled scenes, that's the territory of AI lifestyle product images.
Prepping your input: the single biggest lever on realism
Here is the principle that quietly governs every result you'll get: the cleaner your input, the less the AI has to invent. Realism is not won in the prompt — it's won in the photo you feed the model. When something is missing or ambiguous, the AI fills the gap with a guess, and guesses are where the "fake" look comes from. So before you generate anything, get your input right.
A few rules that consistently pay off:
- Use a plain or transparent background. A garment isolated on white (or a cutout PNG) lets the AI focus entirely on the clothing. A busy background bleeds colors and textures into the result and invites the model to reinvent edges.
- Show the full garment — no cropped hemlines. If the bottom of the dress is cut off in your flat lay, the AI invents a hemline, and invented hemlines rarely match your actual product. Every edge that's visible is an edge the AI doesn't have to fabricate.
- Strip unwanted styling. Stray pins, clips, folds that hide the cut, a mannequin's visible hardware — clean these up first. The AI treats whatever it sees as intentional.
- Capture front and back when you can. A separate back-angle shot dramatically improves pose accuracy and lets you generate rear-view photos that actually match your garment instead of a hallucinated back.
If your starting shot has a distracting background you can't reshoot, fix it before the on-model step — our background removal and replacement guide covers exactly how to isolate a garment cleanly so the on-model stage has a clean canvas to work from.
Preserving fit, fabric drape, and prints and logos
This is where amateur results fall apart and careful ones win. A photoreal model wearing a print that's subtly the wrong scale, or a logo that's slightly melted, reads as fake instantly — even to shoppers who couldn't tell you why.
Pattern scale is the trap most people fall into. A common mistake is uploading a tight close-up of fabric as your reference. The AI then assumes that swatch is the scale of the print, and you get a polka-dot tee where the dots are the size of dinner plates, or a pinstripe blown up into bold bars. Always give the print at its true, in-context scale — a full-garment shot where the pattern reads at the size it actually appears on the product.
Logos and text need the strongest source you have. Crisp, legible, head-on captures survive the transformation far better than blurry or angled ones. If a logo matters, make it unmissable in the input.
Describe the fit in words, because the AI can't read your intent from a flat shape. A garment lying flat doesn't announce whether it's meant to be oversized, relaxed, tailored, or bodycon — so tell it. Words like "oversized boxy fit," "relaxed drape," or "fitted bodycon silhouette" steer how the fabric falls on the body. Describing fit and drape in concrete, visible terms is the same discipline that makes any image prompt work — if that idea is new to you, our guide to writing AI image prompts breaks down the layered approach.
Finally, multiple angles compound fidelity. Feeding a front and a back view gives the AI more truth to anchor to, so it invents less and matches more.
Choosing the model, pose, and scene
Once your garment is locked in, the human and the scene are your creative levers — and they're where you build a catalog that feels like your brand.
Model and demographics. Pick a model whose look fits your customer. If you sell to a specific demographic, generate models who reflect it — and if you sell broadly, generating a diverse set across ages, body types, and skin tones isn't just ethics, it's better merchandising. Shoppers picture themselves more easily when they see someone like them.
Pose: preset versus custom. Most workflows offer ready-made poses (standing, walking, three-quarter turn) that are reliable and fast — start there. Reach for a custom pose description only when the garment needs it: a flowing dress reads better mid-stride, a structured jacket better in a relaxed stance with hands in pockets. Avoid complex, contorted poses; they stress the fit fidelity you worked to protect.
A note on accessories — know the risk tiers. Not all accessories behave equally. Simple ones like hats and sunglasses are usually workable. Complex jewelry — layered necklaces, detailed rings, intricate earrings — tends to fail, rendering as warped or melted metal. If an accessory isn't essential to the sale, leave it out; if it is, treat it as its own product and verify it closely.
Scene. For straight catalog work, a clean studio backdrop keeps attention on the clothing and reads as professional. Save the elaborate environments for lifestyle and campaign imagery, where the setting is part of the story.
Avoiding the "fake AI model" look
The single most effective anti-fake tactic isn't a better prompt — it's consistency. The "AI catalog" look that shoppers learn to distrust usually comes from chasing a different model, pose, and background in every single shot. The fix is the opposite instinct: lock a template and reuse it.
Decide on one model, one pose family, and one background, and run your whole product line through that template. Suddenly your catalog looks like a real photoshoot — same person, same studio, same day — instead of a grab-bag of stock faces. Consistency is what reads as professional; variety is what reads as generated. This is the same logic behind keeping a coherent look across all your marketing, which we cover in our brand visual consistency guide.
Two more habits that quietly raise the floor:
- Write plain, specific prompts. Skip the dramatic adjective stacks ("stunning, hyper-detailed, award-winning"). Describe the real scene plainly: "young woman, natural standing pose, soft studio light, plain light-grey background." Overwrought prompts push the model toward an artificial, over-stylized output.
- Generate 3–4 variations and cull. No single generation is reliably perfect. Produce a small batch, then reject the ones with off hands, warped seams, or a drifting print, and keep the best. Culling is part of the workflow, not a sign something went wrong.
Step-by-step flatlay to model AI workflow in Oxava
Here's the concrete workflow, start to finish, in Oxava's studio. The key is image-to-image with reference support, which keeps your real garment's fabric and print intact instead of generating a lookalike from scratch.
- Prep the input. Following the rules above, get a clean shot of your garment — plain or transparent background, full garment visible, distractions removed, and a back-angle shot if you have one.
- Open the studio and start an image-to-image generation. Head to /app and upload your prepped flat lay (or mannequin / ghost-mannequin shot) as your reference image. This is what anchors the fabric, color, and print to your real product.
- Write a plain, specific prompt. Describe the person, the fit, the pose, and the scene in concrete terms — for example: "on-model photo, young woman wearing this oversized cotton tee with a relaxed drape, natural standing pose, soft studio light, plain light-grey background, photorealistic." Let the reference carry the garment; let the prompt carry the human and the scene.
- Generate a small batch. Produce 3–4 variations rather than one. Use the Enhance feature if you want your short brief expanded into a fuller, model-friendly prompt while keeping your reference intact.
- Cull and lock your template. Reject the weak outputs, keep the strongest, then reuse the same model description, pose, and background settings for the next product so your catalog stays consistent.
- Refine if needed. If a result is 90% there but one detail is off — a seam, a background smudge — fix just that region instead of regenerating the whole image. That targeted approach is our image-to-image editing workflow.
- Finish for the storefront. Crop to your catalog ratio (1:1 for product cards), and upscale the keepers if you need print-grade resolution.
Because every step runs on your real garment via the reference, the output is your product on a model — not a generic AI approximation of it. For the broader picture of building a full product-image pipeline this way, see our pillar guide to AI product photography.
Frequently Asked Questions
Does this work with ghost-mannequin and mannequin shots, not just flat lays?
Yes. Ghost-mannequin and mannequin photos are often better inputs than flat lays, because they already show how the garment sits in three dimensions — the shoulders, the drape, the volume. The same input rules apply: a clean background, the full garment visible with no cropped hems, and a back-angle shot if you have one. The AI just has more accurate shape information to work from.
Will the exact print or logo be preserved perfectly?
Mostly, if you set it up right. Preservation depends on input quality: give the print at its true scale (not a zoomed-in swatch) and the logo in a crisp, legible, head-on shot. Even then, small prints and fine text are the hardest elements, so always inspect the keepers closely and cull any with a drifted or warped print. For products where exact text fidelity is critical, pair the on-model hero with a sharp flat-lay detail shot.
How many photos should I generate per product?
Generate 3–4 variations per product and keep the best one or two — no single output is reliably flawless, so a small batch plus culling is the realistic workflow. For the product page itself, one strong on-model hero plus a couple of flat or close-up detail shots usually does more than a dozen near-identical on-model angles.
Can I reuse one model across my whole catalog?
Yes, and you should — it's the single most effective way to avoid the "fake AI catalog" look. Lock one model, one pose family, and one background as a template, then run every product through it. The result reads like a coherent photoshoot rather than a set of unrelated generated images, which is exactly what makes a catalog look professional.
Start your flatlay to model AI workflow today
On-model apparel imagery used to mean a model, a studio, and a budget. Now it means a clean input, a plain prompt, and a consistent template. Get the input right, describe the fit in words, protect your print scale, lock one model across the line, and cull your batches — do that, and the gap between "AI-generated" and "real photoshoot" all but disappears.
The fastest way to see it work is to try it on a product you already sell. Open the Oxava studio, upload one flat lay or ghost-mannequin shot as a reference, and generate your first on-model photo — then reuse that template across your entire catalog.
Oxava Team
From the Oxava content team. Writing about the creative side of generating images and video with AI.
Related Articles
ALL POSTS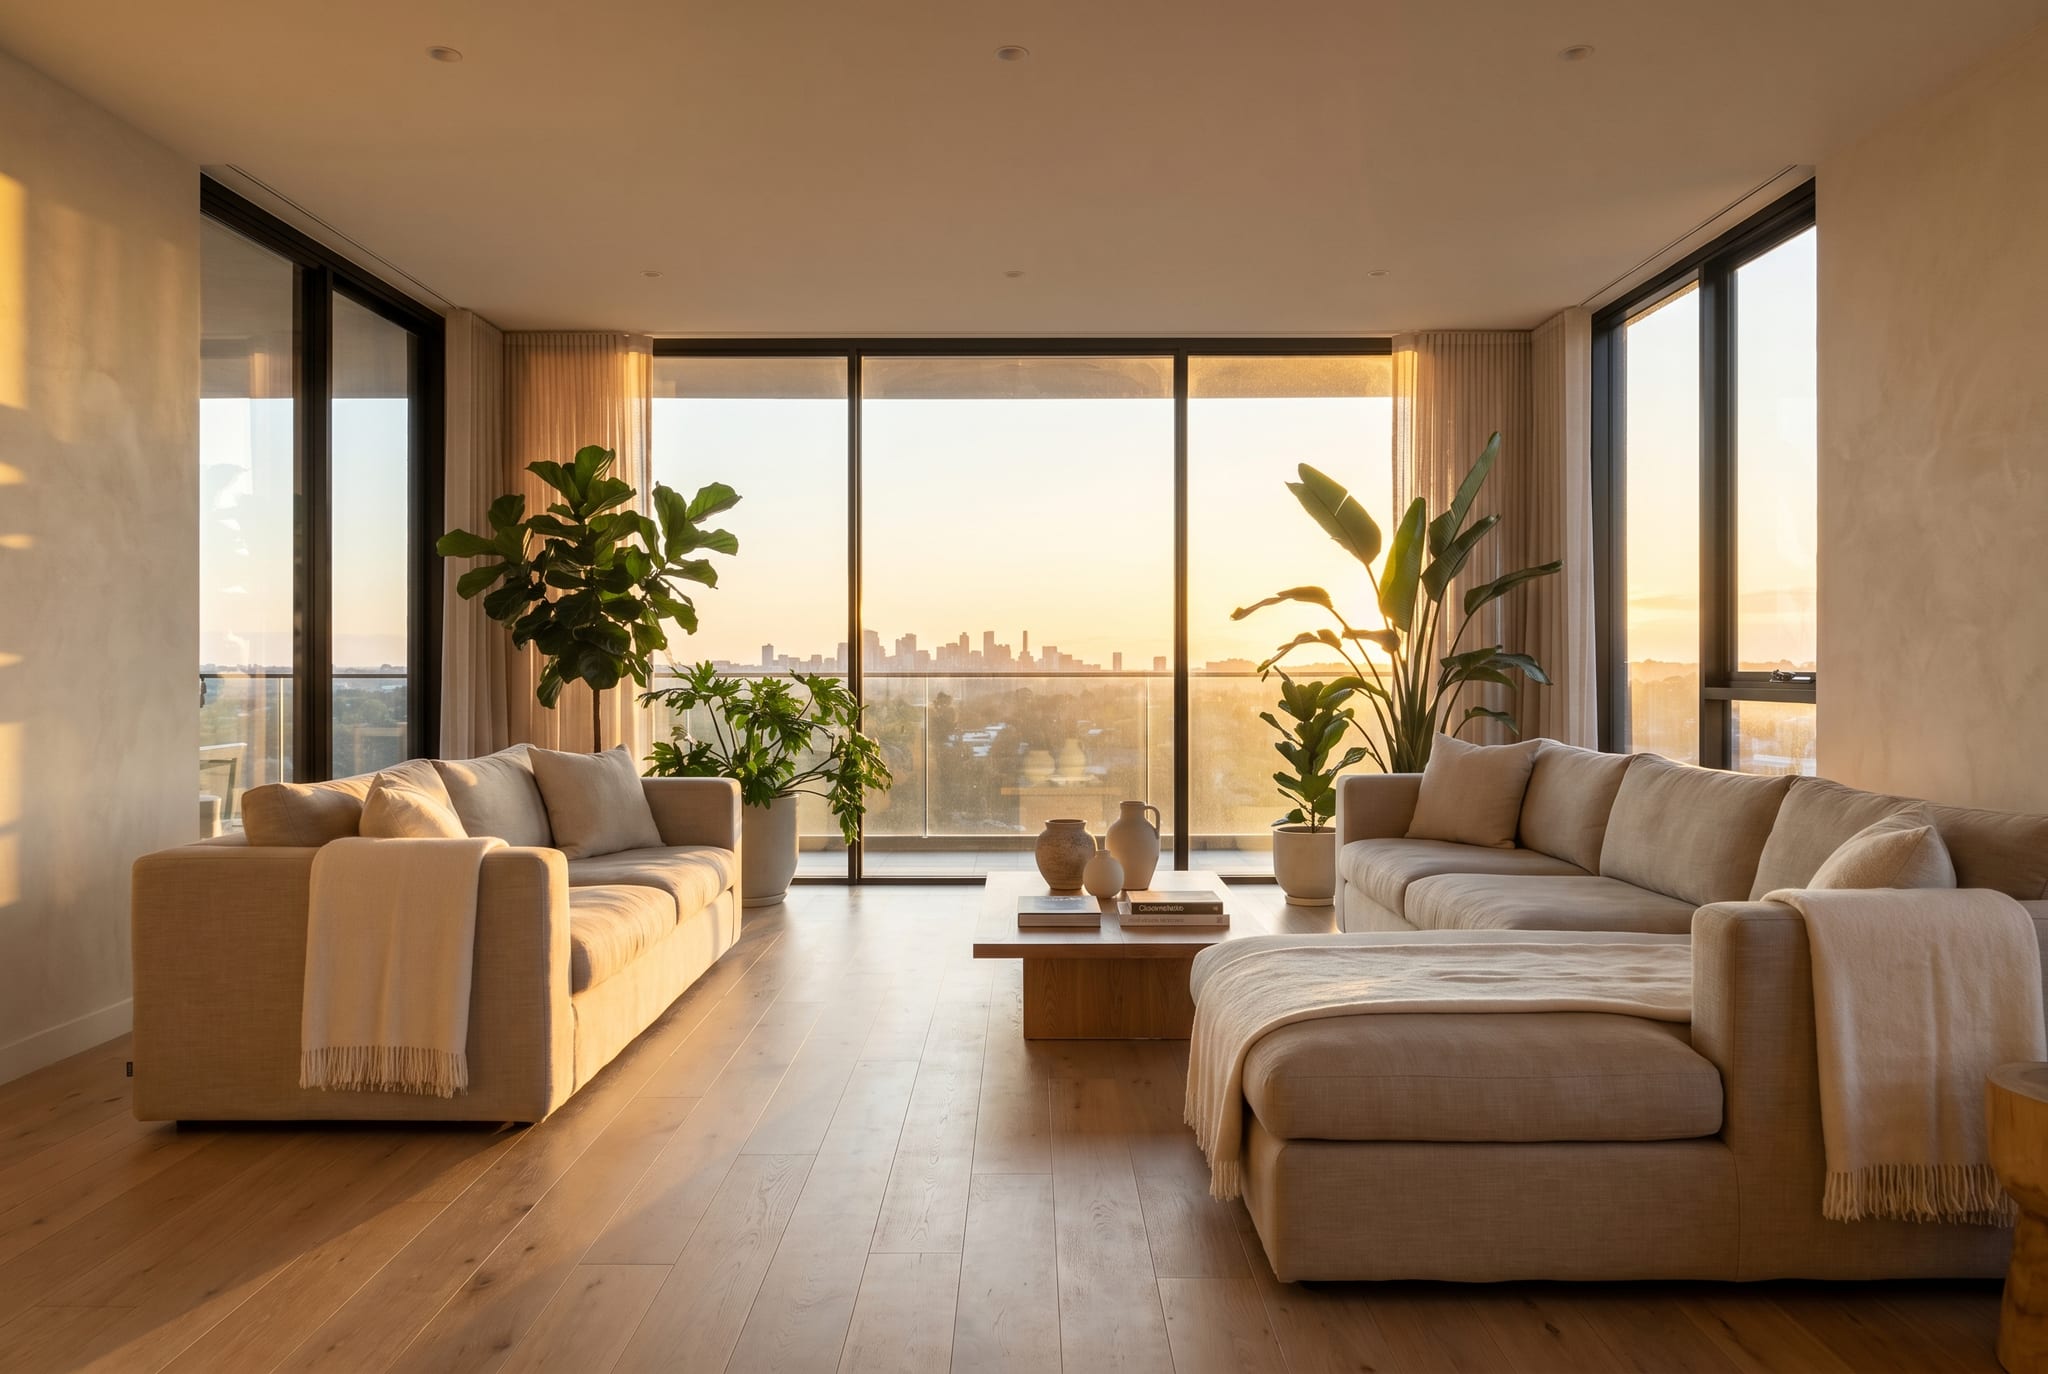

Subscribe to our newsletter
Be the first to hear about new techniques, model updates and ideas on AI generation.