
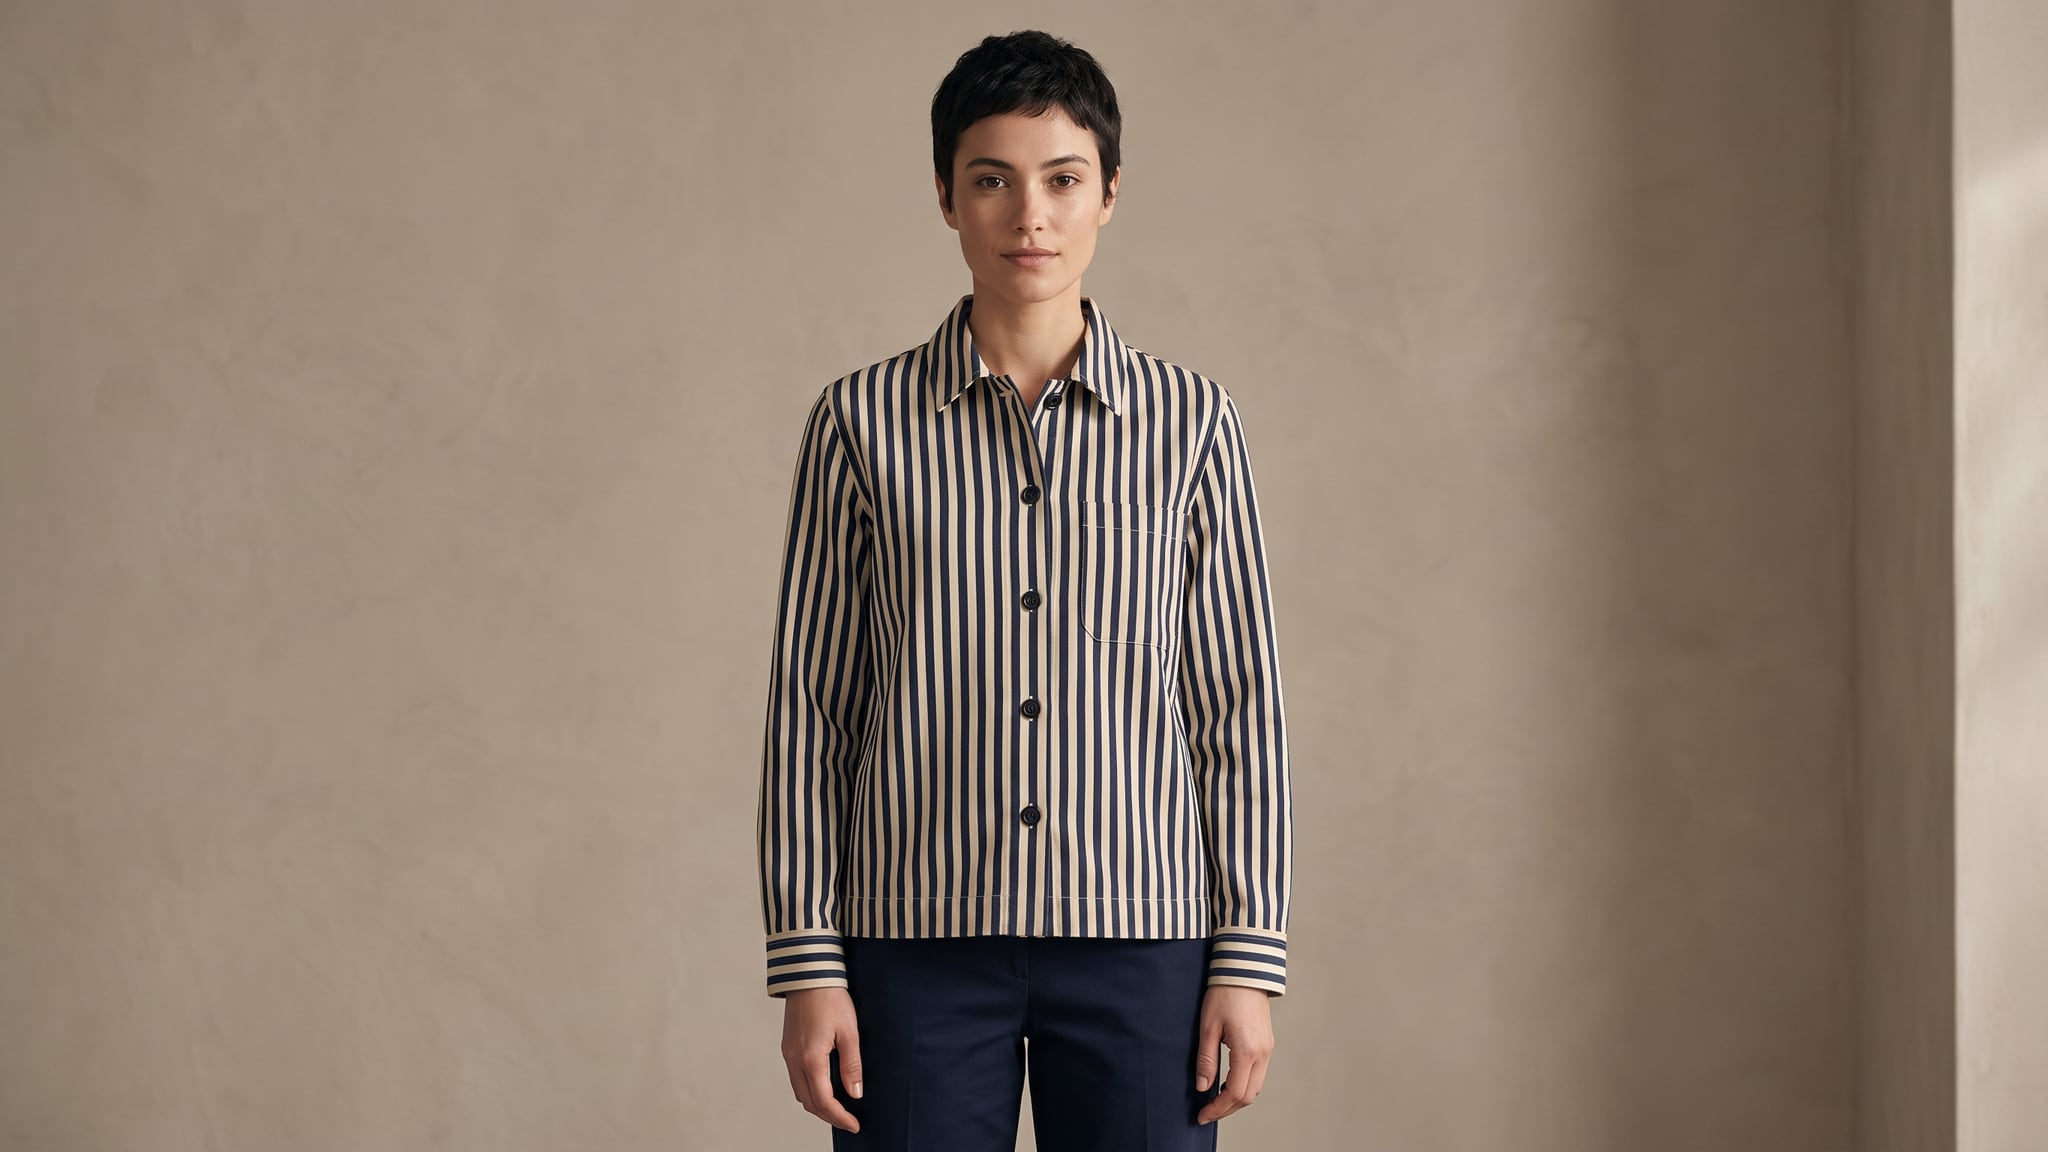
Plan your AI fashion video from photos
A clothing clip can look polished while a chest pocket disappears halfway through a turn. When you make AI fashion video from photos, keeping the advertised garment recognizable across time deserves as much attention as the opening frame. The useful question is whether the entire shot still represents the item you sell.
Start with one garment, one approved image, and one modest movement. This guide gives you a way to document the source, choose that movement, and decide whether the generated result belongs in your campaign. The checklists and motion choices below are proposed working methods, not a tested performance benchmark.
A generated fashion clip is a promotional visualization. It cannot establish actual fit on a particular shopper, stretch recovery, fabric weight, opacity, or physical drape. Keep real product photographs and measurements available. If your message depends on showing a waistband stretching or a skirt moving in a particular way, film the actual garment for that demonstration.
Your starting material determines the next step:
| What you have | What to do before generating motion |
|---|---|
| An approved photograph of someone wearing the actual garment | Check the visible construction and choose a movement within that view. |
| An AI-generated image of someone wearing the garment | Compare the still with real garment photographs; correct or replace any inaccurate details first. |
| A flatlay or ghost mannequin image only | Prepare and approve an on-model still if the intended clip shows a person wearing it. |
For that last route, use our guide to preparing on-model apparel images from flatlays. Treat approval of the still as a separate task. Uploading a clothing photograph to a video mode does not, by itself, establish that the mode supports virtual try-on.
Throughout this guide, imagine a navy-and-cream striped overshirt with one left chest patch pocket, five visible front buttons, and a straight hem. This is a fictional planning example; we have not generated or tested its video. Replace those details with what your own reference actually shows.
Build a garment reference sheet before uploading
Create a small document outside the studio with the SKU, colorway, approved input image, and photographs used to check it. Add the intended framing and the features that must remain visible. This becomes the common reference for whoever generates the shot and whoever approves the final export.
Shopify's clothing photography guide recommends planning the garments, variations, and angles before shooting. It also advises photographing front, back, and side views, adding close-ups of pockets, texture, and stitching, and correcting colors accurately during editing. Those recommendations provide a useful photographic foundation for the reference material you collect before planning any generated garment motion.
For the fictional overshirt, the reference sheet might contain these observations:
- Pocket: one patch pocket on the wearer's left chest; record its edge and the stripe crossing it.
- Fastenings: five buttons visible in the approved framing; note their spacing along the placket.
- Pattern: navy and cream stripes; identify where a distinctive stripe meets the collar and pocket.
- Outline: straight hem, visible cuffs, and two collar tips with clearly readable edges.
- Shot boundary: frontal view, arms beside the body, no claim about the unseen back.
Use the wearer's left and right consistently. A note saying only “left pocket” can confuse a reviewer looking at a mirrored preview. Include an annotated copy for human reference if helpful, while keeping the actual generation input clean.
Inspect the still at the size you will deliver. A full-body photograph might show the overall silhouette but make small lettering impossible to judge. If lettering is the campaign's main feature, choose a closer composition where you can read it. If your source already blurs two buttons together, you lack a clear basis for approving their appearance later.
Your supporting photographs are review evidence. They do not automatically become additional conditioning inputs for the selected video mode. Confirm that mode's actual capabilities before planning a workflow around multiple uploaded references.
Keep the allowed view specific. With evidence of only the front, plan a frontal shot. To show the back, obtain a real rear photograph and prepare a separate approved shot. This gives the reviewer an actual comparison instead of asking them to accept a plausible invention.
Choose movement around the garment's vulnerable details
A full turn introduces surfaces that a front photograph cannot document. A hand passing over a print creates a moment when the detail disappears and must return. Consider those events when deciding whether a more elaborate movement adds enough value to justify the extra inspection.
The table offers conservative starting choices. It is an editorial planning aid, not a ranking of model reliability.
| Garment feature | A useful first motion brief | What deserves close inspection |
|---|---|---|
| Printed tee or striped shirt | Frontal posture with hands beside the body | Letter shapes, stripe boundaries, print position, and scale |
| Tailored jacket | Modest frontal movement with the lapels exposed | Button count, lapel edges, pocket openings, and shoulder outline |
| Pleated or flowing skirt | Restrained pose or camera movement around an approved view | Pleat continuity and invented movement; use real footage for drape claims |
| Fine knit, lace, or sequins | Small movement with the material clearly visible | Texture shimmer, filled-in openings, and surfaces becoming falsely glossy |
For the overshirt, begin with the camera held still and the model maintaining a frontal pose. You can then consider a gentle camera approach or a small weight shift as separate alternatives. Combining a turn, moving camera, and sweeping arm gesture immediately makes it harder to isolate where a garment change begins.
Choose movement for a reason. A gradual approach can draw attention to the collar and chest area. A full-length held view can keep the hem in context. If the shot needs to communicate the entire silhouette, do not move so close that the viewer loses the garment's boundaries.
For help naming a movement precisely, our guide to camera and subject motion in AI video prompts provides the broader vocabulary. Here, the practical constraint is the garment detail you need to keep inspectable.
Generate one shot and change one variable
Runway's image-to-video prompting guide treats the input image as the source of the scene's composition and appearance, while the text mainly directs movement. It recommends starting with the essential motion and refining the prompt through iteration. The guide is written for Runway's Gen-4.5; use this as a planning heuristic rather than evidence that every video model available in Oxava will respond identically to the same instructions.
Once your still passes review, open the Oxava studio and choose a currently available mode that accepts an image for video generation. Upload the approved image, select the duration and aspect ratio offered by that mode, and write a short movement description. Generate the shot, then download it for review alongside your reference sheet.
Keep the first attempt narrow enough to evaluate. Record the source filename, selected model and settings, prompt, and output filename in your own notes. That small record prevents confusion when two attractive clips come from different source versions.
The following are untested starter prompts, written for the fictional overshirt example. They describe intended motion, not a guarantee of garment preservation.
Option A: a held frontal view
The person holds a relaxed frontal pose with their arms at their sides. Their expression softens slightly. The camera remains stationary, framing the striped overshirt from collar to hem in steady studio light.
Option B: a gentle camera approach
The person stays in a relaxed frontal pose, hands beside their body. The camera moves gently closer to the upper torso, ending with the collar and chest pocket clearly in view. The studio lighting remains steady.
Option C: a small posture change
The person shifts their weight slightly while facing the camera, arms resting at their sides. The front of the striped overshirt remains visible from collar to hem. The camera holds its position in steady studio light.
Start with one option. If you want to compare camera movement, keep the still, subject action, and output settings constant while changing the camera instruction. Record any settings the interface exposes; you cannot assume that all other generation conditions are controllable.
A second attempt might produce a different defect, so review it independently. Words such as “accurate” or “preserve” do not prove that a pocket stayed in place. When a problem persists, simplify the action or replace an unclear source image before adding a longer list of commands.
Review garment consistency across the entire clip
The ChronoTailor research paper identifies preservation of garment textures, patterns, and folds across moving frames as a challenge in video virtual try-on. That specialized research concerns a different task from this workflow. It does not evaluate Oxava or establish how any particular image-to-video model will perform.
Give review its own place in your production schedule. A strong opening frame, attractive face, or smooth camera move can distract from a changing garment. Work through three passes with the source image beside the downloaded video.
First, watch the whole shot at normal speed
Watch without captions or music. Look for sudden changes in silhouette, flickering texture, or a visible feature that draws attention because it shifts unexpectedly. Also check the person's hands and their contact with the clothing. A malformed hand can obscure the very area you need to approve.
Write down timestamps for anything uncertain. Do not rely on remembering “somewhere near the turn” after viewing several alternatives. A short note such as “pocket edge changes as the right hand lowers” gives the next pass a precise target.
Then scrub through the full timeline
Use a player or editor that lets you move through the downloaded clip carefully. Compare the opening, closing, largest pose change, and every moment an arm covers or reveals the garment. These checkpoints help you find trouble, but a few sampled frames cannot prove that the intervening frames are correct. Scrub the entire clip and step through the frames around each discontinuity.
For the overshirt, follow the pocket boundary, button sequence, and distinctive stripes. Check whether the same visible features remain attached to the same garment locations as the body moves. Some perspective change is expected; an additional pocket, rewritten graphic, or stripe that migrates independently needs investigation.
Separate a temporary obstruction from a changed product. A button hidden behind a hand may be reasonable. A button that remains missing after the hand moves away is a different issue. If blur prevents you from deciding, mark that feature unresolved rather than treating uncertainty as a pass.
Use a reject-and-retry decision table
| What you find | Approval decision and next attempt |
|---|---|
| A visible button or pocket appears or vanishes | Reject the shot; reduce subject movement and keep hands away from that area. |
| Graphic lettering or stripe boundaries morph | Reject; reduce angle changes and choose a source where the relevant detail is clearer. |
| A hem or cuff changes length unexpectedly | Reject; inspect the source edges and try a more restrained pose. |
| The garment changes color without a credible lighting change | Compare source and output side by side; try steadier lighting and review again. |
| The clip reveals an invented back or side construction | Do not approve that view without real evidence; prepare a separate supported shot. |
| A textured surface becomes smooth or plastic-looking | Try a clearer source or closer composition; retain the real still if texture remains unreliable. |
These actions are troubleshooting choices, not guaranteed fixes. A quieter retry still needs the complete review. If repeated attempts cannot represent a selling detail accurately, use the approved photograph or real footage for that part of the campaign.
For each candidate, record one of three decisions: approved for the stated use, rejected with a specific defect, or unresolved because a feature cannot be inspected. For example, a hypothetical note might read: “Version B rejected: the pocket seam separates from the stripe during the approach.” It describes what to revisit without claiming that another prompt has already solved it.
Trimming can be appropriate when the retained segment has been checked throughout and supports the intended message. Do not crop away an inaccurate detail while still making a claim about that feature. Captions and music belong after garment approval; they cannot repair a false product depiction.
When the shot passes, use our storyboard guide to plan the rest of a fashion ad and vertical video framing guide for delivery. Make cuts and add text in your chosen editor, then inspect the exported file again. Check that the final crop, overlays, and compression still let viewers see the details you approved.
Frequently Asked Questions
Can I make an AI fashion video from a flatlay?
If the intended video shows someone wearing the garment, first prepare an on-model still and compare it with the actual item. Approve its construction and graphics before generating motion. A flatlay alone does not demonstrate how the garment fits a person.
Can AI keep a clothing print or logo identical in every frame?
Do not assume it will. Use a clear reference, keep the movement appropriate to the visible detail, and inspect the full clip. If the graphic changes, reject that shot or use a real photograph or recording for the graphic-led message.
Can one front photograph produce an accurate 360-degree turn?
One front photograph does not document the back and every side detail. A generated turn may invent those surfaces. Obtain additional real views and build separately approved shots when you need to show them.
Does an AI clothing video show real fit or fabric movement?
It cannot verify those properties. Use actual measurements, real on-model photography, and filmed garment demonstrations for claims about fit, stretch, transparency, or drape. Generated movement can support a visual concept without serving as evidence of physical behavior.
What if the opening frame looks good but the garment changes later?
Review where the change begins and record the specific defect. Simplify the movement or improve the source for the next attempt. Keep a shorter segment only if you have checked all of it and it still presents the garment honestly.
Start your AI fashion video from photos with one carefully scoped shot. Upload an approved garment image in Oxava, generate a restrained movement, and compare the full result with your reference sheet. Expand to another garment only after you have a review process you can repeat.
Oxava Team
Egemen Küpçü is the founder of Oxava, with 10+ years of hands-on experience in 3D and visual production. He writes about the craft of generating product, brand and campaign visuals with AI.
Related Articles
ALL POSTS
Subscribe to our newsletter
Be the first to hear about new techniques, model updates and ideas on AI generation.