
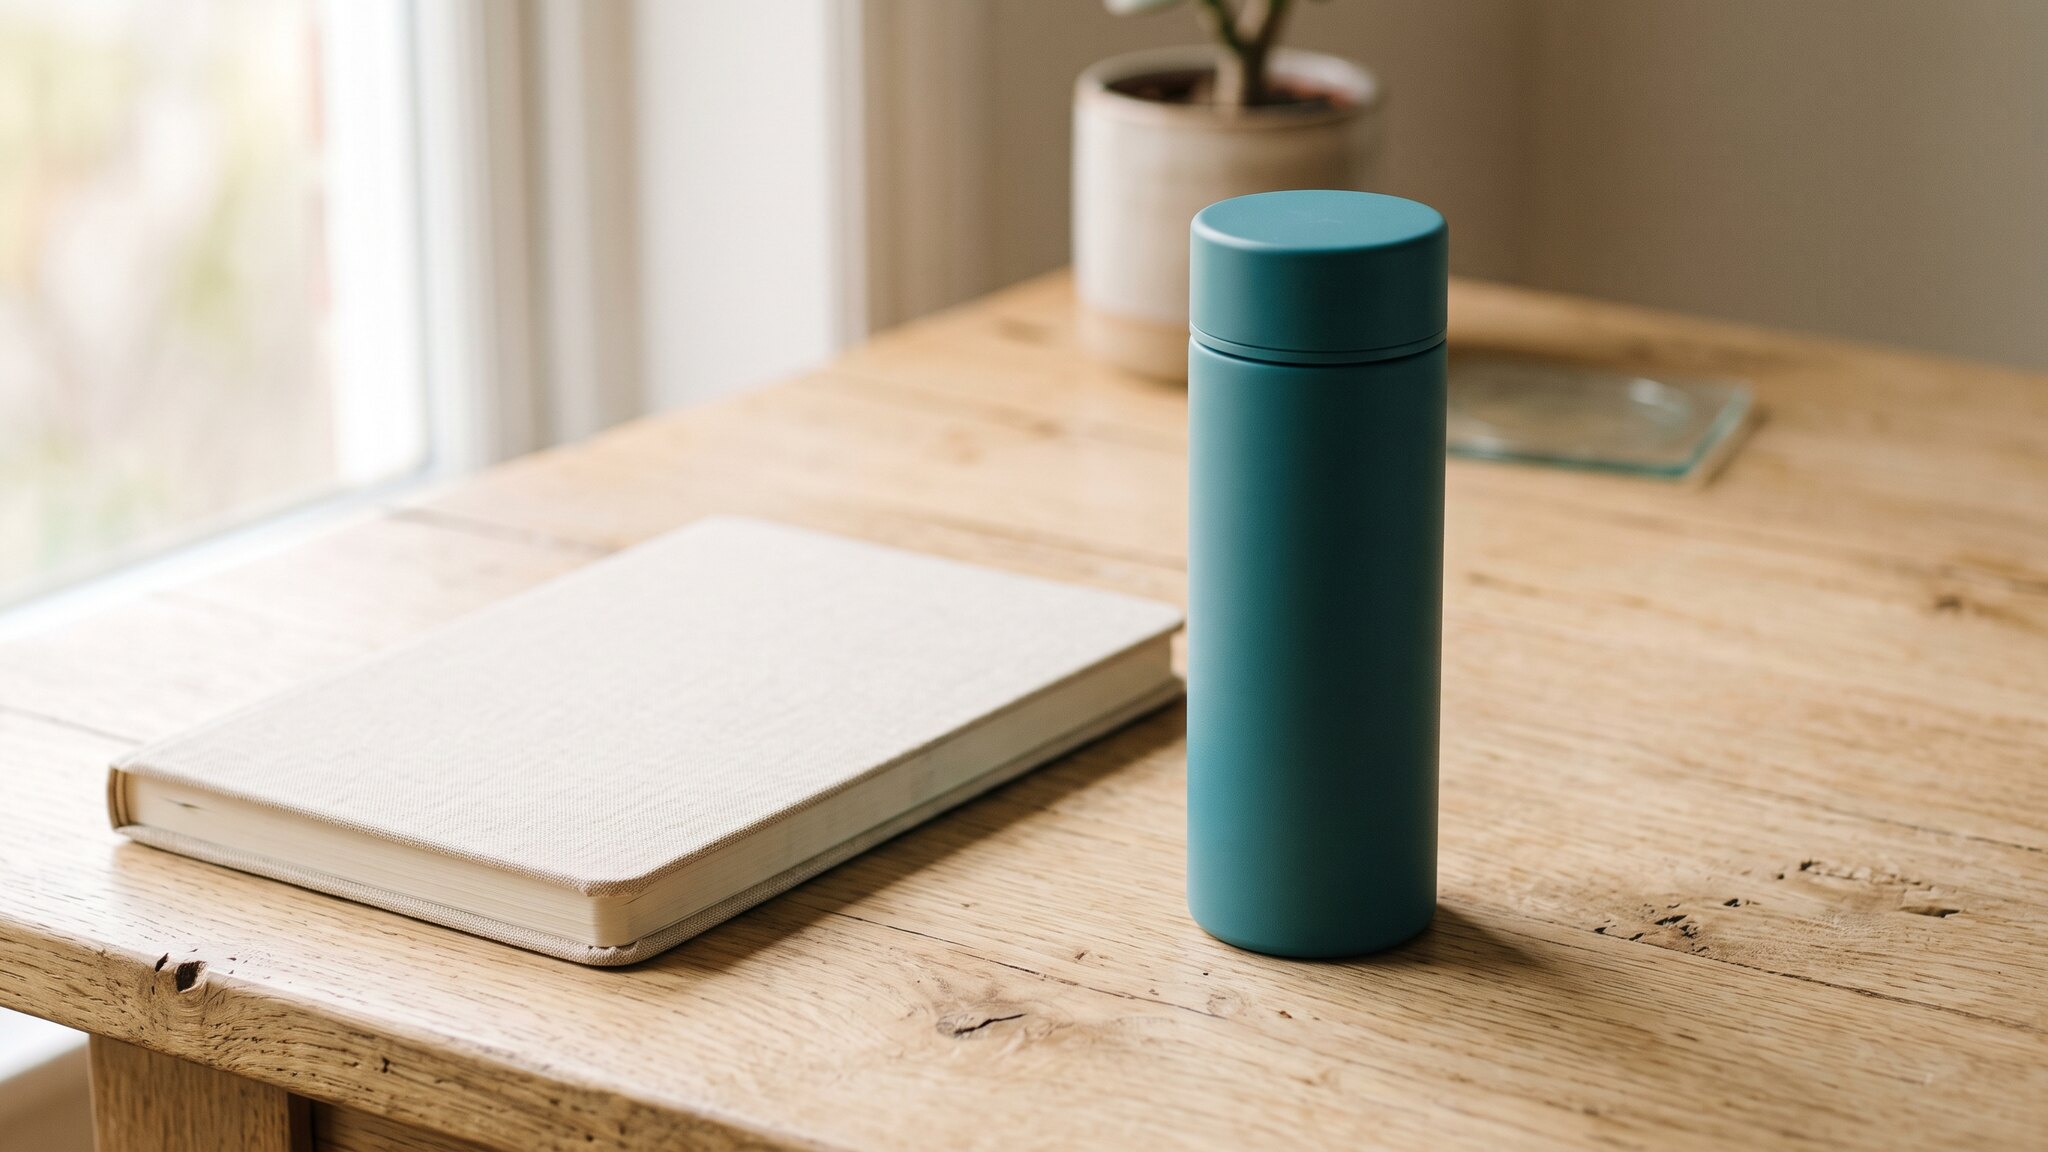
A beautiful product scene can still give shoppers the wrong idea. A travel bottle looks as large as a thermos. A bedside lamp appears tall enough for the floor. The label is convincing, but the relationship between the product and its surroundings is wrong. AI product image scale needs a deliberate check before the image earns a place in your catalog.
The practical approach is to start with measured dimensions and real reference photos, keep perspective simple, and review proportions separately from scene size. A prompt can describe a 12 cm product; it cannot certify that the generated image represents 12 cm accurately.
This guide focuses on that gap between looking plausible and communicating size honestly. For the broader capture-to-catalog workflow, start with our AI product photography guide.
What AI product image scale actually means
Three checks are easy to confuse:
| Check | Question to ask | Example failure |
|---|---|---|
| Product proportions | Do the product's parts keep their correct relationships? | A bottle becomes wider while its height stays unchanged |
| Contextual scale | Is the product a believable size relative to the scene? | A small candle dominates a full-size dining chair |
| Physical dimensions | Are the stated measurements supported by the actual item? | An attractive image is used as evidence that a lamp fits a shelf |
A product can pass one and fail another. A perfectly shaped bottle can be placed too large on a desk. A correctly sized silhouette can still have an oversized lid.
Image resolution is a separate issue. A 2,000-pixel-tall object has no fixed height in centimeters. Its apparent size also depends on camera position, perspective, and framing. OpenCV's camera calibration documentation explains how a 3D point projects onto a 2D image and why the projection contains scale ambiguity. You need additional information to connect pixels with real-world dimensions.
This also explains why two objects beside each other in a picture are not necessarily a valid size comparison: one may be nearer the camera. Keep that distinction in mind whenever you compare a product with a hand, mug, notebook, or piece of furniture.
Build a reference pack before writing the prompt
Record the dimensions of the actual SKU
Measure the item or use verified manufacturer specifications. Record height, width or diameter, and depth, plus any dimension that changes its use: handle projection, strap length, base diameter, or clearance with a lid open.
Be explicit about what the measurements include. “Height: 120 mm, including the closed cap” is more useful than “small bottle.” Keep packaging dimensions separate from product dimensions. A box that fits a large bottle does not tell the model how large the bottle itself should look.
For this guide, imagine a fictional travel bottle that is 120 mm high including its cap and 40 mm wide at the body. These are example dimensions, not specifications for a real product or a tested generation result.
Capture shape and scale in separate reference photos
Prepare a clean front view for silhouette checking and a three-quarter view if the final scene needs depth. Keep the entire product visible. Avoid a very close, tilted phone shot when your intended result is a straight, level catalog view.
Then photograph the real product beside a measured comparison object. For our example, use a rigid rectangular reference block exactly 100 mm tall. Place both upright on the same surface, with their comparison faces at approximately the same distance from the camera, and photograph them straight on with the camera level.
That reference records an actual relationship. A generated ruler or a made-up “standard mug” does not establish one. Hands, books, and cups can help shoppers interpret a scene, but their sizes vary; treat them as contextual cues unless you know the specific object's dimensions.
Choose what must remain unchanged
Write a short approval note before generation:
- Correct SKU and size variant
- Body silhouette and height-to-width relationship
- Cap height, handle size, and other distinctive parts
- Color, material, label, and visible accessories
- Relative size beside the selected scene reference
Use the original product photo as your identity source throughout the job. Repeatedly using a generated result as the next reference can make a changed silhouette harder to notice. Our named reference image guide explains how to assign different roles to source images in Oxava.
Choose a workflow that gives you enough control
Generate a scene when visual context is the goal
In the Oxava studio, choose an image model that accepts references and attach the real product photo. Describe which image supplies the product and which supplies the setting. Start with one straightforward scene rather than a room full of competing size cues.
Reference-based generation can be useful for exploring a desk, bathroom, or kitchen setting. It still requires checking. Do not assume that attaching the product makes its outline, label, or dimensions immutable.
Composite the original product when its geometry must stay stable
When the silhouette must remain tightly controlled, keep a clean product cutout on its own layer in an image editor and build the background around it. Resize uniformly, keeping height and width linked, rather than stretching the product to fill an empty space.
Match the background's camera angle to the source photograph. A product photographed from above will look awkward in a scene viewed from countertop level even if its height is correct. Add contact shadows and blending on separate layers where possible, then check the product edge again. Our background removal and replacement guide covers that preparation.
This compositing step is a general image-editing workflow, not a claim that Oxava provides a layer editor or measurement tool. It preserves more control over the photographed silhouette, but you still have to choose a defensible size and placement within the background.
For installation clearances, fitted parts, or exact room layouts, use measured photography or a verified, correctly scaled CAD/3D workflow. A generated lifestyle image alone cannot establish fit.
Write prompts around relationships, not adjectives
“A small premium bottle on a beautiful desk” leaves the important decision open. Small compared with what? A model can satisfy the mood while missing the size.
A more useful brief supplies the product reference, known dimensions, placement, camera viewpoint, and things that may change. The following prompts are starting points for the fictional bottle, not tested outputs or accuracy guarantees.
Prompt 1: establish a controlled review image
Use the attached real product photo as the identity reference. Show the same travel bottle, 120 mm tall including its closed cap and 40 mm wide at the body. Preserve its silhouette, cap-to-body proportion, material, and existing label. Place it upright beside the 100 mm reference block shown in the second photo. Keep both on the same tabletop with their front comparison faces at the same camera distance. Use a level, front-facing camera and soft neutral light. Keep the full bottle and block visible. Do not add measurement text, rulers, or extra objects.
The numeric description gives the model a target; the real comparison photo supplies visual context. Both remain instructions to evaluate, rather than proof that the target was achieved.
Prompt 2: move to a customer-facing scene
Use the attached bottle photo for product identity and the attached approved desk photograph for setting and placement. Show the same compact travel bottle in the marked position beside the notebook. Keep the source camera viewpoint and the bottle's approved size relative to the notebook. Preserve body and cap proportions. Change only the surrounding styling to soft morning daylight and a calm neutral palette. Keep the product fully visible and do not add accessories or duplicate bottles.
Only refer to a marked position if you have actually prepared that reference. A rough placement mockup can communicate the intended relationship more clearly than several extra adjectives.
Avoid combining “tiny bottle,” “fills the frame,” and “wide room view” without explaining the composition. Those instructions pull in different directions. Make one change per iteration so you can see whether the problem is size, viewpoint, or styling.
Also distinguish camera direction from a camera lock. Lens language can describe the look you want, but a phrase such as “85 mm lens” does not calibrate a generated scene. OpenAI's image generation documentation notes limitations in precise composition and consistency, and explains that edit masks may not be followed with exact geometric precision. A preservation instruction or mask still needs an output check.
Check shape first, then relative size
Review the source and candidate side by side before judging the lighting. An appealing finish can make a wrong shape easy to overlook.
Check the silhouette at a comparable viewpoint
For the straight-on bottle reference, compare its visible height-to-width relationship and the cap's share of the total height. Align the source and candidate at the same overall height in an editor, then inspect their outlines.
Do not compare a frontal width with a strongly rotated view as if both should have identical pixel measurements. Perspective, tilt, and visible depth change the silhouette. If the views differ too much, produce a simpler review angle or compare against an additional real photograph.
Look beyond the bounding box. A bottle may have the right overall ratio while its shoulder, neck, or cap has changed. A bag can retain its width while its handle opening becomes implausibly large.
Use a ratio as a practical warning check
With upright objects at approximately the same camera distance and a level viewpoint, a pixel-height ratio can help flag a scale problem. In our controlled example:
- Intended physical ratio: 120 mm bottle ÷ 100 mm block = 1.20
- Candidate image: 360 px bottle ÷ 300 px block = 1.20
- Another candidate: 450 px bottle ÷ 300 px block = 1.50
The second candidate makes the bottle's relative height 25% larger than the intended relationship: 1.50 ÷ 1.20 = 1.25. That is a reason to investigate the scale or viewpoint.
The first candidate passes this one relative-height check. It does not prove physical accuracy: both objects might have been distorted, their depth relationship may have shifted, or other product details may be wrong. The calculation is a review aid under controlled assumptions, not calibrated metrology or a universal acceptance tolerance.
Inspect the contact and the final crop
A product that seems to float can feel the wrong size even when its outline is plausible. Check that its base meets the surface, the shadow starts in a believable place, and nearby objects do not intersect it.
Then review the actual customer-facing crop. Cropping out the notebook removes the very cue that made a small bottle understandable. Check desktop and mobile versions separately. Use our aspect ratio and composition guide when planning those different frames.
Fix the failure without redesigning the product
Use the observed problem to choose the next action:
| What you see | Next action |
|---|---|
| Correct shape, too large beside a known object | Adjust uniform scale or placement; keep the approved product proportions |
| Body widened or cap enlarged | Return to the real source; use a controlled composite if generation keeps changing it |
| Front product feels oversized against distant props | Check camera distance and depth before shrinking the product |
| Hand or furniture changed size | Reject that cue and use a more controlled reference scene |
| Correct draft, misleading mobile crop | Keep a useful size cue or choose a different composition |
Avoid fixing scale by squeezing only the width. You may remove one visual problem while creating a product that no longer matches the SKU. Upscaling also will not correct a size relationship; it only changes the output's pixel dimensions and may alter fine detail.
For a size family, keep a separate specification and source photo for each SKU. If you make a comparison image, show the products in one common scale and viewpoint. Independently enlarging every variant to fill its own frame can make genuinely different sizes look identical. The product variant consistency guide covers the wider catalog review.
Finally, give dimensions their own reliable place in the listing. Add verified measurements in the product details or a deliberately designed dimensions graphic. Enter those numbers yourself from the approved specifications rather than asking an image model to invent a ruler. Google Merchant Center's image guidance requires the actual product to be accurately displayed and has separate restrictions on image overlays. Check the destination before using a dimensions graphic as a main image.
Frequently Asked Questions
Can a prompt preserve exact product dimensions?
It can communicate the intended dimensions and relationships, but it cannot certify them. Use real references, review the result, and keep measured specifications available separately. Choose controlled photography or verified 3D work when exact fit matters.
Can I calculate centimeters from an AI image's pixels?
Not from pixel count alone. A trustworthy conversion needs known scale and suitable geometric information. A same-distance reference can support a limited comparison, but a generated reference object can itself be wrong.
Is a larger foreground product always a scale error?
No. An object closer to the camera can legitimately appear larger. Check depth and viewpoint before changing its size, and avoid dramatic perspective when the purpose of the image is to explain physical dimensions.
Does higher resolution improve size accuracy?
Higher resolution can make edges easier to inspect, but it does not establish physical scale. A distorted bottle can remain distorted in a sharper image. Approve geometry and context before the final export.
Is a hand a good size reference?
A hand can make a product's everyday use easier to understand, but hand sizes and poses vary. Generated hands can also change the comparison. Use a real, reviewed interaction photo or a known-size object when the size relationship is important.
Make size part of the approval decision
Reliable AI product image scale starts with the actual SKU: its dimensions, real photographs, and a clear intended relationship to the scene. Check silhouette, relative size, and the final crop before approving the styling.
Start with one product in the Oxava studio, attach its real reference photo, and build a simple scene you can evaluate. Keep the strongest reviewed image, pair it with verified dimensions, and carry that same review standard across the catalog.
Oxava Team
Egemen Küpçü is the founder of Oxava, with 10+ years of hands-on experience in 3D and visual production. He writes about the craft of generating product, brand and campaign visuals with AI.
Related Articles
ALL POSTS
Subscribe to our newsletter
Be the first to hear about new techniques, model updates and ideas on AI generation.