
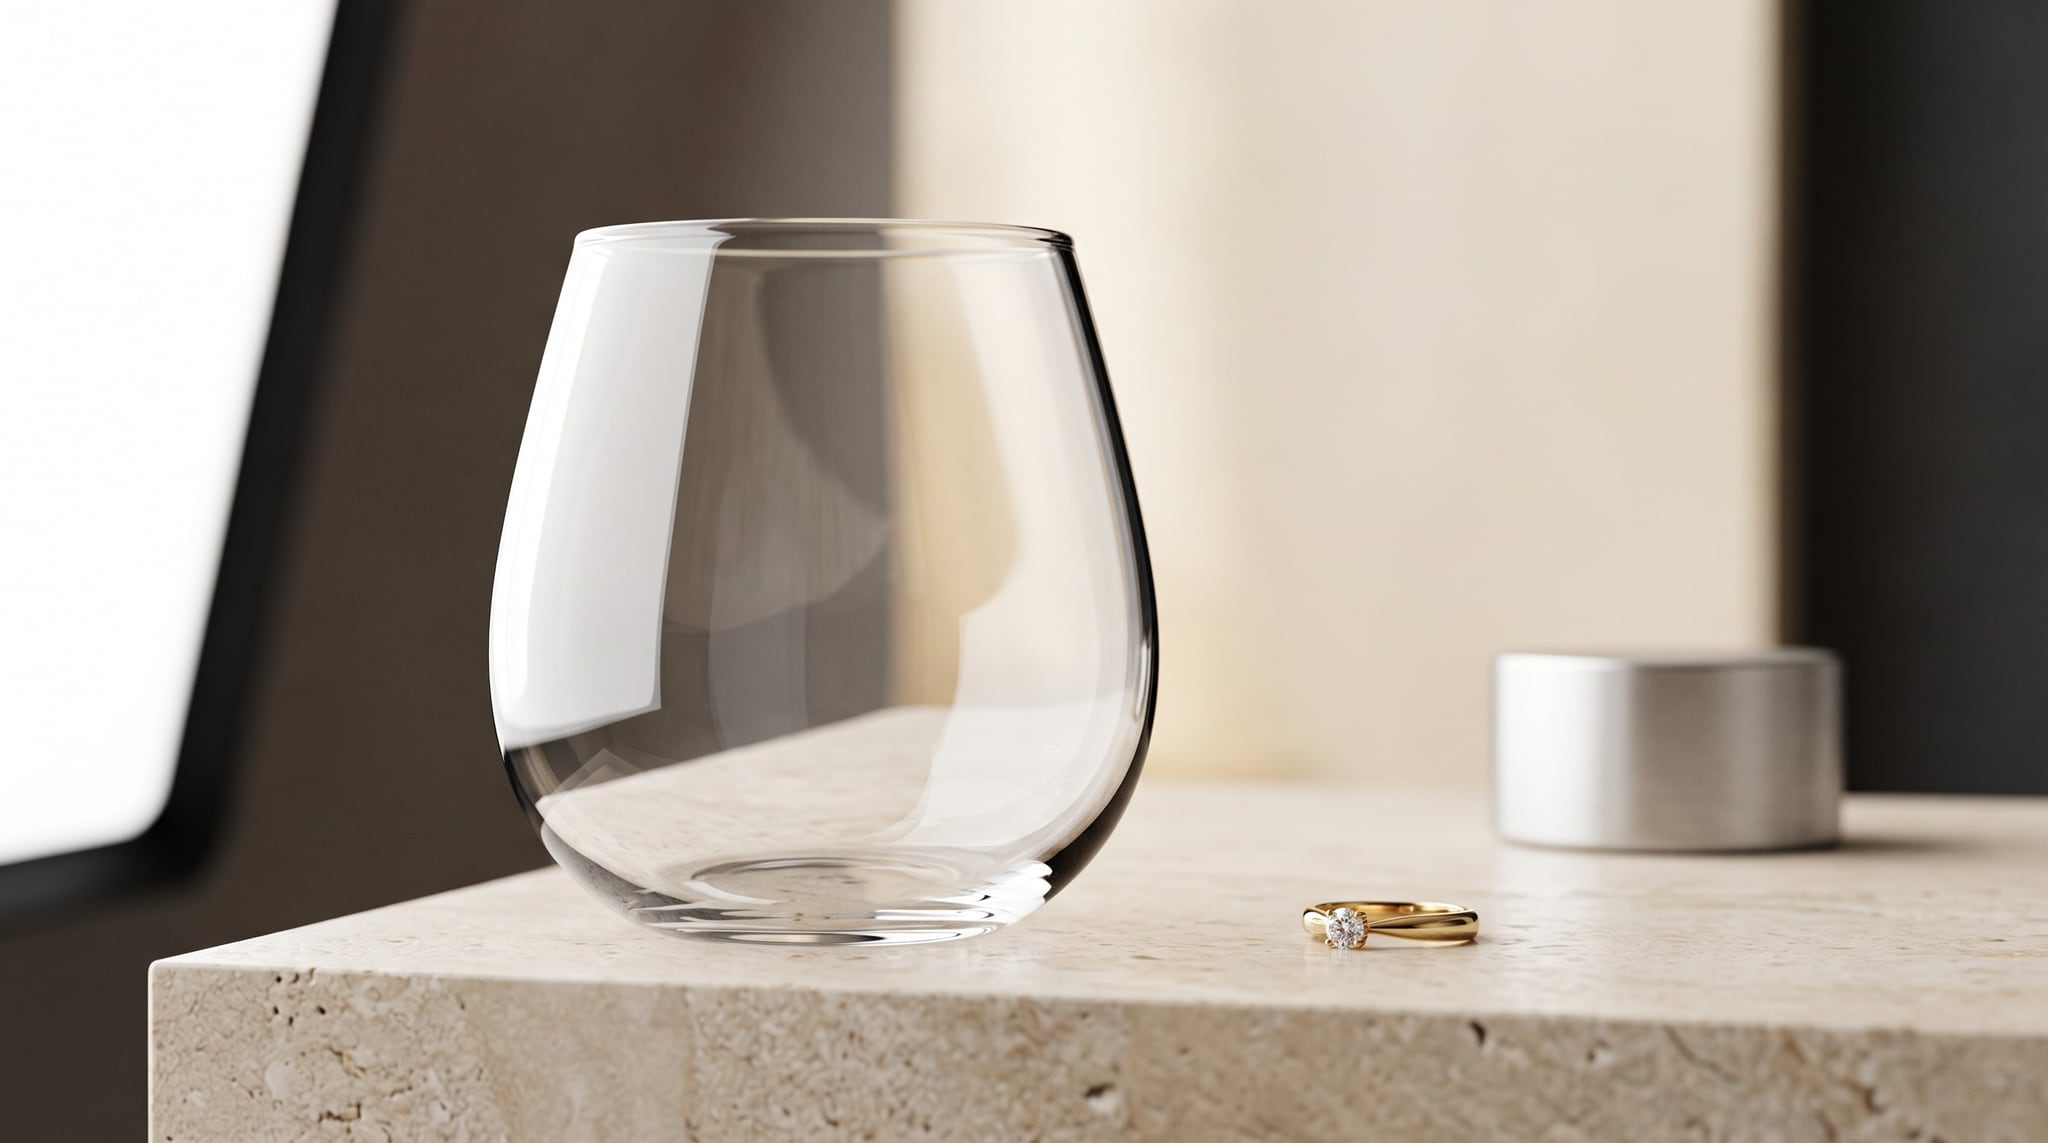
AI product photography for reflective products can turn one clean reference shot into a range of useful scenes. It can also turn a six-stone ring into a seven-stone ring, bend a glass rim, or invent a reflection that makes a polished bottle look dented. The trick is to treat the real product as the authority and the generated scene as a proposal you must inspect.
This guide takes you from a practical reference shoot to a finished image for glassware, jewelry, and metallic packaging. You will learn which lighting cues to describe, how to keep a series coherent, and what to check before an image appears on a product page. If you need the wider workflow first, start with our AI product photography guide.
Why reflective products expose weak AI images
A matte ceramic mug gives a model room to improvise its surroundings. A mirrored lid does the opposite: it displays the surroundings on its own surface. Curved glass stretches background shapes, faceted stones split highlights into tiny pieces, and polished metal shows bright bands and dark gaps. When those clues disagree with the scene, the image feels wrong even if the product looks attractive at a glance.
Physical photography has the same challenge. Shopify's reflective-product guide describes the need to control light sources, camera angles, diffusion, and reflected surroundings. The Contemporary Glass Society's glass photography guide emphasizes backlighting, diffusion, and black or white cards to reveal an object's shape. For AI work, those are useful descriptions of what the final image should look like, not a guarantee that a prompt can reproduce the object's physics exactly.
There are two separate tests. Visual plausibility asks whether the highlights, shadows, and reflections agree with one another. Product fidelity asks whether the pictured item is the item you sell. A scene can pass the first test while failing the second. A beautiful but inaccurate gemstone setting is still an inaccurate listing image.
Capture a trustworthy reference before prompting
You do not need a large studio to make a useful reference. You do need a photo that lets you tell whether the generated product changed. A low-detail, heavily retouched source leaves both you and the model guessing.
Start by cleaning the actual item and the surface around it. Dust on glass and fingerprints on metal can become apparent in close-ups; Shopify recommends checking these before shooting. Put the product on a stable surface, keep the camera steady, and photograph it against a simple background. For jewelry, Shopify's jewelry photography guide suggests consistent lighting, multiple angles, and close attention to the small details that define a piece. For glass, the Contemporary Glass Society recommends cleaning, using a tripod, and controlling the light around the object.
Build a small reference set rather than asking one image to do everything:
- A straight-on identity shot. Show the full silhouette, label, setting, or closure without dramatic perspective.
- A three-quarter view. Reveal depth: the thickness of glass, height of a stone setting, curve of a cap, or shape of a metal shoulder.
- A detail shot. Record the features most likely to change in generation: stone count, clasp, engraving, label typography, rim, seam, or finish.
- A color check. Include a neutral surface or use a consistent white balance so you can judge whether amber glass, rose gold, or a coated metal has shifted.
You may use a phone. Keep it steady and review the image at full size. A side window, white fill card, and dark card to define a glass contour can be more useful than a frontal flash. Keep controlled reflections that show the surface; remove distractions that conceal shape or branding.
Keep the untouched originals as your comparison set. For a broader approach to the first stage, see our background removal and replacement guide.
Match the light to the material
"Make it glossy" is too vague for a reflective product. Describe where the large light source sits, what the dark edges do, and what should remain legible. Different materials need different visual cues.
| Product | Useful light direction | What the image must communicate | Common AI failure |
|---|---|---|---|
| Clear or colored glass | Soft backlight or broad side light, with controlled edge contrast | Transparency, wall thickness, true color, clean rim | Opaque-looking body, duplicated rim, impossible internal reflections |
| Polished jewelry | Broad diffused light with selective small highlights | Metal finish, stone setting, facet detail, actual proportions | Extra stones or prongs, melted links, oversized sparkle |
| Metallic packaging | Long soft light bands across the surface and restrained dark edges | Container shape, finish, readable branding, genuine seams | Warped label, random dents, mirrored objects absent from the scene |
Diffusion helps tame harsh reflections, but removing all contrast can flatten a reflective surface. Glass may need a dark edge; jewelry needs distinct highlights. Ask for the material you own, not the shiniest version a generator can imagine.
Glass: describe the edge and the space behind it
For a transparent tumbler or vase, the background is visible through the product. Tell the generator how that background should behave: subtly refracted through the wall, not replaced by a solid white patch. Describe one dominant light source and a controlled edge. The Contemporary Glass Society's guide shows how backlighting and white or black cards can reveal shape without harsh hotspots. Translate that into a prompt such as "soft luminous background behind the vase, thin dark contour on the left edge, gentle highlight on the right rim."
Jewelry: protect the construction before the sparkle
A ring's prongs, gemstone count, and band profile are inventory facts. Strong sparkle cannot compensate for a changed setting. Use a source photo where those parts are actually visible. In the scene prompt, describe restrained highlights on the metal and stones; ask for sharp focus on the setting. Keep styling secondary to the jewelry.
For example, a request for "a diamond ring sparkling dramatically" invites the model to invent a generic ring. A better brief specifies "the referenced oval center stone in its existing four-prong setting, slender yellow-gold band, soft side light, small controlled glints, no additional stones." The instruction helps direct generation, but you still need to count stones and prongs in the result.
Metallic packaging: keep the label outside the guesswork
Perfume caps, cosmetic tins, and foil pouches create broad reflections that can deform lettering. If the brand name and regulatory text must be exact, do not assume a generated image will preserve them. Favor a real product photograph or a workflow that keeps the original product pixels and changes the environment around it. Use generation to plan the set or background, then compare any altered product area closely.
Describe the finish honestly: satin aluminum, brushed steel, lacquered chrome, and metallic foil are different materials. Specify the light bands, then check for changed seams and cap geometry.
Write a scene brief that leaves the product anchored
Adobe's guide to realistic image generation begins with a product reference and expands the prompt with framing, lighting, and texture. Combine that structure with the physical lighting lessons above, while making product identity an explicit constraint. A practical brief has six parts:
- Reference identity: state that the uploaded real product is the subject; list features that must match.
- Setting: choose one environment that helps the shopper imagine use.
- Camera and framing: give the view, crop, and amount of negative space.
- Light: name its size and direction, plus one reflection or edge cue.
- Material behavior: explain transparency, metal finish, or controlled stone highlights.
- Exclusions: name distractions and changes that would make the image unusable.
Here is the difference between a mood request and an executable brief:
Too loose: "Luxury photo of a glass perfume bottle on marble, cinematic reflections, beautiful label."
More useful: "Use the attached bottle photo as the product reference. Keep the bottle silhouette, cap height, glass tint, and label placement matched to the reference. Three-quarter camera view at bottle height on pale limestone, with a quiet warm-gray background and space to the right for a headline. One broad diffused light from camera left creates a soft vertical highlight on the glass; a restrained darker edge defines the opposite side. The limestone reflection is faint and aligned beneath the bottle. No extra bottles, invented text, or altered cap."
Even the second version is an instruction, not a verification certificate. Treat any text in the generated image as provisional, including a label that looks right at thumbnail size. If exact text matters, inspect it at full resolution against your original or preserve it from the real photograph.
For a necklace, replace the bottle-specific constraints with "same pendant outline, stone arrangement, chain thickness, and clasp as the reference." For a glass bowl, specify "same rim diameter, foot shape, and color gradient."
Build one coherent scene, then create variations
A useful catalog set feels like a planned shoot. Lock the background, color temperature, camera height, crop, and light position before requesting variations. Change one variable at a time so discrepancies are easier to spot.
A simple three-image plan works well for many shiny products:
- Identity image: the clearest real product shot, often on a neutral background, for buyers who need to inspect what they will receive.
- Context image: a believable AI-assisted environment with one primary prop or surface, such as a bathroom shelf for a glass bottle or linen beside a ring box.
- Detail image: a close crop that shows a construction or material feature using the most reliable real source available.
The context image communicates mood and scale without hiding features a buyer needs to judge. For more scene ideas, see our AI lifestyle images for ecommerce catalogs. For multiple colors or angles, follow our product variant consistency guide.
In the Oxava studio, start with your clean product reference and one concise scene brief. Generate a small set, select the version with the best product match, and refine its lighting or composition. If the product itself keeps changing, return to a stronger reference or use an editing approach that alters less of the product. More adjectives will not recover details missing from the source.
Check AI product photography for reflective products against the real item
Inspect the chosen image twice: once as a shopper at page size, and again enlarged beside your reference photos. At page size, ask whether the product is easy to recognize and the scene draws attention to it. Enlarged, look for errors that would misrepresent the item.
Use this checklist before export:
- Silhouette and dimensions: Are the rim, shoulders, band width, chain links, cap, and base the same shapes as the original? Does perspective make a real product look like a different size or model?
- Construction: Count visible stones, prongs, clasps, screws, facets, seams, and hardware. Are any duplicated, missing, or fused together?
- Color and finish: Does the glass tint or metal tone match the real item? Has brushed metal turned into chrome, or a translucent material become opaque?
- Reflections: Do bright bands follow the object's curvature? Does a reflected window or prop exist in the scene? Is a dark line a plausible edge reflection, or does it read as a crack?
- Light and contact: Do the product shadow and background illumination point to the same light source? Is the base grounded on its surface rather than floating?
- Branding and claims: Is the label legible and exact? If you cannot verify it, use the real product image for that view. Do not publish invented packaging details as fact.
- Crop and channel: Is the product fully visible where the placement requires it? Does the image leave enough room for mobile crops and any planned text overlay?
Make the review operational: record each candidate as pass, revise scene, or use original product photo. A "revise scene" issue is an unhelpful prop, crop, or light cue. A "use original" issue is a persistent change to the product: altered stones, a wrong label, or invented construction. Fixing a background is usually simpler than asking the model repeatedly to redraw a tiny engraving.
The bar also depends on placement. A campaign banner can prioritize atmosphere as long as the product remains honest. A product detail page or marketplace hero image needs direct evidence of what a buyer will receive. Check the destination's current image rules before using a generated scene as the main listing image; our white-background marketplace image guide covers that decision in more detail.
Frequently Asked Questions
Can AI make a glass product look transparent rather than milky?
It can produce a more convincing result when the reference shows the real glass edge and the prompt describes the background seen through it, plus controlled backlight or side light. Compare the generated wall thickness, rim, base, and tint with the real item. If those features change, keep the original glass pixels and work on the surrounding scene instead.
How do I stop AI from adding stones to jewelry?
Photograph the setting close enough to count its stones and prongs, and state the exact arrangement in the brief. Then count them again in the result at full size. If the model repeatedly changes a small setting, a real close-up is the more reliable product image.
Should I remove every reflection from a shiny product photo?
No. A controlled reflection tells the viewer whether a surface is polished, curved, or transparent. Remove distracting camera, room, or person reflections, and tame hotspots that hide details, but keep enough light and dark variation to describe the material.
Can I use an AI lifestyle image as my main ecommerce listing photo?
That depends on the destination's image rules and how accurately the result shows the item. Keep a clear real-product image available for the primary or detail views, especially when labels, stone settings, and finish matter. Use lifestyle imagery where context helps the buyer without concealing product facts.
What is the fastest way to keep several product images consistent?
Write down one scene recipe: camera height, background, crop, light direction, and color temperature. Reuse it while changing one feature at a time, and compare each candidate to the same real-product reference set. Consistency is useful only when every image still represents the correct item.
Make the shine serve the product
AI product photography for reflective products rewards restraint. Begin with real photos that establish identity, describe a believable light environment, and inspect every generated image for material and construction errors. A soft highlight, accurate edge, and readable shape will usually do more work than a wall of glitter.
Ready to build a scene around your own glassware, jewelry, or metallic product? Bring your clearest reference to the Oxava studio, try one material-specific brief, and compare the result with the real item before it goes live.
Oxava Team
Egemen Küpçü is the founder of Oxava, with 10+ years of hands-on experience in 3D and visual production. He writes about the craft of generating product, brand and campaign visuals with AI.
Related Articles
ALL POSTS
Subscribe to our newsletter
Be the first to hear about new techniques, model updates and ideas on AI generation.