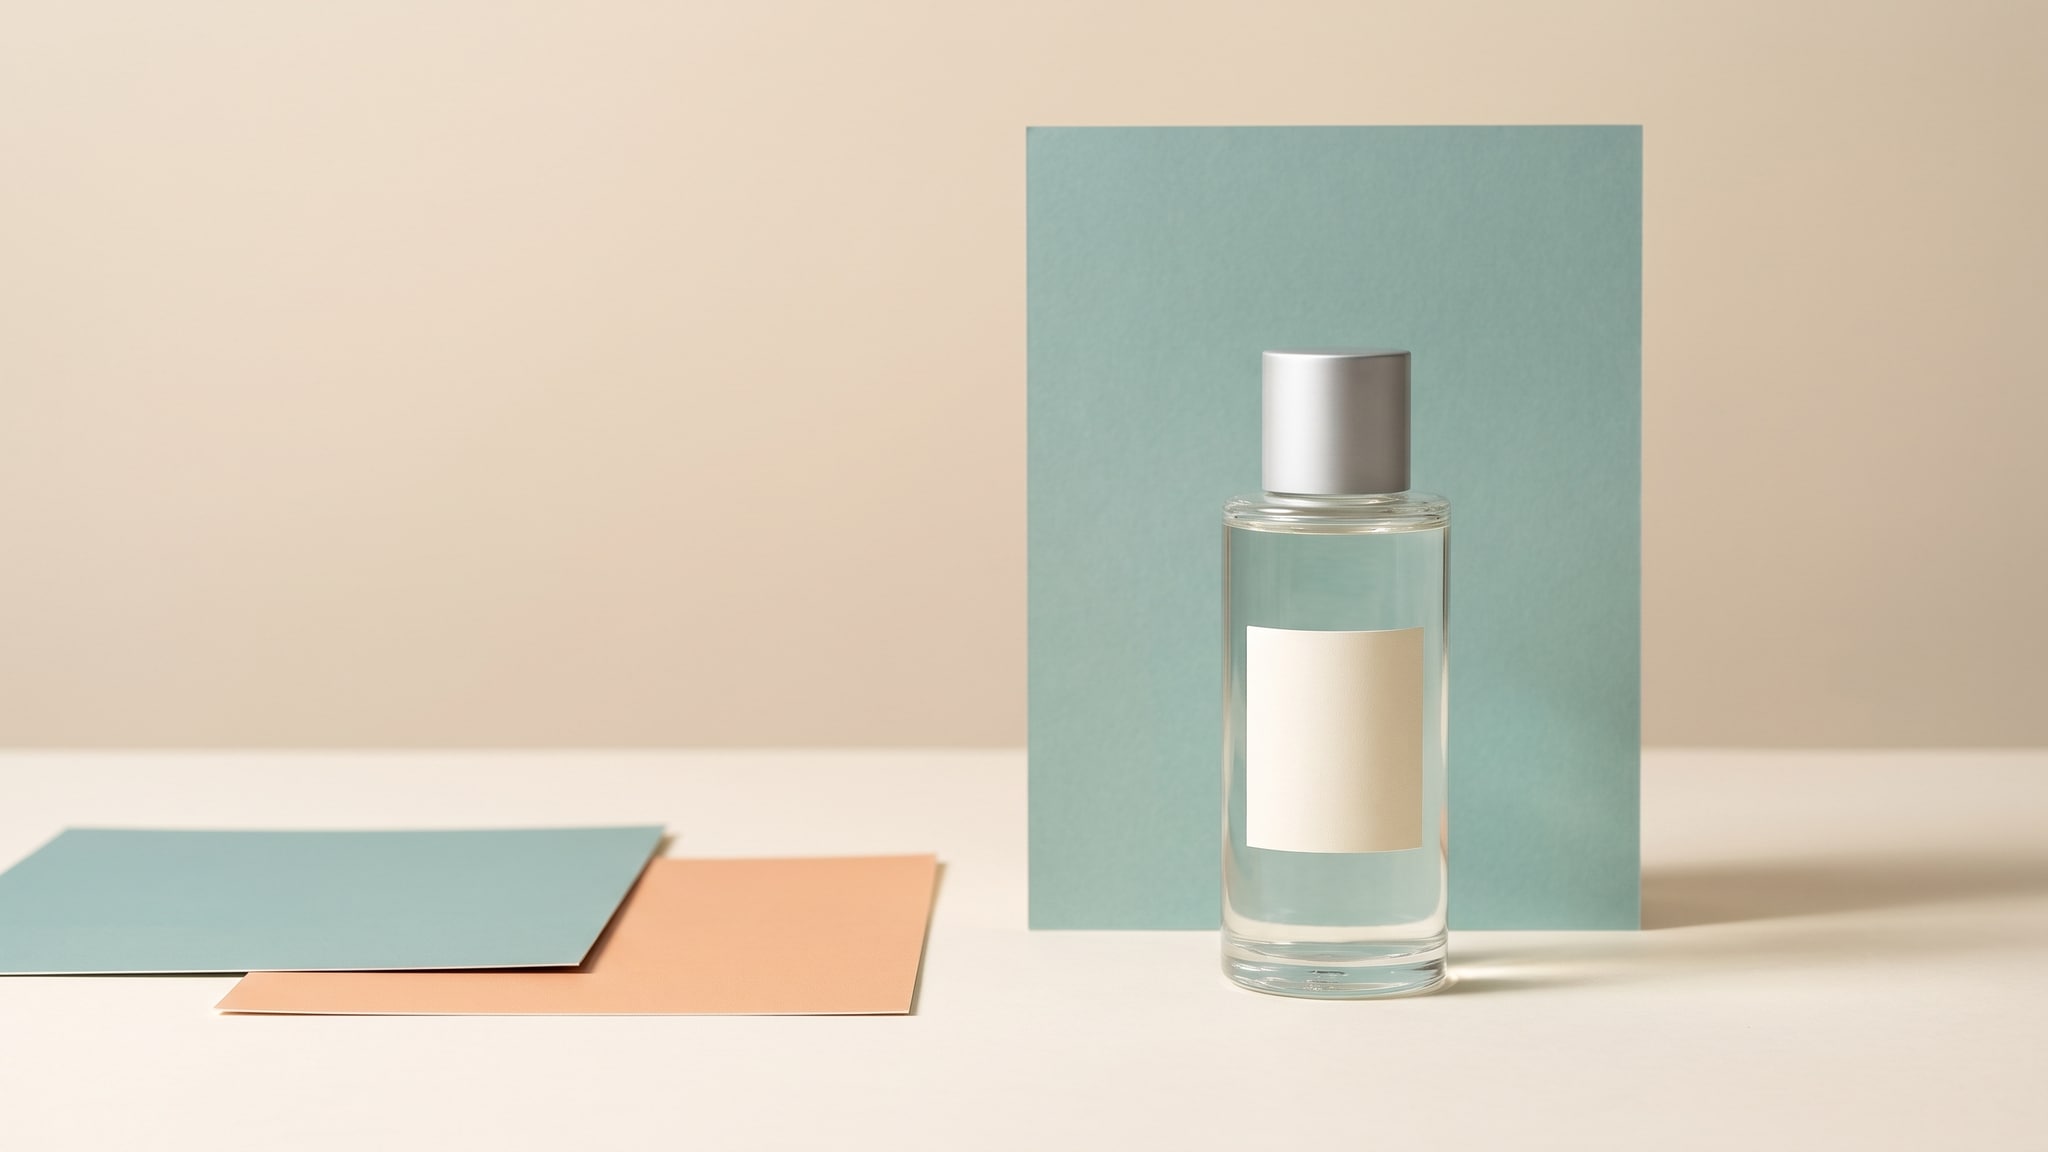
Transparent bottle background compositing has a trap that a clean cutout does not solve: the old backdrop can remain visible inside the glass. A serum bottle photographed on cream may still contain a cream-colored patch after you place it on a teal scene. Its label can be perfectly sharp while the bottle no longer looks transparent.
The answer is not to make the entire product layer see-through. Separate two decisions: which product details must remain traceable, and which parts of the recorded appearance depend on the original surroundings? This guide turns that distinction into a practical choice between a restrained composite, a new photograph, and a verified 3D setup.
For the wider creative process, see our AI product photography overview. Here, references and generation are candidate-making tools, not guarantees of unchanged packaging.
The cover is an AI-generated editorial illustration of a fictional bottle and background cards, not a product-preservation test. The three scenarios below are hypothetical planning examples. Sources checked on October 27, 2026.
A transparent PNG is not a background-independent bottle
A cutout answers “where should this layer be visible?” It does not necessarily answer “what would this glass look like in a different room?”
The W3C PNG specification defines alpha as a pixel's opacity, separately from its color information. Exporting a photograph with an alpha channel therefore does not, by itself, remove the original scene recorded in the bottle's color pixels. A checkerboard outside the silhouette proves little about what remains inside it.
There is a physical reason for the distinction. Light can change direction as it crosses materials with different refractive indices; see OpenStax’s introduction to refraction. Our practical inference is that blending a new background through a flat cutout is not the same operation as predicting its appearance through curved glass.
Think of the bottle as several review regions:
- Opaque identity areas: a paper label, printed quantity, metal cap, or solid pump housing.
- Transmitting areas: clear glass and liquid through which the original setting may be visible.
- Surface cues: reflected light, edge highlights, base thickness, and contact with the surface.
Those regions overlap. A reflection can cross clear glass; a clear label can behave differently from opaque paper. Do not assume every package fits one masking recipe.
The practical difference from a white halo is location. A pale fringe around the perimeter may be an edge problem; a broad old-background patch within the body is an interior problem. For the first case, use the transparent PNG white-halo checklist. Shrinking the outline will not repair the second.
Transparent bottle background compositing: choose a route
Start with the destination, not the effect. Is this a main product image, a supporting lifestyle image, or an explicitly fictional concept? A real-SKU image needs evidence for the product facts it communicates, whatever method creates the surroundings.
Use this decision tree:
- Does the source show the exact bottle, packaging revision, fill level, and required angle? If not, obtain a suitable photograph or verified product model first.
- Can you keep the original setting or use a closely compatible background? If yes, consider restrained retouching before rebuilding the scene.
- Does the proposed background introduce strong color, patterns, objects behind the bottle, or a different light direction? If yes, treat the transparent interior as a separate feasibility problem, not a routine cutout.
- Can you explain and verify the interior correction without inventing product features? If yes, try one reversible composite. If not, reshoot with the intended setting or evaluate a verified 3D route.
- Does the result pass both product-identity and scene checks? If either fails, change the route rather than accumulating more decorative edits.
| Route | Useful starting situation | What it does not settle |
|---|---|---|
| Keep the source and retouch locally | The angle, lighting, and backdrop already suit the placement | Whether retouching changes print, color, or material cues |
| Composite in an external editor | The source is clear and the target scene is reasonably compatible | Whether the glass interior and reflections fit that target |
| Photograph again | The new environment must be represented faithfully through the bottle | Capture quality and correct product identification |
| Build a verified 3D scene | Repeated views justify modeling and material work | Whether geometry, artwork, liquid, and lighting match the real SKU |
For one image, a better photograph may require less work than reconstructing difficult glass. For repeated scenes, a controlled 3D setup may be worth evaluating. Neither statement is a measured cost comparison: count your own capture, editing, review, and rejected work before deciding.
Make a source record for the bottle, not just its label
Keep an untouched source photograph and a small identity sheet. Record the bottle's outline, shoulder slope, neck width, cap height, base thickness, and the position of its label. Include the liquid's visible color and fill level when those are meaningful product attributes.
Take detail photographs for print that the full view cannot resolve. A readable close-up helps verify the label; it does not establish the entire bottle's proportions. Keep both views together and identify the packaging revision so a previous design cannot become the accidental reference.
Then record the environment visible in the source: background color, obvious objects behind the bottle, bright reflection bands, and shadow direction. Mark uncertain areas. A pale patch might be old background, a reflection, frosted glass, or the liquid itself. If the source does not let you distinguish them, do not erase it simply because it looks inconvenient.
Our packaging-label accuracy guide covers words, quantities, symbols, and variant checks. Add this glass-specific question to its whole-pack review: which visible areas contain information from the scene rather than only from the package?
Build a reversible trial in an external editor
The layer and mask operations below belong to an external editor such as Photoshop. They are a proposed review workflow, not a claim that Oxava automatically separates a bottle's optical components.
1. Match the background to the source before placing the pack
Choose camera height, supporting surface, and light direction that agree with the photograph. A tabletop viewed from above is a poor starting point for a bottle photographed at label height. Keep the target background simple while assessing whether the source can support the change.
You can explore a separate, empty scene in the Oxava studio, then review it before bringing it into the external composite. Generate the surroundings without a replacement bottle when the intention is to retain photographed packaging. The scene still needs inspection for perspective and lighting.
2. Keep an untouched reference and editable masks
Place a copy of the source above the candidate background and retain the original separately. Create an outer mask without flattening the working document. Adobe's layer-mask documentation explains how masks hide or reveal selected parts of a layer.
Inspect the bottle once with the mask disabled and once enabled. Restore missing cap edges, neck details, and the base before judging the new setting. Do not stretch the product to make its outline fit a composition that was built for another shape.
3. Protect opaque details while evaluating the clear body
Use separate selections or masks for areas that need different treatment. The point is to avoid changing the entire product when only one region needs work. Adobe documents masked adjustment layers for local color and tonal changes; that control is useful, but it does not certify a correction as accurate.
Do not apply a universal opacity value to the bottle. That can let the backdrop show through an opaque paper label and soften cap details. Likewise, do not paint a flat teal patch inside the silhouette and assume that color matching has reconstructed glass.
Treat any local interior reconstruction as a trial. Compare it with the source and the intended environment. If the trial relies on guessing the liquid boundary, erasing the glass base, or redrawing important print, stop and choose a different route.
4. Review highlights and contact separately
A bottle may retain its dimensions yet look pasted into the scene because the reflected light and supporting shadow disagree. Review those cues without automatically removing every bright line. Our reflective-product photography guide explains why highlights also communicate material and shape.
Keep corrections modest and reversible. If fitting the background requires extensive changes across the bottle, reconsider the background or capture rather than treating every mismatch as another small retouch.
Three hypothetical background decisions
These examples illustrate choices for one fictional clear serum bottle with an opaque cream label and silver cap. They are not demonstrations of a particular tool or evidence of achieved product fidelity.
Scenario A: Cream source to a similar warm-gray background
The source and target share a quiet backdrop, comparable brightness, and a similar light direction. Begin by testing the unchanged photographed bottle over the target. Inspect the clear shoulders and base for a visible cream patch or hard transition.
A restrained composite may be suitable if those areas remain convincing and the product checks pass. Do not approve it merely because the two backgrounds are close in color. Keep the original photograph as the alternative when the new setting adds little value.
Scenario B: Cream source to saturated teal
Now the glass interior can visibly retain the original cream while the surroundings become teal. Reducing the entire layer's opacity may conceal that mismatch at the expense of an incorrectly translucent label.
Separate the opaque details from the transmitting body for evaluation. If a local correction cannot preserve the bottle's real tint, liquid, and edge structure, photograph it with the intended background. “The label stayed sharp” is not enough: the glass and contents are also product information.
Scenario C: Plain source to a patterned shelf scene
A striped card or object behind the bottle introduces a harder question: how should that feature appear through the curved body? A straight, undistorted continuation can look wrong, but manually bending it until it looks attractive is not verification either.
Prefer capturing the real bottle in the intended setup when the pattern's appearance matters. A 3D route is another option only with suitable product geometry and material review. If neither is practical, simplify the background rather than presenting an invented optical result as a faithful product depiction.
Approve product facts and scene behavior separately
Use two passes so attractive lighting does not distract from a changed cap or quantity.
Product pass: compare the final candidate with the source at useful detail size. Check silhouette, shoulder and neck proportions, cap construction, label position, every readable number, liquid color, and fill level. Check the full bottle as well as cropped details.
Scene pass: inspect the clear interior, reflections, supporting surface, and shadow. Look for old-background remnants, accidental see-through print, unexplained changes in glass thickness, and patterns that do not belong to the surrounding scene.
Then reopen the exported file and inspect the actual delivery crop at desktop and mobile display sizes. Keep a record containing:
- Exact SKU and packaging revision
- Source filenames and intended destination
- Regions preserved and regions reconstructed
- Unresolved visual questions
- Export version, reviewer, and approval decision
Use hold, rather than pass, whenever an important feature cannot be checked. A cleaner image is not necessarily a truer image.
A still approval does not approve a video
If this bottle will appear in motion, establish the intended movement before production. A gentle scene animation and a rotating bottle are different jobs: rotation can reveal surfaces absent from the reference and change what is seen through the glass.
Review the complete resulting clip, including transitions, not only its first and last frames. Watch the label, cap, silhouette, liquid level, reflections, and visible background for drift. For motion that cannot be verified from the available source, use a real clip, obtain the missing references, or consider a properly checked 3D workflow. There is no prompt phrase that replaces that review.
Preserve identity without freezing the wrong background
Transparent bottle background compositing involves related but distinct tasks: keeping the original packaging and changing the setting. Protect the evidence that identifies the SKU; separately evaluate the surroundings recorded through and on the glass. When those goals cannot be reconciled, a new photograph or simpler scene is a valid production decision.
Explore a background concept in Oxava, keep the real bottle as your reference, and use this decision tree before committing to a composite. Approve the product and the scene—not just the cutout.
Frequently Asked Questions
Why is the old background still visible inside my transparent bottle?
A photograph records the light and surroundings visible through the glass. Cutting away the pixels outside the bottle does not separate those recorded surroundings from the glass inside its outline. Inspect the interior as well as the silhouette before choosing a repair.
Can lowering the bottle layer's opacity fix the problem?
It can make the new background visible, but it also weakens the label, cap, highlights, and other recorded details. A transparent overlay does not by itself reconstruct how a real curved bottle would bend the new scene. Use separate local treatments and review them against product evidence, or choose a more suitable photograph.
Should I keep every original product pixel unchanged?
Preserving photographed print and geometry is valuable, but the background seen through clear glass belongs to the original setup. Keep identity-critical details traceable while checking whether the transparent body's appearance fits the new scene. If those requirements cannot be reconciled reliably, retain the original setting or reshoot.
Is a 3D bottle automatically more accurate than an AI image?
No. A 3D route still needs a verified shape, correct packaging artwork, suitable material settings, and a checked camera and lighting setup. An attractive render of the wrong bottle or liquid remains an inaccurate product image.
Can I animate the approved composite without checking it again?
No. A still approval covers one frame, not the resulting motion. Inspect the complete clip for changes to print, silhouette, fill level, reflections, and the background visible through the bottle; use a real clip or a verified 3D workflow when the required movement cannot be supported.
Oxava Team
Egemen Küpçü is the founder of Oxava, with 10+ years of hands-on experience in 3D and visual production. He writes about the craft of generating product, brand and campaign visuals with AI.
Related Articles
ALL POSTS
Subscribe to our newsletter
Be the first to hear about new techniques, model updates and ideas on AI generation.