
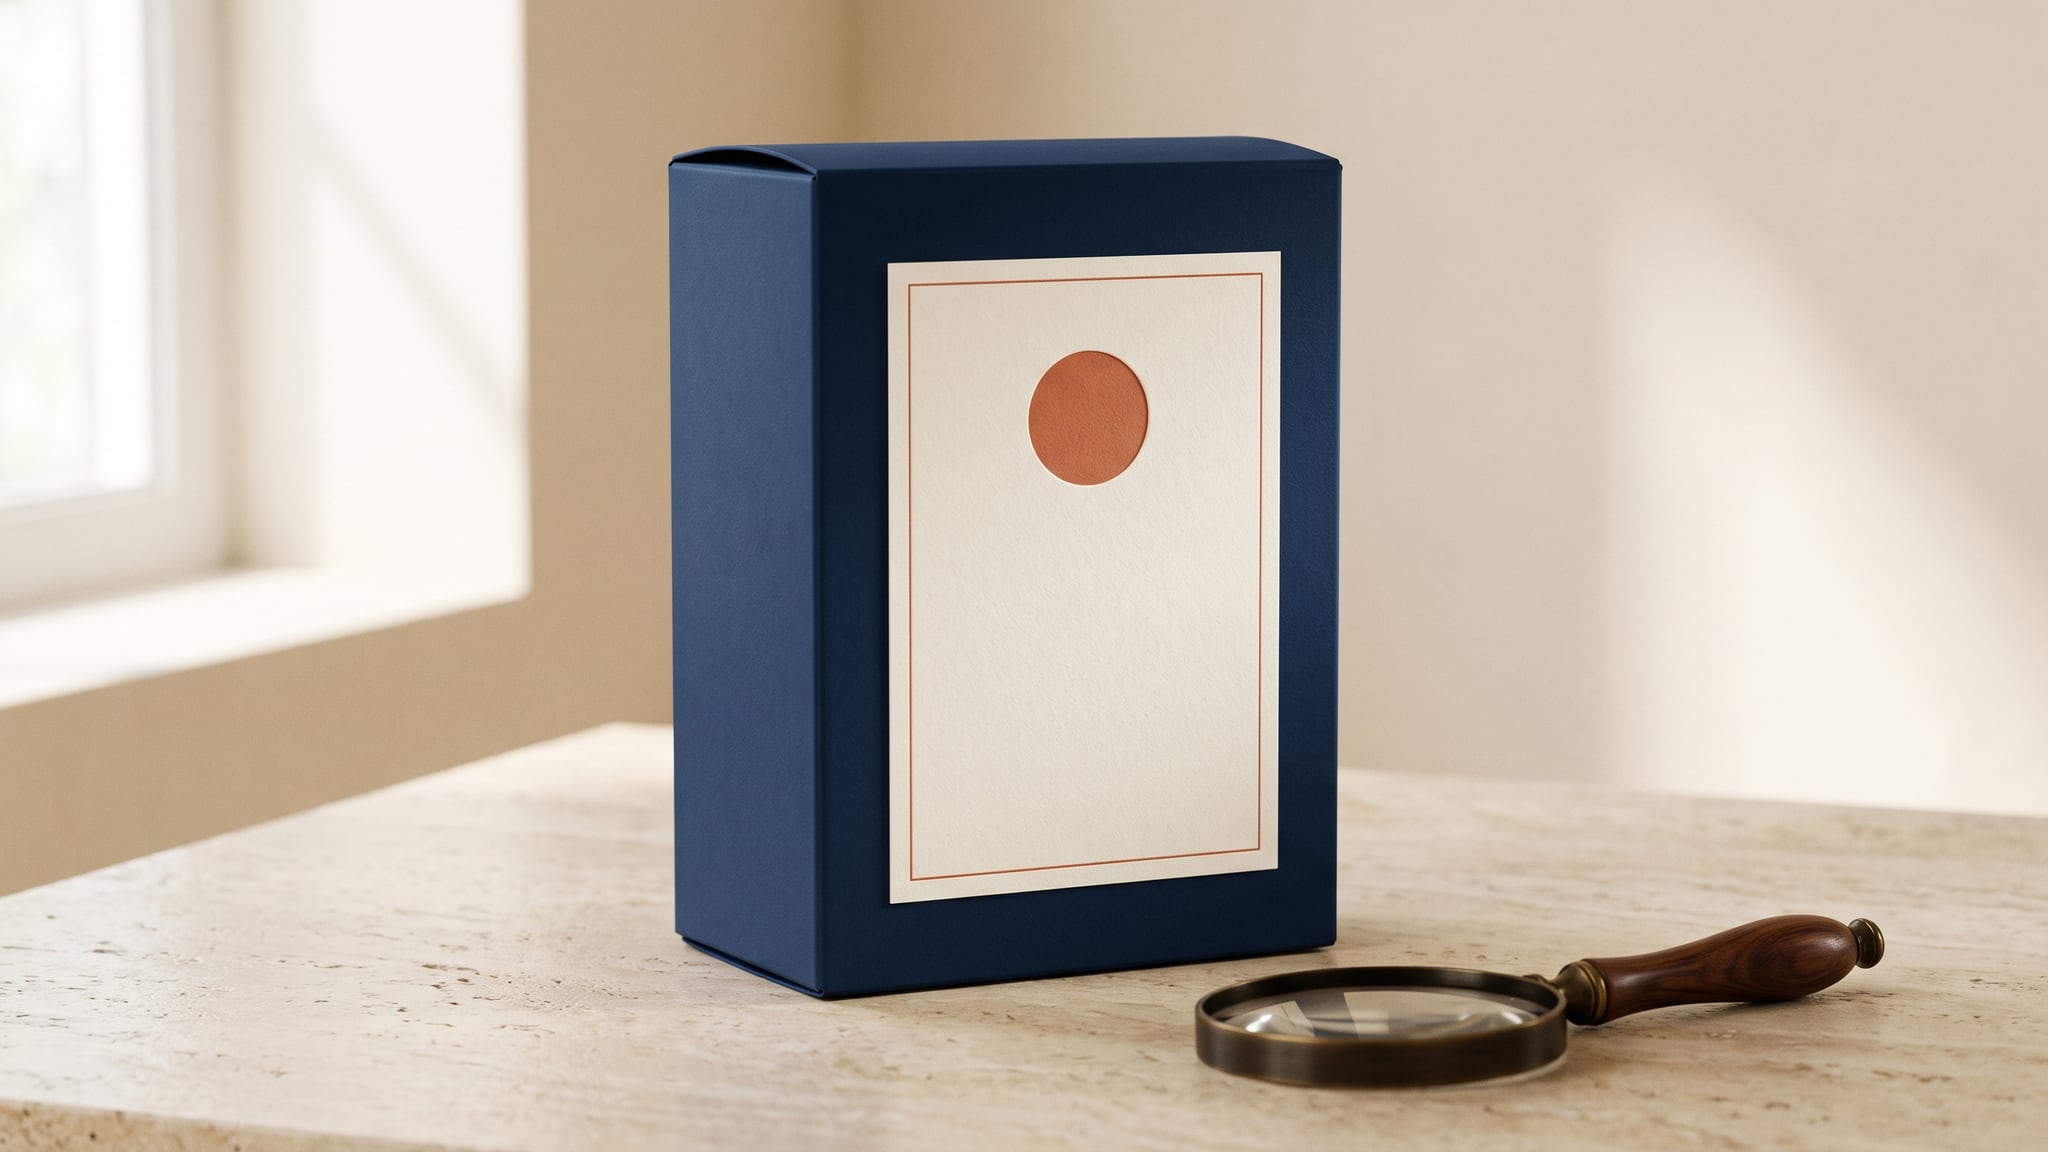
A coffee pouch can look convincing in an AI-generated kitchen scene while quietly changing from whole bean to ground coffee. To preserve product labels in AI photos, start with photographs of the actual SKU, choose how much of the product you are willing to regenerate, and compare every visible packaging detail before publishing.
This guide focuses on products that already exist. You will learn when to keep the source photograph, when reference-based generation is worth trying, and when to combine a photographed pack with a new background in an external editor. For the broader shoot-to-listing process, start with our AI product photography guide.
Packaging accuracy goes beyond readable words
Readable text can still describe the wrong product. A result might reproduce the brand name but change the quantity, move a certification symbol, or borrow the color band from another variant. Inspect the package as a complete object: its shape, material, printed design, and product information all identify what the customer receives.
Create a short acceptance list before generating anything:
- Brand mark, product name, and variant
- Net quantity, units, and any visible numbers
- Printed claims, symbols, and fine print
- Label placement, color blocks, seams, cap, or closure
- Any visible barcode or QR code
Use the real pack and approved product records to settle discrepancies. An earlier AI image is not a reliable reference for the next one.
Even models with strong text capabilities need checking. Google DeepMind's Gemini image limitations acknowledge spelling and fine-detail errors, along with artifacts in complex edits. A prompt asking for an unchanged label communicates intent; it does not establish a pixel lock. Likewise, a larger output gives you more pixels to inspect without proving that the depicted information is correct.
Choose how to preserve product labels in AI photos
The useful question is how the product itself will enter the final image. Choose the route before spending time on lighting prompts.
| Route | Best starting situation | Main advantage | What still needs checking |
|---|---|---|---|
| Retouch the source photograph | The photographed angle and setting already work | Keeps genuine printed matter available without asking a model to redraw it | Retouching, cropping, color changes, and export quality |
| Generate with product references | You want to explore a scene and can inspect every candidate | Lets you try new surroundings with the pack as visual guidance | Every visible label, dimension, symbol, and surface |
| Composite the photographed pack externally | The background must change but the real packaging must remain traceable | Uses the source pack as a separate image layer | Cutout edges, perspective, lighting, shadows, and final legibility |
| Photograph another angle | The desired view reveals an unseen side | Supplies evidence for that particular face of the package | Capture quality and whether it is the correct SKU |
For a label-heavy catalog image, prefer keeping the photographed product intact. Reference generation can be useful for exploration, but approval depends on the result. When a good scene repeatedly comes with a changed label, switch routes instead of adding more preservation language.
Background tools differ in whether they isolate a product or regenerate parts of it. Check the output rather than assuming that a feature called background replacement preserves the pack. Our background removal and replacement guide explains the broader scene-building options.
Capture a whole-pack photo and close-up evidence
Build a reference set for one SKU at a time. Keep other sizes, languages, flavors, and packaging revisions out of the working folder so they cannot be mistaken for supporting views.
Photograph the intended final angle
Take a full-pack photograph with the entire silhouette visible. Leave room around the closure, base, and sides. Choose an angle that shows the label while giving enough information about the package's depth.
Move the product or light until reflections stop covering important print. Keep the camera steady and inspect the capture before dismantling the setup. Shopify's product photography guidance specifically recommends checking that important details are visible, centering label type on bottles, and photographing multiple angles. It also warns that digital zoom reduces image quality by cropping.
If the final composition needs a three-quarter view, photograph that view. A front photograph cannot verify wording on a hidden side panel. Asking a model to rotate the pack can expose invented surfaces; the remedy is another photograph, not a more detailed guess.
Add detail photographs without losing context
Capture close-ups of the front label and any side or rear panel that will be visible. These are evidence for inspection, even when you do not upload every image to the generation tool.
Keep the full-pack photograph alongside them. A close-up alone leaves the model without reliable information about how large the label is relative to the pouch, bottle, or box. Conversely, a whole-pack image may contain too few clear pixels to verify tiny print.
Use descriptive filenames such as house-blend-250g-front and house-blend-250g-label-detail. Include the packaging revision in your own records when older stock has a different design. Keep an untouched original rather than overwriting it with retouched or generated versions.
Write a one-minute preflight note
Record the intended destination, required view, and permitted changes. For example: "Product-page lifestyle image; same three-quarter angle; background and props may change; packaging design and quantity must match the source."
Then list any weak evidence: glare over the quantity, a blurred barcode, or an unreadable side panel. Resolve those gaps before production. If an important character cannot be verified from the source, do not approve a generated interpretation of it.
Use references to guide a candidate, then verify it
In Oxava's studio, choose a currently available image model that supports references and begin with your clearest full-pack photograph. Where the selected model accepts multiple references, add a detail shot and explain its role. Our guide to named image references covers separating product, detail, and scene instructions.
Keep the first request narrow. Preserve the photographed viewpoint and ask for one change, such as a cleaner setting. Requesting a new angle, dramatic relighting, different packaging material, and a lifestyle scene together makes it harder to identify which change damaged the label.
The following prompts are untested starting points, using a fictional Harbor Roast coffee pouch. Replace the example details with verified information from your own product. They illustrate how to specify the task, not results you should expect without review.
Prompt 1: A restrained background-change candidate
Use the supplied full-pack photograph as the product reference. Show the same Harbor Roast House Blend coffee pouch at the same angle and proportions against a simple warm-gray studio background. Retain the photographed packaging design, printed words, 250 g quantity, colors, and closure. Change only the surroundings. Keep the entire pack visible and unobstructed. Add no promotional text or extra branding.
Compare this candidate with the source immediately. If the model changes even one meaningful number or word, the image needs correction or a different production route.
Prompt 2: A lifestyle candidate with separate reference roles
The full-pack photograph defines the product shape and camera angle. The label close-up is supporting evidence for its existing print. Place this same coffee pouch on a pale kitchen counter with soft light from the left. Keep the front label visible. Put a plain cup behind the pouch without covering it. Preserve the existing packaging; introduce no additional printed claims or symbols.
Use this only where a lifestyle scene suits the destination. Props can also imply scale or included accessories, so review what the scene communicates. For planning that wider context, see lifestyle images for ecommerce catalogs.
Prompt 3: Generate the background without the pack
Create an empty pale-stone kitchen counter photographed at product height, with soft daylight from the left and a quiet warm wall behind it. Leave a clear central area for a standing coffee pouch to be added later. Match a slightly elevated, three-quarter product view. Include no packaging, labels, lettering, logos, or foreground objects crossing the empty area.
This route moves the pack placement into an external editor. Review the background's camera height and light direction against the source photograph before committing to the composite.
Composite the real packaging when generation changes it
Use a layer-based editor such as Photoshop for this stage. The layers, selections, masks, and adjustment controls described here belong to that external editor; they are not an Oxava feature walkthrough.
Adobe's image-combining workflow documents subject selection, refined layer masks, element positioning, and adjustment layers. Applied to packaging, the practical sequence is:
- Place the background beneath the original product photograph.
- Select the entire pack and create a layer mask that hides its old surroundings.
- Refine the outer silhouette, especially thin closures and translucent edges.
- Position the pack while maintaining its proportions.
- Match the surrounding light and contact shadow, keeping changes easy to revise.
Save the layered working file. Be cautious about strong color adjustments over the product: a convincing atmosphere can still shift a variant's identifying color.
Prefer transferring the whole photographed pack over pasting a flat label onto an invented container. The whole-pack approach carries the original relationship between print, folds, and material. A flat label patch may look wrong when the generated container has a different curve or perspective.
If the source angle conflicts with the new background, revise the background or shoot again. Heavy perspective distortion can stretch letters and make the package look unlike the item. Compositing provides control over the source material, but it still requires visual inspection.
Approve the close-up and the actual display size
Give each candidate two separate checks. First, inspect the label at a close zoom against the original. Then inspect the exported image at the size and crop a customer will actually see.
Close-up comparison
Read visible words character by character. Check punctuation, decimal points, quantity, and units separately; familiar brand lettering can distract you from a changed numeral. Compare the position and shape of symbols as well as their presence.
Inspect barcodes and QR codes against the original. A pattern that resembles a code is not evidence that it contains the right information. If a code must function in the delivered image, test that final image with the intended scanner and compare its decoded value with the verified source. A successful scan alone does not prove that it identifies the correct SKU.
Reject the candidate if it shows invented print, combines variants, or reveals an unverified face. Reshoot unreadable evidence. Restore the photographed product through an external composite when a scene is useful but the regenerated pack fails inspection.
Display and export review
Check the thumbnail, product-page view, and any zoom view your destination offers. The pack should remain identifiable, the main label should face the viewer, and the crop should preserve necessary product information. Reopen the exported file: compression or resizing can weaken fine lettering that looked clear in the working document. Follow our product image optimization and export guide for the delivery stage.
For Google Merchant Center, its image guidance requires the actual item and distinguishes branding physically present on the product from added promotional overlays. It also calls for multidimensional packaging views and retention of AI-origin metadata, including relevant synthetic-composite metadata. Check these requirements against your final file and intended placement; label accuracy alone does not establish listing eligibility.
Keep a brief approval record with the SKU, source filenames, final export, and reviewer. When packaging changes, retire the old imagery deliberately rather than reusing a previously approved scene for the new version.
Frequently Asked Questions
Can AI preserve my product label exactly?
A reference and a clear prompt can guide the result, but they do not guarantee exact reproduction. When exact printed matter is essential, keep the photographed product or use it in an external composite, then inspect the export.
Is a label close-up enough as a reference?
Use it alongside a whole-pack photograph. The close-up helps verify detail, while the wider view establishes placement, scale, shape, and the relationship between the label and package.
Will higher resolution fix incorrect packaging text?
No. A higher-resolution image can still contain the wrong wording, quantity, or symbols. Verify accuracy against the physical pack before treating sharpness as an improvement.
Can I generate the back of a package from a front photo?
A model can invent a plausible back, but a front image cannot establish what is actually printed there. Photograph the rear panel if it will be visible in the finished image.
Should I keep retrying when a good scene changes the label?
Try a narrower edit when you can identify a specific problem. If the pack continues to drift, generate the surroundings separately and composite the original product, or keep the source photograph.
Make the actual pack your final reference
To preserve product labels in AI photos, keep the real SKU at the center of the workflow: capture evidence, choose a suitable production route, and inspect the final export. Approve the packaging details before approving the atmosphere.
Open Oxava to explore a product scene with a reference-capable image model or generate a background for an external composite. Start with one verified pack and carry the same checks into every variation.
Oxava Team
Egemen Küpçü is the founder of Oxava, with 10+ years of hands-on experience in 3D and visual production. He writes about the craft of generating product, brand and campaign visuals with AI.
Related Articles
ALL POSTS
Subscribe to our newsletter
Be the first to hear about new techniques, model updates and ideas on AI generation.