
Screen replacement in product photos can solve a presentation problem while creating an accuracy problem. A monitor may have a clean bezel and unreadable menu; a digital frame may reflect the studio; a small appliance display may show bands. Replacing that area with attractive pixels is only useful when those pixels represent the right product and supported state.
Start by deciding what the image must demonstrate. Then connect the physical device, authorized user interface (UI) file and final delivered photograph in a short review record. This guide explains when to reshoot, when a separate screen composite is appropriate, and when missing evidence should stop the edit.
The examples below are hypothetical review exercises. We have not photographed these devices, tested a generation model or measured display performance. The workflow is an editorial production method, not a certification or legal-compliance guarantee.
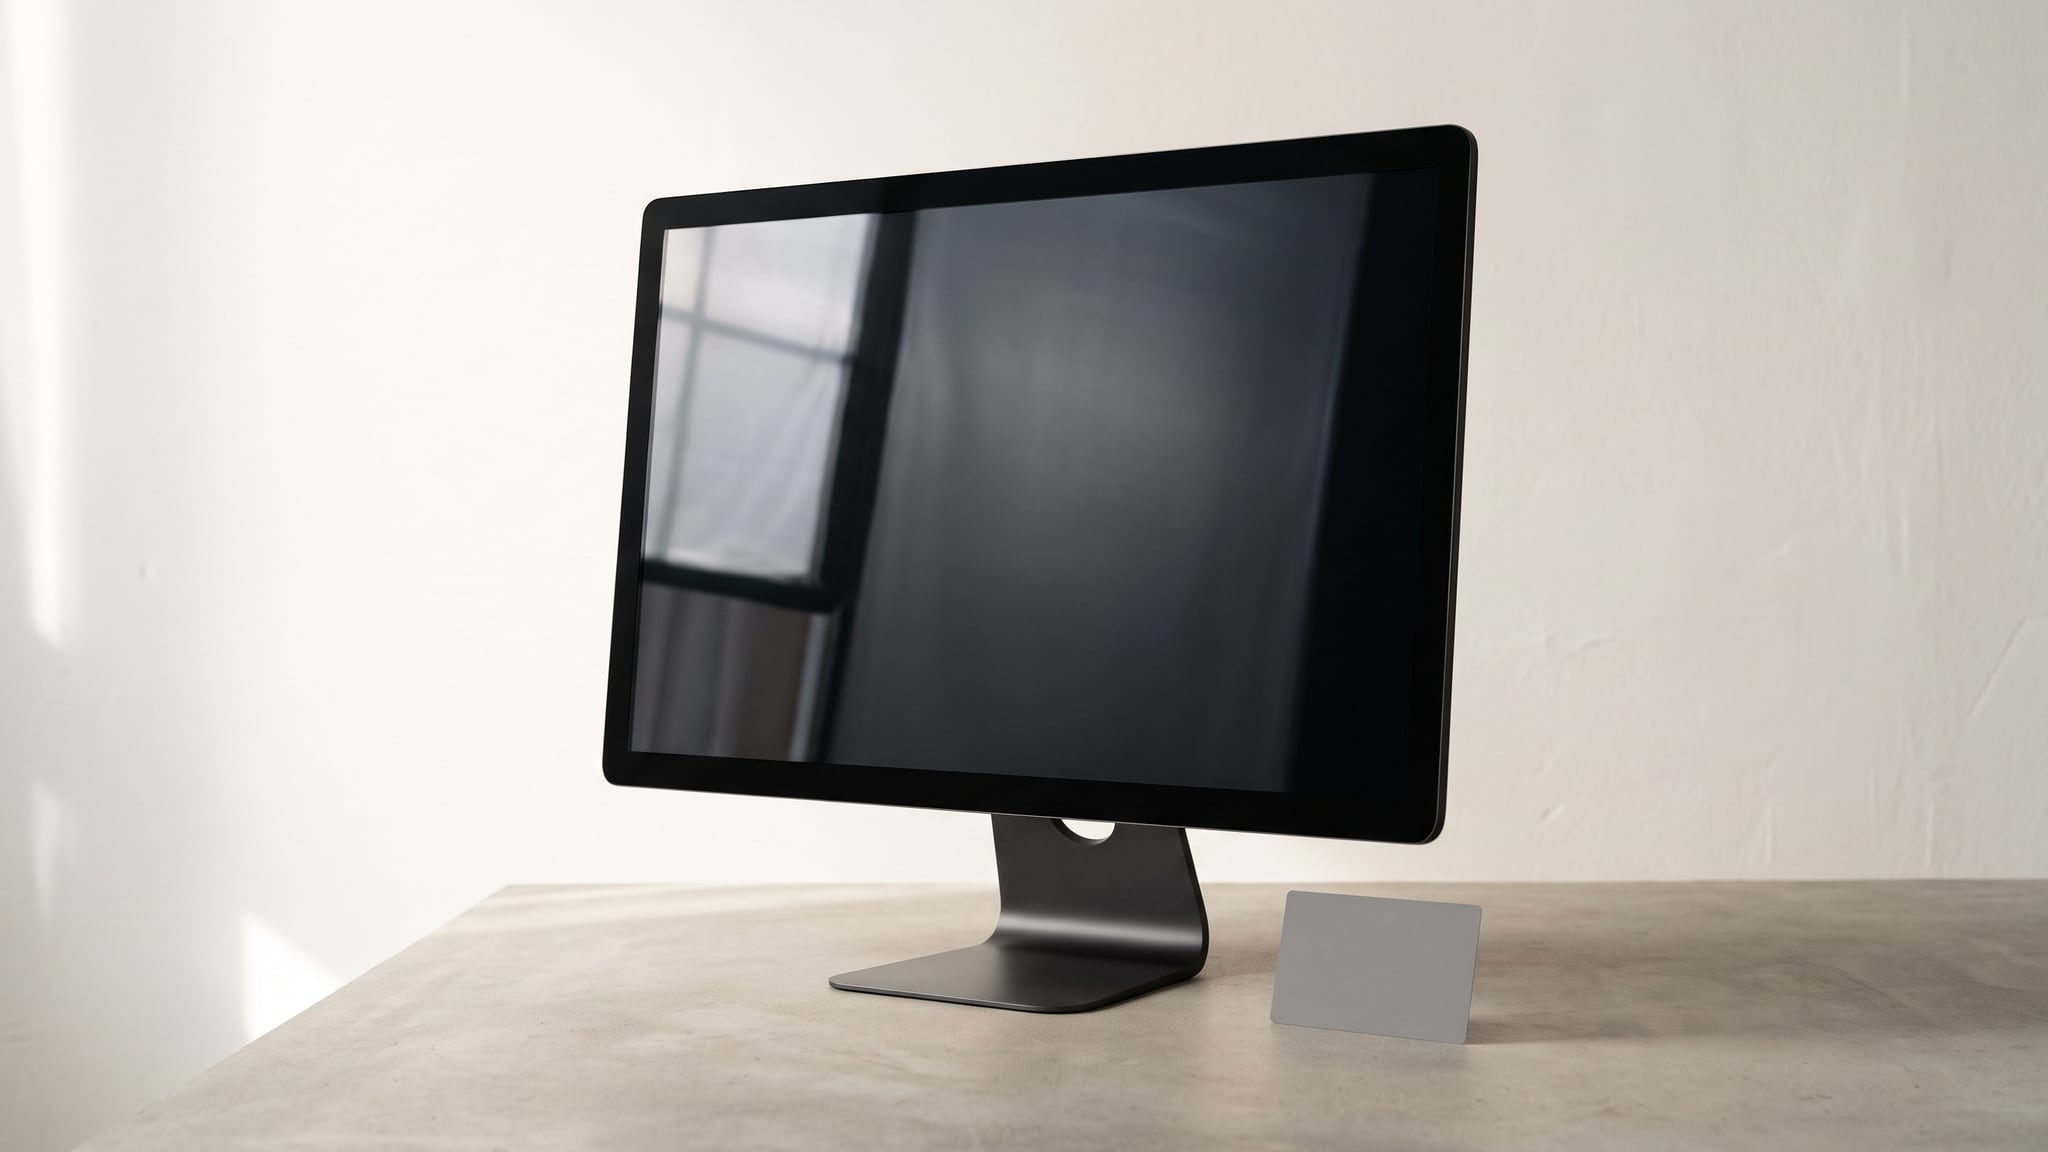
Conceptual AI illustration of a fictional monitor with a blank reflective screen and a plain gray card. It does not document a real device, an interface replacement or a display-performance test.
Decide what the screen is supposed to prove
Write one sentence describing the frame's job before retouching it. “Show where the settings menu appears” needs different evidence from “demonstrate readability in bright sunlight.”
An interface illustration explains supported controls or content. An authorized screenshot placed in a real device photograph may serve that purpose when the model, software, state and visible area match. Review the complete placement and explain the composite where needed; a disclosure cannot repair unsupported functionality.
A physical-display demonstration asks viewers to judge the panel itself. Brightness, contrast, reflections, viewing-angle behavior and visible defects depend on the actual display and capture conditions. A substituted screen does not document those properties. Keep the real capture and an appropriate test record when that is the claim.
An appearance photograph may show the screen switched off. That can be a useful, accurate view of the glass, housing and controls. Do not add an illuminated interface merely because every product image is expected to look active.
The broader AI product photography guide covers scene creation. Here, the central question is whether the visible interface can be traced to this device, rather than whether the scene looks convincing.
Diagnose the artifact before choosing a route
Inspect the original capture at 100% and at the intended listing size. Compare it with the device and source interface where available. A pattern seen at one preview zoom deserves investigation before anyone alters the underlying image.
| What you notice | What to check | Useful next route |
|---|---|---|
| A bright shape covering controls | Whether it follows the lighting or camera position | Adjust the capture setup; preserve evidence of the actual display |
| Fine waves, grids or false color | Whether the pattern changes with framing or preview scale | Investigate sampling interference before editing UI |
| Horizontal bands or uneven exposure | Capture timing, lighting and the camera's supported settings | Test a suitable capture setup and inspect recorded frames |
| Correct housing but unknown screen text | Whether an exact, authorized interface source exists | Request that source or hold the interface image |
| Soft text throughout the photograph | Focus, movement and source resolution | Use the separate blur diagnosis, rather than inventing letters |
These are starting checks, not diagnoses from appearance alone. More than one problem can affect the same photograph.
Nikon's explanation of moiré and false color describes interference between repeating subject detail and sensor sampling. It recommends full-size inspection and discusses changes in camera position, angle or focal length. Its specific aperture and software advice concerns older D800-series equipment, so do not turn it into a universal screen-photography recipe. Deliberately making required menu text unreadable is not a successful correction.
Timing-related banding needs a different investigation. Sony's flicker guidance describes shutter adjustments and distinguishes anti-flicker shooting from finer variable-shutter controls. Availability and useful settings depend on the camera and flickering source. Consult the actual camera guide and compare recorded results; one shutter speed will not solve every display or lighting arrangement.
For ordinary missed focus or insufficient resolution, follow the blur, focus-stack and upscale decision guide. Keep that problem separate from missing or incorrect interface content.
Screen replacement in product photos: choose the route
Use the image's purpose to make the decision, rather than choosing whichever edit is quickest.
- Does the frame demonstrate physical screen performance? Retain or recapture the real display under documented conditions. Do not replace its output to make the demonstration cleaner.
- Does the frame only need to show the device's appearance? Consider an honest screen-off photograph. Check that nearby copy does not imply it demonstrates an active feature.
- Does the frame explain a supported interface? A composite can be considered if you have an authorized source matching the device and intended state, plus a suitable real housing photograph.
- Is the source missing, from another version, or unclear in its permissions? Hold the interface frame. Request an approved capture or source file instead of generating a plausible substitute.
Not every device can export a screenshot. A small embedded display may require a manufacturer-approved interface asset or another authorized capture method. Do not assume a phone-style screenshot shortcut exists, and do not borrow an image from a related model because the screen shape matches.
If the interface implies a connected accessory or external service, verify that relationship separately. The electronics ports and compatibility guide explains why a visible connector or convincing screen does not establish a working configuration.
Prepare the interface source before compositing
Collect the device SKU or revision, firmware or app version, language, orientation and exact screen state. Record the screenshot filename and who approved its use. Keep an untouched source copy so reviewers can compare the output without reconstructing the edit.
State matters as much as visual design. A setup page, paired-device page and active measurement page communicate different things. Do not convert one into another by removing a warning, changing a reading or adding a connected icon. A demonstration account should contain authorized sample information, not a customer's private messages or account details.
Confirm rights for the interface asset and any content inside it, including photographs or artwork displayed by a digital frame. Possessing the device or a downloaded screenshot does not establish permission for every intended use. The supplier-photo permission guide provides a separate starting point for documenting source-file permissions; resolve uncertain rights before uploading assets to another service.
List the elements a reviewer must still see after compositing. For example: the page title, selected language, connection warning and bottom navigation. This small list makes it harder for a visually neat crop to hide a change in meaning.
Keep the exact screen edit in an external editor
Build the composite so another person can identify the original housing photograph and the inserted interface file. The following review sequence is an editorial recommendation, not a tested automatic process.
First, preserve the physical device. Work from a copy and retain the original. Keep the bezel, glass outline, buttons, camera openings and any foreground obstruction available for comparison. An edit that improves the interface while enlarging the active display area changes the product.
Next, place the approved UI on a separate editable layer. In Photoshop, a Smart Object offers a source that can be replaced while retaining transformations, as described in Adobe's Replace Contents instructions. That convenience preserves editing work, not approval of the new source.
Align the insert to the visible display area. Use the active screen boundary rather than the outside of the bezel. Check perspective and crop against the actual device. Do not stretch a screenshot to hide an aspect-ratio mismatch or invent missing portions beyond its edges.
Review glass, edges and occlusions together. A hand, frame edge or reflection should not disappear accidentally. Any reconstructed appearance must remain appropriate to an interface illustration; it cannot establish the panel's measured contrast or real visibility in those conditions.
Compare before exporting. Check the required text, icons and state against the authorized source. Save the editable composite and a preview showing the entire device. If the source is replaced later, repeat the content and crop checks even when the layer transform remains unchanged.
You can explore surrounding scene directions in Oxava, then keep the verified device and screen work separate in your editing workflow. Generative reference input does not certify interface text or preserve every product pixel. Review returned imagery before using it, and avoid asking generation to reconstruct hidden UI as evidence.
Three hypothetical failures that a clean edit can hide
A current-looking menu belongs to the wrong firmware
Available material: a fictional smart-home controller photograph and a sharp screenshot supplied by the design team. The photograph shows the entry-level model, while the screenshot comes from a newer firmware demonstration on another revision.
Mismatch: an extra automation menu implies a feature not established for the pictured SKU. Correct perspective and readable text do not resolve that mismatch.
Next step: request the approved interface capture for the exact model, version and intended state. If it is unavailable, use a suitable appearance photograph or hold the interface frame.
Stop rule: do not approve while the source-to-device match is unknown. Removing the extra menu with generation would create another unverified interface rather than document the supported one.
The screenshot fits the bezel but loses a warning
Available material: a fictional digital-frame photograph and an authorized setup screenshot. The editor fills the outer glass rectangle and crops the lower edge to produce a tidy composition.
Mismatch: the displayed area is larger than the real active panel, and a setup warning disappears. The finished photograph now suggests a different device state even though the source screenshot was valid.
Next step: restore the actual active-area boundary, correct the placement and confirm the warning remains visible where the original interface shows it. If the requested crop cannot communicate that state clearly, choose another framing.
Stop rule: reject a fit achieved by stretching the interface or silently omitting meaningful UI. Review the final listing crop as well as the editable master.
An interface illustration becomes a brightness demonstration
Available material: a fictional monitor lifestyle composite with an approved screen image. A later layout places it beside copy claiming strong daylight visibility.
Mismatch: the screen was inserted for illustration. Its attractive brightness does not record what the physical display produced in the photographed room.
Next step: remove the unsupported performance implication or commission an appropriate real capture and evidence for the claim. Keep the existing composite only in a placement whose purpose it can support.
Stop rule: a small “screen simulated” note does not turn the composite into performance evidence. Review the image and adjacent wording together, including later reuse by another team.
Save a screen-to-delivery review record
Use one record per approved frame, linking related versions rather than overwriting the source history. The fields below are a practical template, not a prescribed industry standard.
| Field | What to record |
|---|---|
| Physical product | SKU/revision and original photograph filename |
| Frame purpose | Appearance, supported interface illustration or physical-display demonstration |
| Interface identity | Firmware/app version, language, orientation and exact state |
| Authorized source | UI filename/version, source owner and permitted use |
| Privacy review | Approved demonstration data or required removal of personal information |
| Screen boundary | Active display area, occlusions and protected housing details |
| Required visible elements | Text, icons, warnings and controls that must survive the crop |
| Editable file | Composite version, source-layer identity and placement notes |
| Delivery | Export filename, destination URL and actual listing crop |
| Decision | Reviewer, date, approved purpose and unresolved issues |
For a hypothetical record, “controller C02, firmware F3, Turkish setup screen, UI file C02-F3-TR-setup-v2.png” is more useful than “latest screen.” It identifies what to compare. It does not prove that the file is genuine or authorized; retain the supporting source and approval too.
A new UI source, changed crop or different marketing claim should reopen the relevant checks. An unchanged filename is not enough to show the underlying file stayed the same.
Check the file customers actually receive
After upload, open the actual page and inspect the delivered image at its normal size and enlarged where available. Compare the important UI elements with the approved export. Check that the page uses the intended language and product variant, and that a thumbnail or responsive crop has not hidden a warning or control.
If colors change after delivery, investigate that through the product-photo upload and color guide. Do not compensate by inventing a brighter panel or modifying status information. Record the delivered file and placement that passed review, not merely the local master.
Reliable screen replacement in product photos depends on a traceable interface source, honest image purpose and a final comparison. Keep those decisions explicit, then use Oxava to develop scene concepts around the verified product material. The goal is a useful product image whose screen communicates what the device actually supports.
Frequently Asked Questions
Can AI remove glare and recover the original screen content?
A generated replacement can look plausible without reproducing what was hidden. Use an authorized source capture of the correct interface and state, or photograph the display again. Do not treat invented text, icons or readings as recovered evidence.
Does a real screenshot prove the display's brightness or contrast?
No. A screenshot supplies interface content, not a record of light emitted by the physical panel under the photographed conditions. A composite should not be used as evidence of brightness, contrast, viewing angles or other display performance.
Must an electronic product's screen be on in every photograph?
No. An honest screen-off photograph can show the device's construction and appearance. Choose a separate supported interface image when the buyer needs to understand a menu or control, and review the surrounding copy so the purpose stays clear.
Does replacing a Smart Object preserve approval of the image?
No. Photoshop can retain transformations while replacing the source, but the new file may contain a different layout, language or device state. Recheck the source identity, visible screen area, crop and exported image before approving the replacement.
Oxava Team
Egemen Küpçü is the founder of Oxava, with 10+ years of hands-on experience in 3D and visual production. He writes about the craft of generating product, brand and campaign visuals with AI.
Related Articles
ALL POSTS

Subscribe to our newsletter
Be the first to hear about new techniques, model updates and ideas on AI generation.