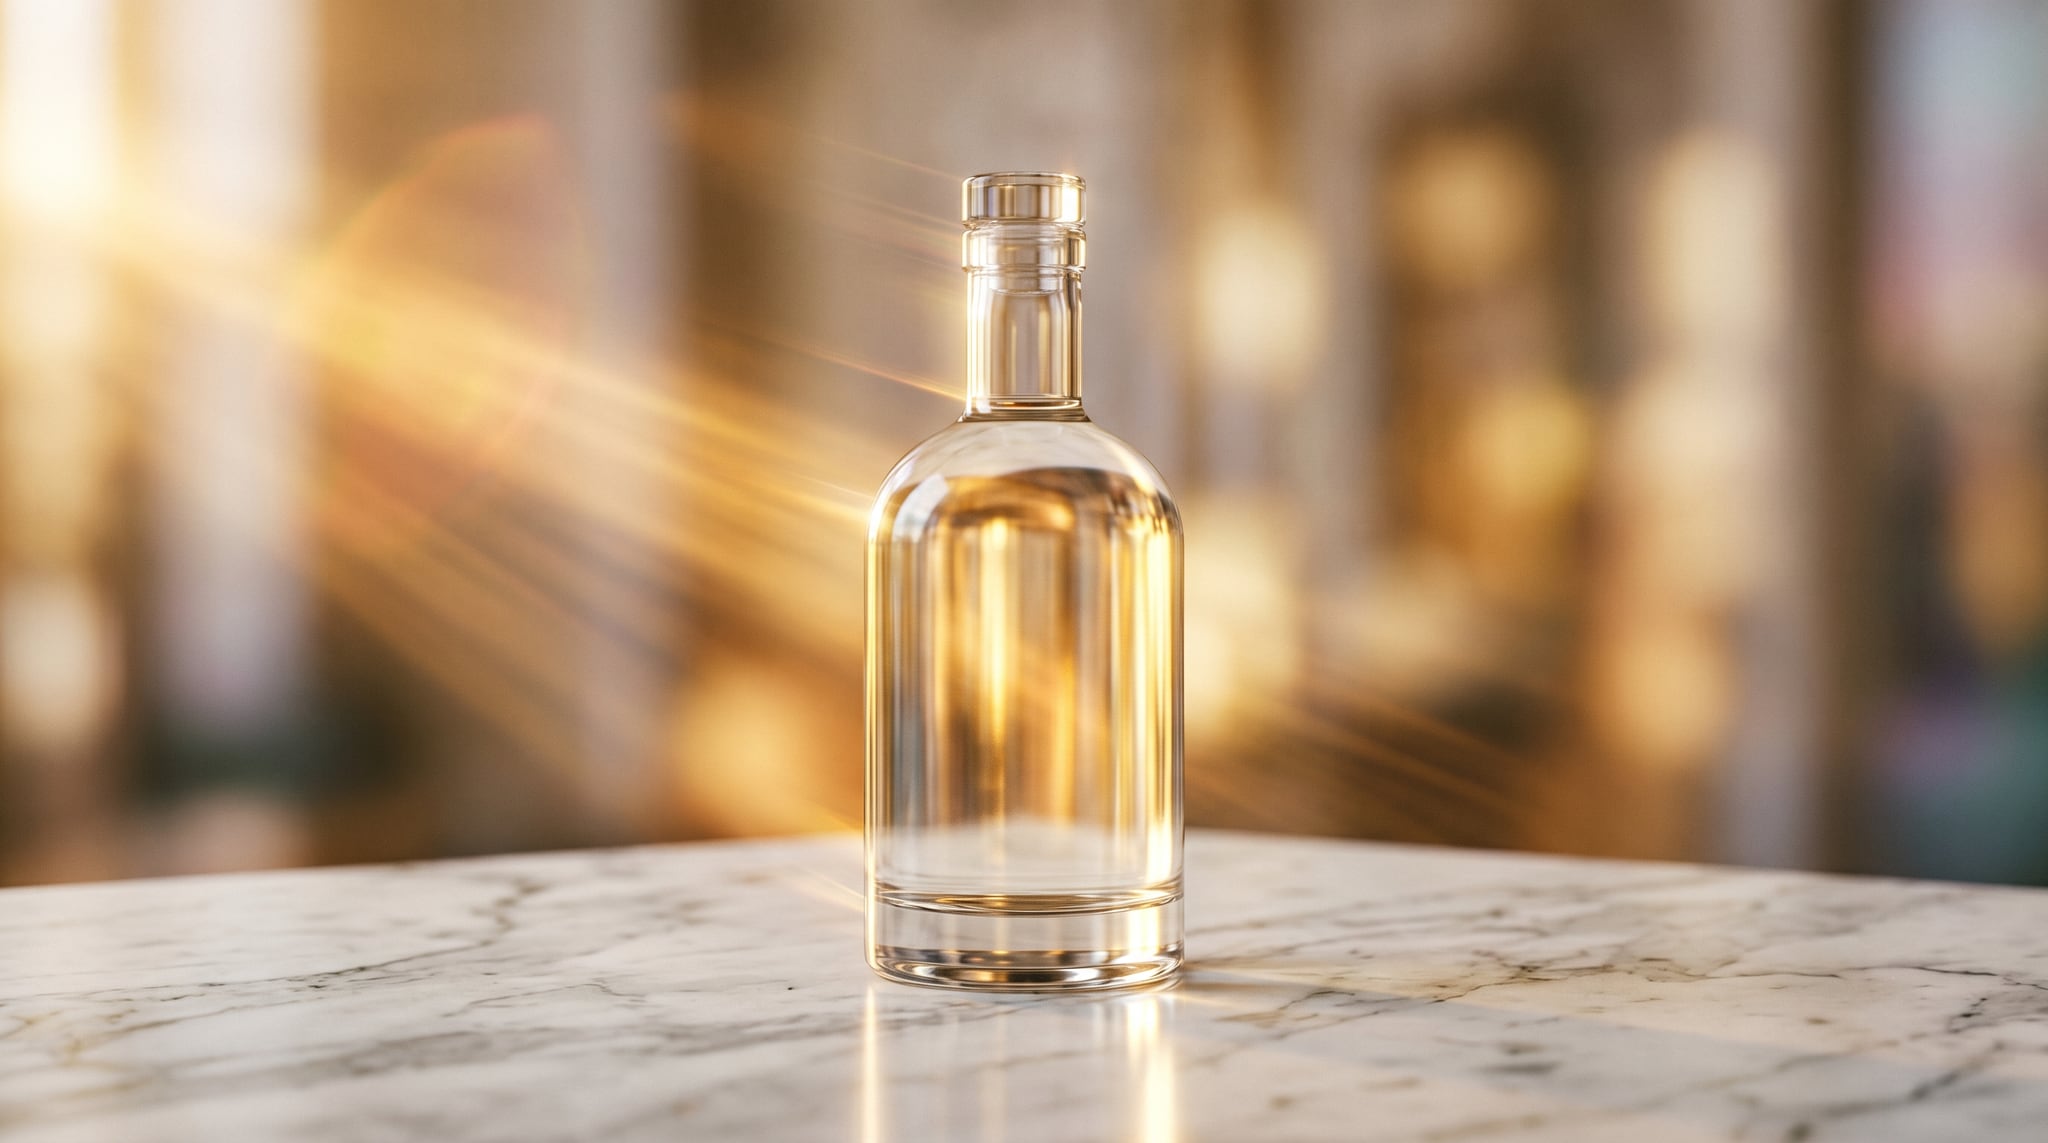
You already have the photo. It's the hero shot from your product detail page — the one that took a real lighting setup, a clean background, and an hour of retouching to get right. The static version works fine on a PDP. But drop that same frozen JPEG into a Reel or an ad slot and it dies on the feed, because motion is what the feed rewards. The good news is that you don't need a reshoot, a videographer, or a new asset. You can turn that product photo into a video with AI — animating the exact shot you already trust, with subtle pans, depth shifts, light sweeps, and gentle float effects that make it feel alive without changing what it shows.
This is an image-to-video (i2v) workflow, and it's worth being precise about what it is — and isn't — before we start. This guide is about motion applied to your existing catalog photo: the hero stays the hero. It is not about talking avatars, AI actors, or creator-style UGC where a person holds and reviews your product. That's a different (and complementary) approach we cover in our guide to UGC-style product videos with AI. Here, nobody talks. The product itself moves — and that's the whole point.
By the end you'll know which photos animate well, how to write the one prompt that decides everything, which model to reach for, and how to cut the result for a PDP versus a Reel. Every step runs in the Oxava studio today: upload your product image, run Kling v3 or Seedance 2.0, download the clip.
Why animate your existing product photos (and how this differs from UGC)
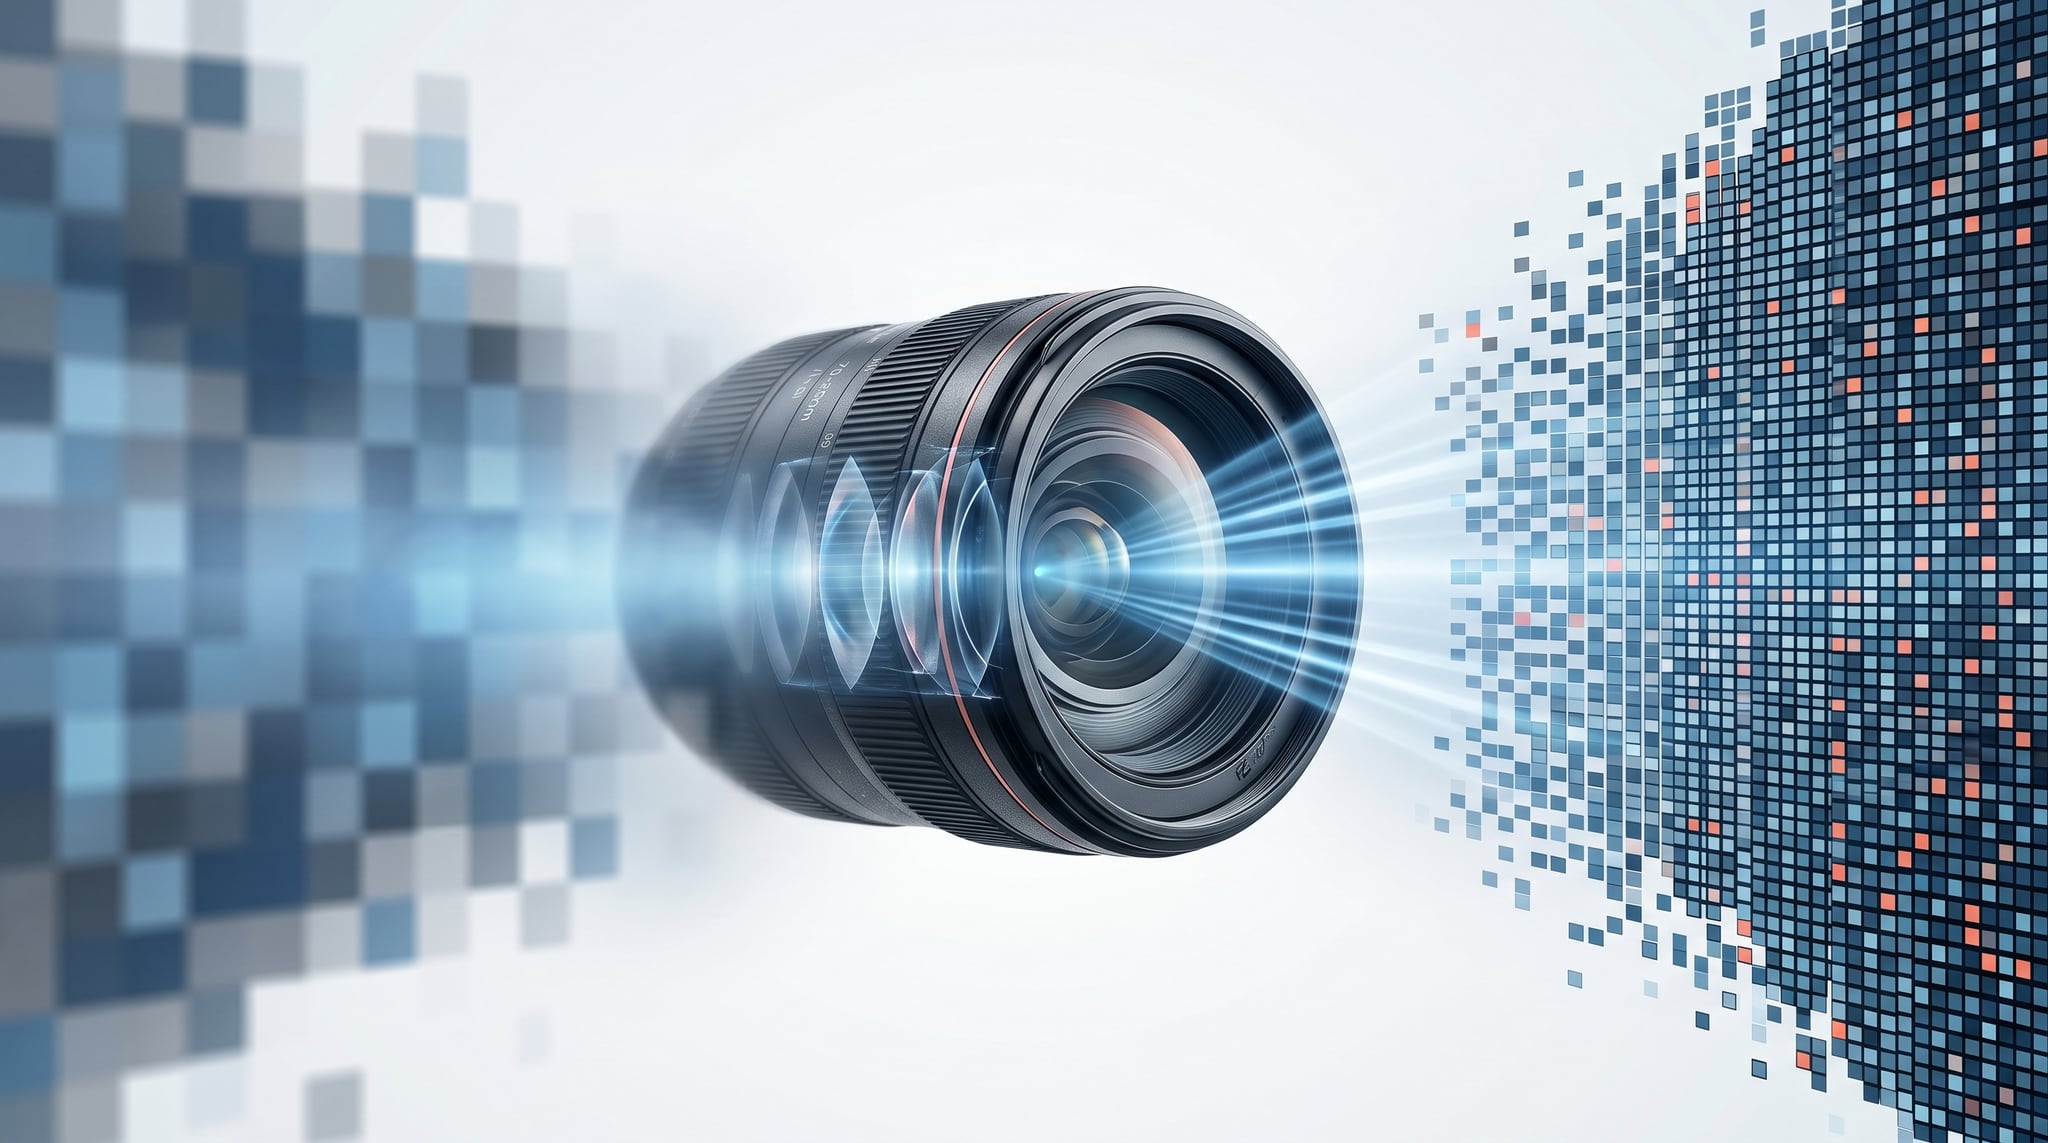
Image-to-video models take a single still as the first frame and generate the seconds that follow. The model doesn't invent a new scene — it interprets the depth, lighting, and edges already in your photo and adds believable movement: a slow push-in, a parallax shift, a glint travelling across a surface, particles drifting past. The output is a short clip — typically 5 to 10 seconds — where your product holds center stage and simply comes to life.
That short clip earns its place in three spots a static image can't fill:
- On the product detail page. A 6-second loop that slowly orbits the texture, catches the shine, or reveals the depth of a material gives shoppers the tactile read a flat photo can't. It's the closest thing to picking the item up.
- In social feeds. Reels, TikTok, and Shorts are video-native. A moving product shot stops the scroll where the same image scrolls right past. Motion is the format's entry fee.
- In paid ad slots. Video placements consistently get more attention than static ones, and animating an asset you already shot is the cheapest possible way to fill them — no production line, just a render.
Here's the line that matters for this whole guide: this is product motion, not a person. The UGC approach builds a scene around your product and often puts a creator or avatar in frame talking about it — great for relatability and trust, but it's a fabricated scene with a human anchor. The i2v approach we're covering keeps your actual hero shot and animates that. No new background, no model, no script. If your brand lives or dies on the product looking exactly right — jewelry, cosmetics, hardware, footwear — animating the real catalog photo protects that fidelity in a way a generated scene can't. The two methods aren't rivals; you'd use i2v for the clean hero clip and UGC for the lifestyle testimonial. This guide is the hero clip.
Choosing the right source image
i2v models animate what you give them. They cannot add quality that isn't in the first frame — they can only move it. So the single biggest lever on your final clip is the photo you start with, and most disappointing results trace straight back to a weak source. Before you think about prompts or models, pick a still that gives the model something clean to work with.
A photo that animates well tends to be:
- Sharp and high-resolution. Any softness or focus miss in the still becomes a blurry, smeary clip — motion amplifies it. Start from the crispest version you have.
- Well lit, with a clear light direction. Even, intentional lighting gives the model a stable read of form and surface. A travelling highlight or light sweep only looks good if the original lighting was coherent to begin with.
- On a simple or studio background. A plain, uncluttered backdrop keeps the model's attention on the product and avoids busy elements warping in the background. If your raw photo has a messy or distracting background, clean it first — our guide to AI background removal and replacement walks through swapping in a clean studio backdrop.
- Free of compression and motion blur. Heavily compressed JPEGs (blocky edges, banding) and any existing motion blur both confuse the model. Use the original export, not a re-saved or screenshotted copy.
- Composed with a little room. A subject that fills every pixel edge-to-edge leaves nowhere for the camera to move. A small margin lets you ask for a push-in or a slow orbit without cropping into the product.
One more rule if you sell variants: keep angles consistent across the set. If you're animating the same shoe in five colors, shoot or generate them from the same angle and distance so the clips feel like a matched family rather than five unrelated videos. That consistency is part of a broader brand-look discipline — if you're building product imagery from scratch, our AI product photography walkthrough covers how to get a clean, repeatable hero shot in the first place, and AI lifestyle images for an e-commerce catalog covers the scene-based variations if you want some of those animated too.
If you don't have a clean studio frame yet, you can generate one and animate it in the same place. Open the Oxava studio, produce a sharp product shot, then send it straight to video — no handoff between tools.
Writing the motion prompt (the part that decides everything)
This is where most i2v attempts go wrong, and it's the cheapest thing to get right. The instinct is to describe the scene — "a white sneaker on a grey background, soft studio lighting." But the model can already see all of that; it's your first frame. Re-describing the scene wastes the prompt and often makes the model second-guess the image. The rule, straight from the way the strongest i2v models are built: describe what happens next, not what's already there.
So instead of restating the photo, you write a motion brief. Three ingredients carry almost all the weight:
1. Specific verbs and physics. "The camera slowly pushes in as the bottle rotates a quarter-turn, light gliding across the glass" beats "make it move." Vague motion gets you the model's default — usually a timid, slow drift. Concrete verbs (rotate, sweep, drift, settle, glint, rise) tell it exactly what to animate. Where physics is involved — liquid, fabric, particles — name it: "steam rising and curling," "fabric settling," "droplets sliding down."
2. Camera direction. Treat yourself as the cinematographer. Name the move: slow push-in (dolly in), gentle orbit, subtle parallax, locked-off with the product rotating, slow tilt up. One clear camera instruction is better than three competing ones. Pair it with the product motion rather than stacking both at full intensity.
3. A motion budget on one element. The most common failure is asking for too much at once — camera flying around and the product spinning and the background shifting. Pick the single most energetic element and spend your motion there; let everything else stay calm. A clip where only the light moves across a still product reads as premium. A clip where everything moves reads as a glitch.
Subtle vs aggressive. Most i2v models default to slow, gentle motion. If you want something punchier — a fast reveal, a snap rotation — you generally have to ask for it with aggressive verbs ("rapidly," "snaps," "whips"), which override the lazy default. For product hero shots you usually want the opposite: lean subtle. Restraint is what keeps logos and labels from warping (more on that below).
Timing cues. For anything longer than a single action, sequence it with temporal language so the beats land in order: "Initially the product sits still, then the camera slowly pushes in, and finally a soft light sweep crosses the surface." As a rough guide, a single clean action fits in 3–5 seconds, a two-beat sequence in 6–8, and anything more complex needs 9–12 — but longer clips have more room to drift, so don't reach for length you don't need.
The floating-product recipe. One look is reliable enough to keep in your back pocket: a product floating in dark space with drifting particles. Start from a shot on a black or very dark background with a single strong light, then prompt something like "the product slowly floats and rotates in dark space, fine particles drifting past, a single soft light sweeping across the surface." The dark background hides the seams, the single light gives clean highlights, and the particles add life without risking the product itself. It's a near-foolproof premium clip.
A quick before/after on prompting the same sneaker shot:
| Weak prompt | Strong prompt |
|---|---|
| "A white sneaker on grey, make a cool video" | "Camera slowly pushes in; the sneaker rotates a gentle quarter-turn; a soft highlight sweeps across the toe; everything else stays still" |
| Re-describes the scene, asks for vague "cool" motion | Describes what happens next, names the camera move, budgets motion on one beat |
| Result: timid drift or random warping | Result: a controlled, premium 6-second reveal |
If you want to go deeper on the cinematic vocabulary — shot types, camera moves, pacing, frame anchoring — our guide to prompting AI video generators is the full reference, and it applies directly to i2v even though it's framed around video generation broadly.
Picking the model in Oxava: Kling v3 vs Seedance 2.0
Oxava's studio ships two strong i2v families built in, and they suit different jobs. You don't need to leave the app to compare them — and you shouldn't commit to a hero render before testing cheaply.
Kling v3 is the cinematic workhorse: smooth, physically believable motion with native audio, available in a Standard tier (fast, economical — perfect for testing prompts) and a Pro tier (higher fidelity, multi-shot support — for the final hero clip). The workflow that saves the most credits is to iterate at Kling Standard, 5 seconds, until the motion is exactly what you want, then re-run the winning prompt at Pro for the version you'll actually publish. Testing at Pro from the start is how you burn budget on rejects.
Seedance 2.0 rewards a director mindset — it's built for multimodal, scene- and object-driven prompting and handles up to several reference images, including a first-and-last-frame mode where you set the opening and closing frames and let it interpolate the motion between them. It's particularly strong on scenes, objects, and architecture — exactly the non-human subjects a pure product clip is made of. There's one limit that, for this use case, is actually a feature: Seedance 2.0 doesn't render realistic, identifiable human faces (you'd use a different model for people). Since this entire workflow is product-motion without a person, that limit never bites — and it makes Seedance an excellent fit for clean hero-product clips.
A quick way to choose:
| If you want… | Reach for | Why |
|---|---|---|
| Polished, multi-beat hero shot with audio | Kling v3 Pro | Cinematic motion, multi-shot, native sound |
| Fast, cheap prompt iteration | Kling v3 Standard | Same engine, economical for testing |
| Object/scene-driven motion, start+end frame control | Seedance 2.0 | Director-style, multi-reference, strong on objects |
| Any clip featuring a real person's face | Neither (use a people-capable model) | Seedance won't render identifiable faces; product-only here |
For a broader view of how these stack up against the wider field on quality, motion, and cost, see our text-to-video AI model comparison for 2026, and our hands-on review of Grok Imagine Video 1.5 for creators digs into one fast-moving entrant if you're curious how the newer players handle motion.
Whichever you pick, the pattern is the same: test at Standard, 5 seconds, then scale. Open the Oxava studio, upload your product photo, and run a cheap draft before committing to the hero render.
Output formats: PDP vs Reels/TikTok
The same animated product serves two very different destinations, and they want different cuts. Don't export one clip and hope it works everywhere — decide the destination first, then animate for it.
For the product detail page, go calm and slow. A 5–10 second clip with subtle pans, gentle depth shifts, and a soft light sweep is exactly right. The viewer is already considering the purchase; the clip's job is to reveal texture, scale, and shine, not to grab attention. Square (1:1) or the native aspect ratio of your PDP gallery usually fits best, and a clean loop is ideal so it can autoplay unobtrusively.
For Reels, TikTok, and Shorts, go vertical and punchier. Shoot and animate for 9:16 from the start — composing for vertical and cropping later always beats the reverse. Keep it short: around 6 seconds is the sweet spot for social autoplay, long enough to land a beat and short enough to loop before attention drifts. And the hook lives in the first second — lead with the most striking motion (the reveal, the shine, the float), because that opening frame decides whether the scroll stops.
Here's the matrix at a glance:
| Destination | Aspect ratio | Length | Motion style |
|---|---|---|---|
| Product detail page | 1:1 or gallery-native | 5–10s, clean loop | Subtle pans, depth shifts, light sweep |
| Reels / TikTok / Shorts | 9:16 vertical | ~6s sweet spot | Punchier reveal, hook in first second |
| Paid feed ad | 1:1 or 9:16 per placement | 6–10s | Clear beat, product front and center |
A practical move: animate the hero shot once at the higher Pro fidelity, then export two cuts — a calm square loop for the PDP and a tighter vertical version for social. One render, two channels.
Common mistakes (and quick fixes)
Most bad i2v clips fail for the same handful of reasons. Knowing them up front saves you the credits you'd otherwise spend learning them the hard way.
- Too much camera movement. Dramatic flying camera moves are where models break — they introduce warping, melting, and background chaos. Fix: default to one subtle move (slow push-in or gentle orbit) and budget your energy on a single element.
- Warping logos and text. Packaging text, logos, and labels are the most fragile parts of any product clip; the model happily smears them. Fix: keep those elements stable, minimize motion over them, lean subtle, and cut the clip before any warping creeps in. Shorter clips simply have less room to fall apart.
- Unrealistic physics. Liquid that moves wrong, fabric that defies gravity, reflections that slide unnaturally — these read as fake instantly. Fix: name the physics explicitly in the prompt ("droplets slide down slowly," "fabric settles") rather than leaving it to the model's guess.
- Clips that run too long. Distortion compounds over time, so a 12-second clip has far more chances to fall apart than a 6-second one. Fix: match length to the action — don't reach for duration you don't need, and stitch two short clean clips rather than asking for one long risky one.
- Re-describing the static scene. Restating what's already in the first frame wastes the prompt and can make the model fight the image. Fix: describe only what happens next — the motion, the camera, the timing.
- Animating a weak source frame. A blurry, compressed, or badly lit still becomes a worse clip; no prompt rescues it. Fix: fix the photo first (sharpen, relight, clean the background) before you ever hit generate.
Frequently Asked Questions
How long should a product video be? For a product detail page, aim for 5–10 seconds — long enough to reveal texture and shine, short enough to loop cleanly. For social (Reels, TikTok, Shorts), around 6 seconds is the sweet spot for autoplay. Across the board, shorter is safer with i2v: distortion compounds over time, so don't reach for length you don't need.
Will the AI distort my logo or label? It can — text, logos, and packaging type are the most fragile elements in any i2v clip. The way to protect them is to keep motion subtle, minimize movement over those areas, lean on a single calm camera move, and cut the clip before any warping appears. Starting from a sharp, high-resolution source frame and keeping clips short both reduce the risk significantly.
Do I need a video shoot, or just one photo? Just one photo. That's the entire premise of image-to-video — you animate the static shot you already have, no shoot, no videographer, no new asset. As long as the photo is sharp, well lit, and on a clean background, a single still is all the model needs to produce a 5–10 second clip.
Should I use Kling or Seedance for products? Both work well. Reach for Kling v3 Pro when you want a polished, cinematic hero shot with native audio and multi-shot support, and test at Kling Standard first to keep costs down. Reach for Seedance 2.0 for object- and scene-driven motion, multi-reference input, or first-and-last-frame control — and because it's built for non-human subjects, it's an excellent fit for pure product clips with no person in frame. Both are live in the Oxava studio.
Turn Your Product Photos Into Videos: The Complete Workflow
You don't need a reshoot to give your catalog motion. The photo you already trust — the clean, lit, retouched hero shot — is all an image-to-video model needs to produce a short clip that earns its place on a PDP, in a feed, or in an ad slot. The craft is mostly restraint: pick a sharp source frame, describe what happens next instead of re-describing the scene, budget your motion on a single element, and keep it short enough that nothing has room to warp. That's the whole discipline that separates a premium product reveal from a glitchy mess.
And unlike a lot of "AI video" advice, every step here runs today. Upload your product photo, test the motion at Kling Standard for a few seconds, then scale the winning prompt to Kling v3 Pro or run it through Seedance 2.0 — and export one calm square loop for the PDP and one punchy vertical cut for social. Open the Oxava studio and turn the product photo you already have into the video your feed actually rewards.
Oxava Team
From the Oxava content team. Writing about the creative side of generating images and video with AI.
Related Articles
ALL POSTS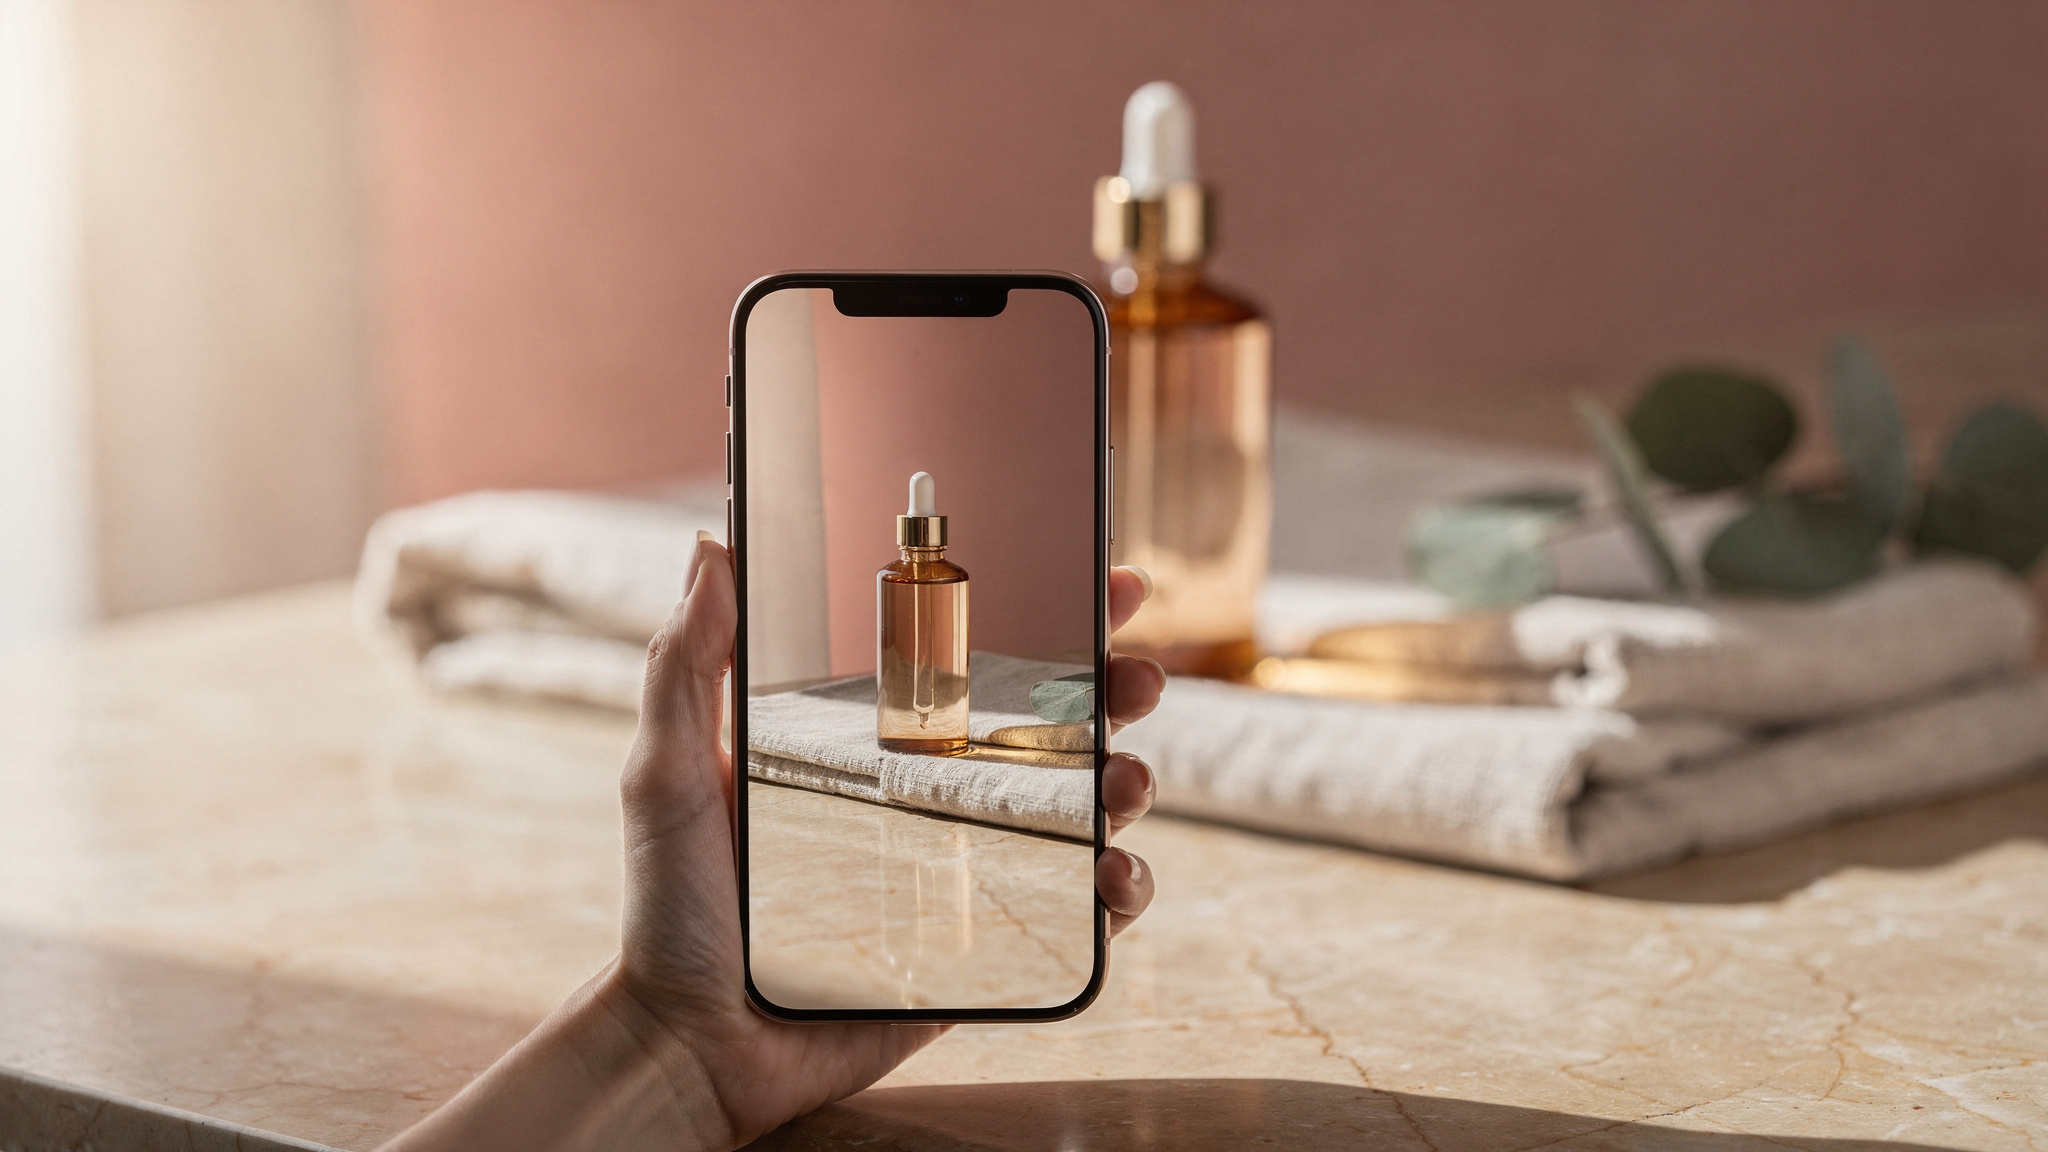

Subscribe to our newsletter
Be the first to hear about new techniques, model updates and ideas on AI generation.