
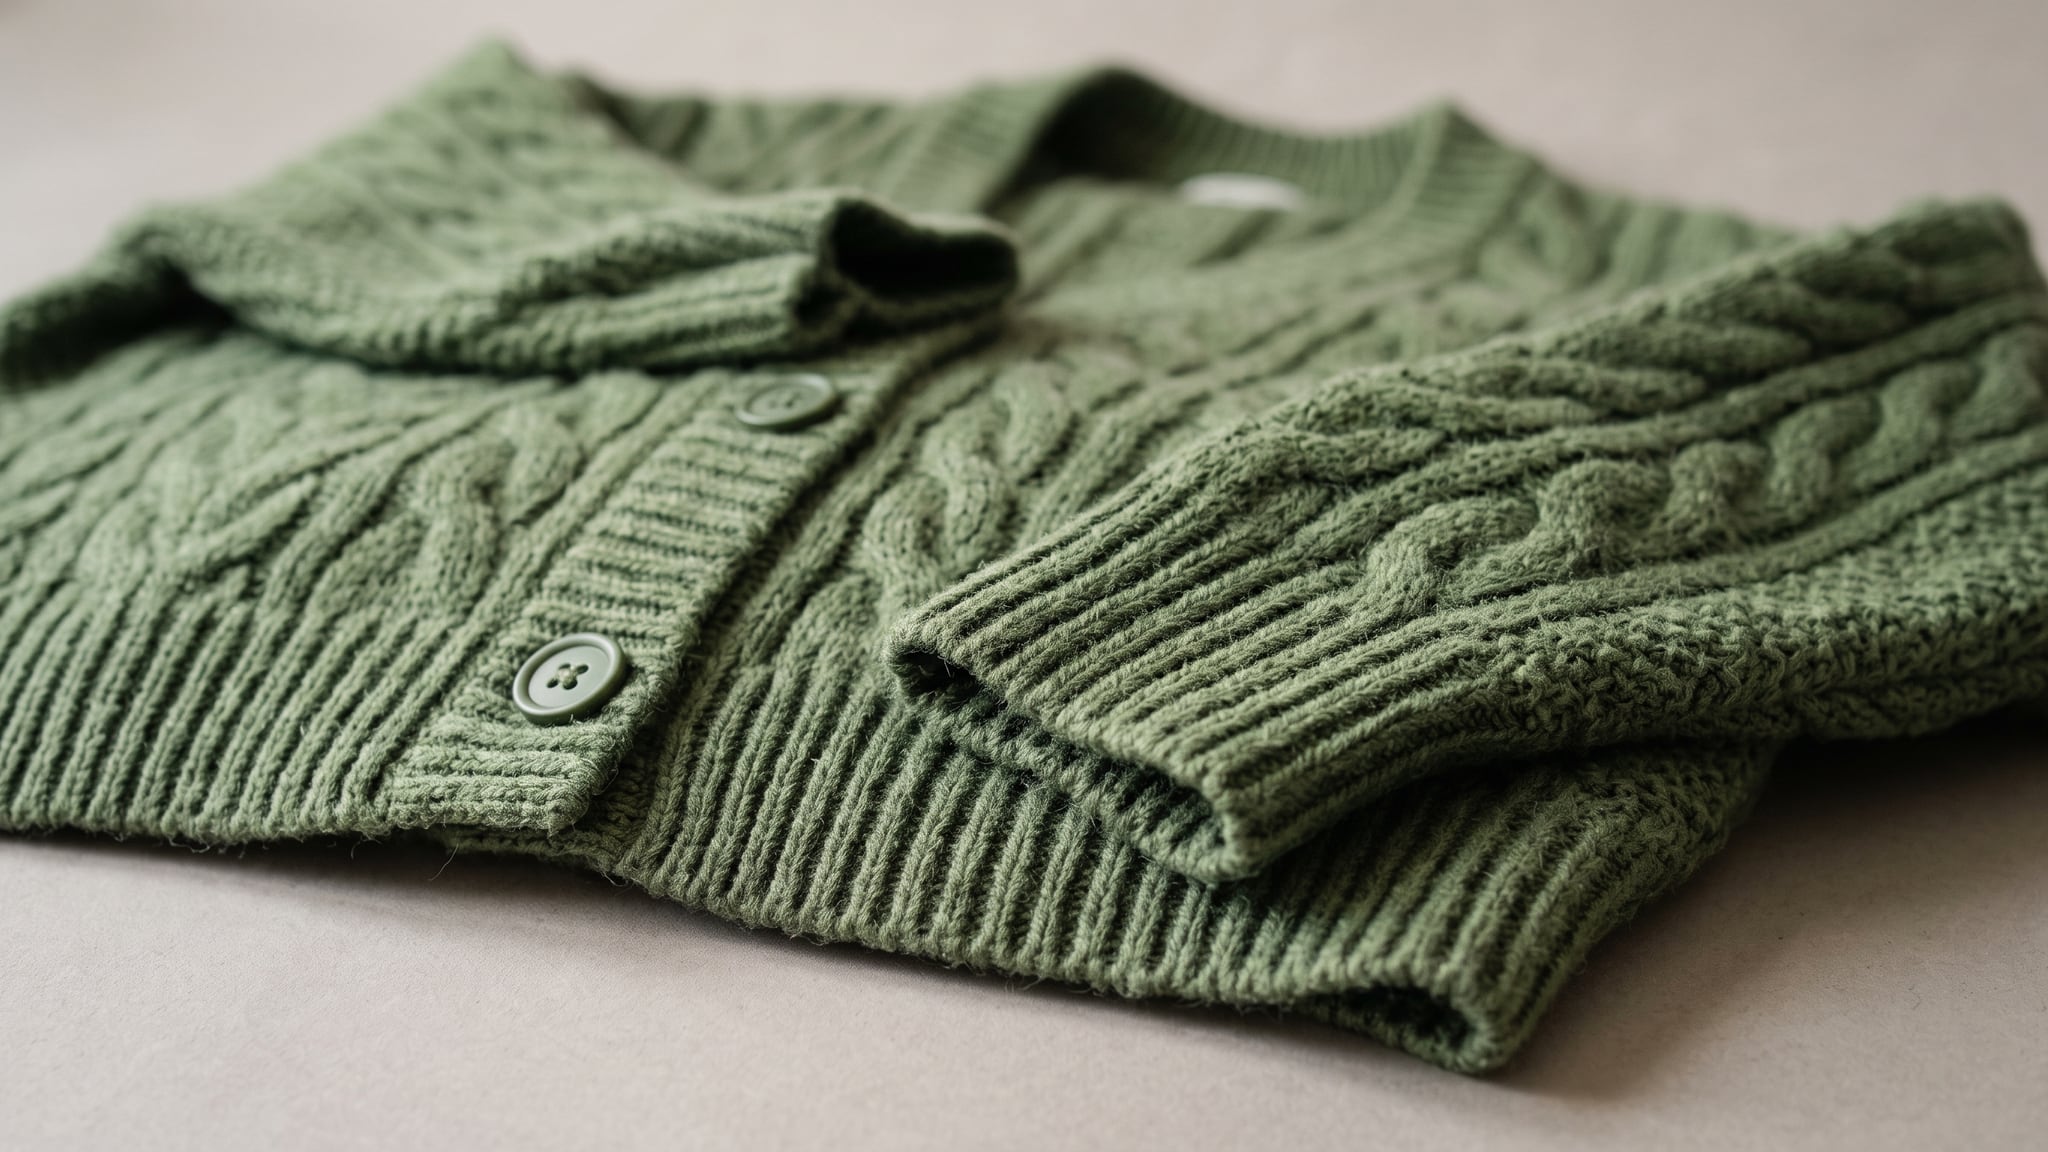
AI clothing detail photos need a different standard from an atmospheric fashion image. A close-up invites shoppers to examine the fabric, follow a seam, and inspect a fastening. If an edit replaces irregular yarn with smooth ridges or redraws a buttonhole, the photograph may look polished while describing a different garment.
Build the detail gallery from photographs of the actual item. Use AI cautiously for presentation, and retain an original beside every candidate. This guide creates a three-photo set for a static apparel product page: fabric surface, a construction junction, and fastening or trim.
The green cardigan cover is an AI-generated editorial illustration. It is not a photograph of the hypothetical rust cardigan discussed below or evidence of a tested editing result.
The broader AI product photography guide covers the surrounding workflow. Here, help customers inspect what you can verify without manufacturing missing detail.
Choose three AI clothing detail photos with distinct jobs
Give each picture a different customer question to answer:
- Fabric surface: What does the visible pattern look like? Show enough repeating texture to understand its direction, spacing, and relationship to the garment.
- Construction junction: How do the parts meet? Include a cuff-to-sleeve transition, collar attachment, pocket edge, or another relevant junction, with context on both sides.
- Fastening or trim: What closes or finishes the item? Photograph the actual button and buttonhole, zipper, binding, or other distinguishing feature.
Shopify's clothing photography guide recommends close-ups that show fabric texture, stitching, and pocket details. Our three-part selection turns that advice into a compact shot list; it is an editorial workflow, not a prescribed platform requirement.
For a hypothetical rust cardigan, choose a cable-knit surface crop, the ribbed cuff where it meets the sleeve, and a button beside its corresponding buttonhole. Keep useful surrounding fabric in each frame. An isolated button floating against white loses information about attachment and scale.
Detail slots complement on-model apparel images and ghost mannequin photography. They do not establish fit or movement. Likewise, a photograph cannot establish fiber composition, fabric weight, softness, or stretch. Confirm those descriptions from product documentation, measurements, or appropriate physical assessment before using them in listing copy.
Capture the evidence before improving presentation
Create a reference map before opening an image generator. Keep one whole-garment photograph for orientation, then identify the close-ups that show the cuff ribbing, construction seam, cable pattern, button, and buttonhole. A single capture can document several features if each is genuinely visible.
Label these sources with the product identifier, color variant, and photographed area. Note which image resolves each question. If the buttonhole is covered, mark it as missing and photograph it; do not ask an edit to reveal what is underneath.
For capture, use steady support and lighting that makes the structure legible without harsh glare or deep shadow. Keep the garment relaxed unless the shot deliberately documents a particular arrangement. Stretching a cuff changes its appearance, so avoid silently presenting that arrangement as its resting state.
Check focus across the important area before moving the garment. Keep the original high-quality files and make working copies. Shopify also recommends high-quality capture and color correction in its clothing photography workflow. Compare the color across the set under consistent viewing conditions; a warm backdrop should not become permission to turn rust into orange.
Check for moiré in the original
Fine repeating textiles can create interference patterns during capture. Nikon explains that these can appear as moiré or colors absent from the subject, and recommends checking photographs at 100% magnification. Its guidance includes changing camera angle or focal length; the article's equipment recommendations concern specific cameras and should not be generalized to every setup. See Nikon's explanation of moiré and false color.
If you see a suspicious wave or color band, compare another capture with a slightly different angle or camera-to-garment distance. Recheck focus and framing after the change. Keep the physical textile available for comparison. Establish whether the artifact existed before editing so you do not blame generation for a capture problem or mistake an artifact for real patterning.
Decide between a crop, new capture, and AI editing
Choose the least transformative method that answers the customer's question. A clean crop of an existing photograph may already provide the entire detail image.
| Source condition | Recommended next step | Acceptance condition |
|---|---|---|
| Detail is sharp, visible, and large enough | Crop the real photograph in an external editor | The crop retains useful context and meets the intended display size |
| Detail is blurred, hidden, or too distant | Photograph that area again | The new capture resolves the feature before any AI work |
| Detail is clear but its backdrop is distracting | Try a restrained reference-based edit | Every visible garment feature survives comparison with the source |
| Garment reconstruction is unacceptable | Generate an empty background, then composite externally | The garment remains sourced from the real photograph and its edges are checked |
| A usable crop needs a larger delivery file | Evaluate careful upscaling separately | Enlargement introduces no unsupported structure or misleading sharpness |
Upscaling deserves particular caution. Adobe's Camera Raw documentation states that Super Resolution doubles width and height, producing four times the pixel count. That is an output-size description. Our practical inference is that more pixels do not establish the original garment's construction or recover evidence that was never captured.
Use the AI image upscaling guide when enlargement is actually needed. Do not upscale first and then use newly convincing yarn detail as the reference for subsequent edits. Preserve the original as the comparison source throughout.
Build the three-detail set with Oxava
Open Oxava's image studio when you have a specific presentation change to test. For reference editing, choose an available model that accepts an image reference and provide the relevant real close-up. Keep the whole-garment image and reference map available for your own review; follow the selected model's supported inputs rather than assuming every model handles multiple references alike.
The following three prompts are untested starting points, not demonstrations of measured performance. Instructions to preserve texture express intent. They do not guarantee pixel preservation, even when the requested change sounds limited to the background.
Detail one: establish a trustworthy surface view
Begin with the cable-knit surface photograph. Crop it externally to show the pattern and a recognizable neighboring feature, if available. Look for uninterrupted pattern flow, natural yarn variation, and a color that agrees with the whole-garment reference.
This shot may need no generative edit. Use it as the visual anchor for the other two images. If the proposed crop is too small to inspect, return to the garment for a closer capture rather than asking AI for a new macro view.
Detail two: test a restrained cuff presentation
Use the cuff reference for the construction-junction slot. Frame enough of the sleeve to make the transition understandable. Check where the ribbing ends, where the seam travels, and how the fabric folds around that junction.
Untested starting prompt 1: referenced cuff backdrop edit
Edit the supplied photograph of the rust cardigan cuff. Make the visible background a plain neutral light gray. Keep the existing crop, camera viewpoint, garment position, rust color, cuff ribbing, seam path, and visible yarn variation as shown in the reference. Keep the presentation understated. Do not add fabric, decoration, text, or extra objects.
Compare the result before requesting anything else. A smoother background does not compensate for a seam that moves or ribbing that becomes regular in a different way. Reject that candidate and return to the original source.
If the garment changes repeatedly, use the untouched crop or the external compositing route below. Avoid stacking corrective generations onto a damaged cuff: each revision makes it harder to identify which features still come from the photograph.
Detail three: make fastening details inspectable
Select the real photograph showing the button, its attachment, and the buttonhole. Keep their relationship visible. A close crop should still explain which edge belongs to which side of the opening.
Untested starting prompt 2: referenced button and buttonhole
Use the supplied rust cardigan button-and-buttonhole photograph as the reference. Present this same close-up against a plain neutral light-gray background. Retain the photographed crop, button shape, visible attachment, buttonhole opening, surrounding knit, garment edges, and rust color. Keep the existing lighting character. Add no shine, embroidery, lettering, fasteners, or new fabric structure.
Review small features independently. Follow the buttonhole boundary, inspect the button's visible surface, and compare the surrounding edge shape. Do not infer unseen attachment details from a plausible result.
Work on one requested change at a time. For both reference prompts, the change is the backdrop. Combining a new angle, dramatic lighting, stronger texture, and background replacement would make failures harder to diagnose and create unnecessary opportunities to alter the item.
Alternative: generate only the empty background
When garment fidelity is the deciding constraint, separate generation from the product photograph. Create a background in Oxava, then place the real garment crop over it using an external layer-based editor.
Untested starting prompt 3: background for external compositing
An empty neutral light-gray studio surface for a clothing-detail composition, photographed straight down, subtle even illumination, matte finish, low contrast, no objects, no fabric, no garments, no shadows from unseen objects, no text, no gradient spotlight.
In the external editor, preserve the original garment photograph on its own layer and work on a copy. Make the selection around the garment carefully, inspecting loose fibers and openings. Avoid painting generated texture over the garment, smoothing its outline, or inventing contact shadows that imply a different shape.
This route keeps the garment sourced from real image pixels instead of asking a generator to redraw it. Resizing, color adjustments, edge treatment, and export can still change the result, so comparison remains necessary. Layer compositing and source-layer protection here are external editing steps, not promised Oxava features.
Inspect at 100%, then at product-page sizes
Compare every candidate with its original source at 100% magnification. Where dimensions differ, also compare matching garment areas at equivalent scale.
Use the reference map to examine the same landmarks each time: surface pattern, cuff transition, seam, button, and buttonhole. Check color alongside the whole-garment photograph. Finally, inspect the candidate at the gallery's normal display size and the available zoom size, including a mobile preview.
| Fault you notice | What to check | Next action |
|---|---|---|
| Yarn becomes waxy or unusually uniform | Original surface variation | Reject the edit; retain the real crop or composite externally |
| Ribbing or cable flow changes | Pattern direction and junctions | Return to the original; simplify the request |
| Seam, button, or buttonhole is redrawn | Shape and placement in the source | Reject; recapture if the original is ambiguous |
| Colored waves appear | Original capture at 100% | Investigate capture moiré before further editing |
| Rust becomes orange or brown | Source color and other gallery images | Revisit color handling; avoid stylistic grading |
| Fibers vanish or gain bright outlines | Cutout boundary and resized export | Correct the external selection or use the original background |
| Small preview hides a defect | Full-size and zoom views | Reject the defect rather than reducing visibility |
Keep an acceptance record for every image. Record the product and color variant, source filename, detail slot, requested change, output version, inspection sizes, reviewer, and decision. Include any unresolved uncertainty. “Looks premium” is not an acceptance criterion; “buttonhole boundary matches the reference at both review sizes” is an inspectable judgment.
Hand off a coherent product-page gallery
Deliver the three approved detail images alongside the real whole-garment view that orients the customer. Keep each detail tied to the correct variant. Do not recolor a close-up from another variant and treat it as evidence that its material or construction is identical.
Use a consistent presentation without forcing every subject into an identical crop. The surface needs room for pattern; the cuff needs a junction; the fastening needs context. Write descriptive alt text such as “Rust cardigan cuff showing ribbing and sleeve seam,” provided that accurately describes the approved image.
Follow the product image optimization and export guide for delivery preparation. Reopen the exported files and preview the uploaded gallery: resizing or compression can change how fine texture reads. Archive originals, approved exports, and acceptance records together so a later revision has a reliable starting point.
Frequently Asked Questions
Can AI create accurate fabric close-ups from one full-garment photo?
Only visible, sufficiently resolved information can support a verified close-up. If the full-garment photograph does not reveal the texture or fastening clearly, capture that area again. A plausible generated macro image is not evidence of the actual item.
Will a preservation prompt keep every garment pixel unchanged?
No. A reference-editing instruction can request preservation without guaranteeing it. If you need to avoid generated garment reconstruction, use a real crop or combine the original garment photograph with a separately generated background in an external editor.
How can I tell moiré from AI-generated texture errors?
Inspect the original first at 100% and compare an alternative capture when possible. Artifacts already present in the source point to a capture or processing issue; changes appearing only after generation require an edit comparison. An uncertain pattern should trigger investigation rather than approval.
Can a detailed image prove that a cardigan is soft or stretchy?
No. An image may suggest those qualities visually, but it cannot establish softness, stretch, fiber composition, or fabric weight. Keep verified product specifications separate from judgments about how an image looks.
Should I upscale every clothing detail image?
No. Evaluate the original crop against the required display and zoom sizes first. If enlargement is necessary, check it against the original and reject unsupported detail; a fresh close-up may be the more reliable option.
Start with one verified detail
Good AI clothing detail photos begin with a photograph that answers a real product question. Build the surface, construction, and fastening set from those sources, make one restrained change at a time, and approve only what survives comparison.
Try a reference-based presentation edit in Oxava with one clear close-up, or generate an empty background for external compositing. Keep the original beside the result and let the garment, rather than the generator's styling, determine what reaches the product page.
Oxava Team
Egemen Küpçü is the founder of Oxava, with 10+ years of hands-on experience in 3D and visual production. He writes about the craft of generating product, brand and campaign visuals with AI.
Related Articles
ALL POSTS
Subscribe to our newsletter
Be the first to hear about new techniques, model updates and ideas on AI generation.