
Remove a mannequin from a shirt photograph and you may uncover a second problem: the camera never saw the fabric behind its neck. AI ghost mannequin photography can help you explore a hollow, three-dimensional clothing image, but the opening still needs to represent the actual garment. A convincing empty neckline is useful only when its lining, shape, and seams agree with what you sell.
This workflow concentrates on that missing interior. You will plan the visible openings, collect useful references, generate a restrained candidate, and decide when a photographic composite gives you better control. Our AI product photography guide covers the wider catalog process.
What makes a ghost mannequin image believable?
A ghost mannequin image presents clothing with volume while removing the visible support or wearer. Pixelz's invisible mannequin tutorial explains the traditional method: combine an on-body photograph with separate photographs of interior areas hidden by the mannequin. The familiar hollow effect is therefore a view of several garment surfaces brought together.
Look at the neckline as an arrangement of edges. The front edge sits nearest the camera. Part of the inner back may appear behind it. Background remains visible wherever the line of sight passes through an actual opening. Turning the entire opening into a white cutout can delete real fabric; filling all of it with fabric can create a panel that does not exist.
The same reasoning applies to armholes, cuffs, hoods, and open hems. Each asks a specific question: from this camera position, what would be visible behind the outer edge? “Make it hollow” alone does not answer that question.
A ghost image can clarify a garment's presentation, but generated volume does not establish fit on a particular body. Keep measurements and real fit evidence available. If your goal is clothing on a visible person, use the separate on-model apparel workflow; that requires a different composition and review.
Plan the openings before preparing the references
Start with the final view, rather than uploading every photograph you have. For one front-facing image, list the openings the camera will see and the material that should appear inside each. This makes missing evidence obvious before generation.
| Garment feature | Useful supporting photograph | Question to resolve |
|---|---|---|
| Crewneck or shirt collar | Inner back neckline opened toward the camera | Which binding, facing, or collar surface appears behind the front edge? |
| Sleeveless armhole | Close view of the actual armhole interior | Is the visible finish lining, binding, or the reverse of the outer fabric? |
| Hood | Hood opening and interior in the intended arrangement | How do the inner panel, opening, and drawstrings relate? |
| Open cuff or hem | Interior edge photographed without support blocking it | Is there a folded allowance, lining, or genuinely open background? |
This is a capture checklist, not a requirement to expose every opening. Choose a composition that describes the garment clearly without introducing unsupported views.
For the examples below, imagine a fictional tan waistcoat with four brown front buttons, two lower welt pockets, and beige lining. It is a planning example, not a tested Oxava result. Its front photograph establishes the outer construction; an interior photograph shows the back-neck lining and armhole finish. Those references would let a reviewer ask specific questions instead of judging whether the image merely looks fashionable.
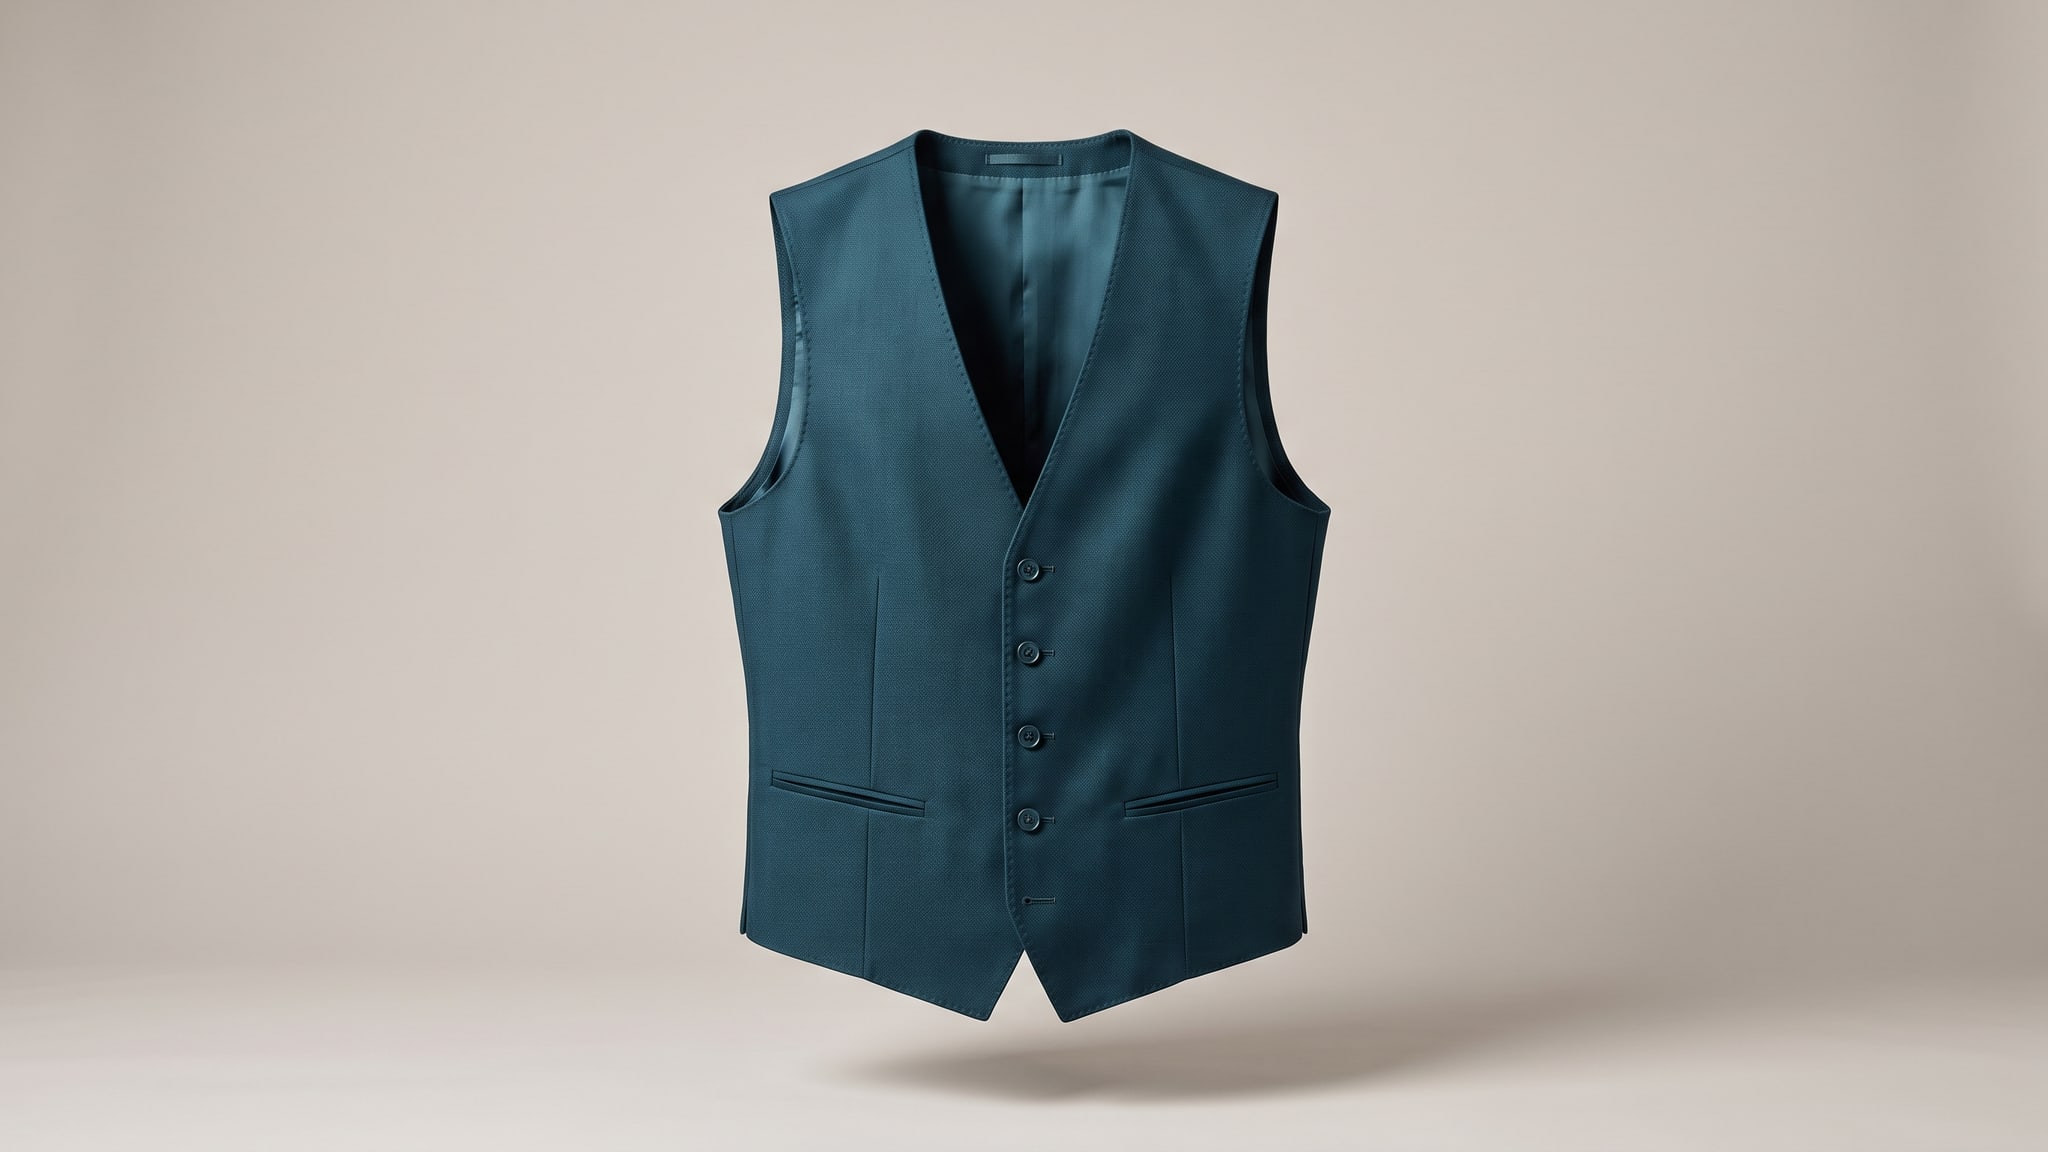
The teal waistcoat on this article's cover is a separate editorial illustration; it does not document a tested output or the fictional reference set below.
Prepare the garment without changing its design
Remove temporary lint and prepare the garment according to its care instructions. Preserve intentional creases, distressed areas, and asymmetry. Making a photograph tidier should not make a relaxed cut appear tailored or hide a construction feature a buyer needs to see.
Shopify's clothing photography guide recommends planning the garments and views, preparing clothing before capture, and including close-ups of details such as fabric, pockets, and stitching. Apply that preparation to the interior as carefully as the front. A blurred inner-neck photograph offers little help when you later need to judge a narrow seam.
Keep the front, interior, and any rear photographs together under the same SKU and colorway. Do not borrow lining from a similar garment. A collection may share a silhouette while using different interior finishes.
Capture evidence at a compatible angle
Make the full garment visible with breathing room around its edges. Photograph the interior so its relation to the exterior is understandable, rather than supplying an isolated fabric swatch. Pixelz recommends consistent lighting between the exterior and interior captures; its tutorial also highlights camera height as a way to avoid distorting garment proportions.
For an existing on-person source, identify what arms, hair, or accessories conceal. Removing the person would expose those areas, so obtain additional photographs before promising a complete view. If only a flatlay exists, remember that it documents a flat arrangement; the rounded chest and shoulder volume will be an interpretation requiring separate review.
Build a restrained AI ghost mannequin photography prompt
In the Oxava studio, select a currently available image model that accepts references. Begin with the intended exterior view. Add the interior photograph if the selected model supports the required additional reference, and give each image a clear role. Our named image references guide explains that interface option.
Keep supporting photographs available for human review even when the model cannot accept them all. An upload limit should narrow the generation task, not lower your standard for factual checking.
Your brief needs four things:
- The photograph that defines the garment's exterior.
- The photograph that documents its visible interior.
- The desired support-free presentation and viewpoint.
- The construction details the reviewer will check afterward.
Avoid combining support removal with recoloring, a new angle, a dramatic silhouette, and campaign lighting in the first attempt. Those requests each add something else to evaluate. A plain backdrop and familiar view make the neckline easier to judge.
The following are untested starting prompts. Replace their garment details with observations from your own photographs. Instructions such as “retain” describe the intended result; they do not lock pixels or guarantee preservation.
Prompt A: Exterior and interior references together
Create a front-facing ghost mannequin product photograph of the tan waistcoat. Use the full garment photograph for its exterior shape, four brown buttons, two lower welt pockets, and hem. Use the interior photograph only for the beige lining and the construction visible inside the neck and armholes. Present the garment with modest supported volume and no visible wearer, mannequin, hanger, or stand. Keep the photographed viewpoint and full silhouette on a plain light-gray background with soft, even light. Retain the actual openings and finishes shown in the references.
Compare the candidate with both sources. An attractive outer silhouette does not compensate for a new inner seam or an altered opening. Also check that the interior reference has not been interpreted as a second garment to place in the scene.
Prompt B: Starting from a flatlay
Use the supplied front flatlay of the tan waistcoat as the exterior reference. Create a restrained ghost mannequin presentation with gentle volume, the same front-facing orientation, four brown buttons, two lower welt pockets, and the original hem shape. Use the supporting interior photograph for the beige back-neck lining. Keep the garment centered and fully visible against a plain light-gray background. Show no person or display hardware. Avoid adding waist shaping, padded shoulders, decorative stitching, or construction absent from the references.
Treat this route as a silhouette exploration. The flatlay cannot verify how the waistcoat stands away from a body. Compare with a real supported garment or on-body photograph before using the generated shape to communicate the cut. If that evidence is unavailable, keep the flatlay for the factual product view.
Prompt C: A narrower second attempt
Revise the ghost mannequin candidate using the original garment photographs. Concentrate on the inner neckline: the beige lining should follow the photographed back-neck construction and sit behind the front opening edge. Keep the existing frontal composition, tan exterior, four buttons, two pockets, and hem. Do not add a second collar, decorative piping, or a label absent from the sources.
Supply the originals again where supported. A generated candidate is useful for composition, but it should not become the authority on garment construction. Review the whole revised output because an instruction aimed at the neck can still change the exterior.
When the neck join needs an external composite
If the outer photograph already presents the garment well, removing its support and combining real interior photographs may be preferable to regenerating the clothing. This is especially worth considering when a distinctive facing, label, or narrow binding must remain traceable to the source.
Use an external layer-based editor for this route. Adobe's layer-mask documentation explains how selections and masks hide or reveal parts of an image layer. The masks and layer controls here belong to that external editor, not to a dedicated ghost-mannequin feature in Oxava.
Keep the exterior and interior photographs on separate layers. Reveal the relevant interior behind the outer opening, then inspect the boundary where they meet. Retain the working layers so you can revisit the placement. A neck opening needs a plausible depth relationship, but adding a dark band cannot repair an incorrectly positioned piece of fabric.
For the waistcoat, compare the upper lining edge with the real interior photograph. Check that the join has not narrowed the V opening, moved the shoulders, or introduced a second outline. If aligning the insert requires stretching it until the seams look unlike the product, take a more compatible source photograph.
Photographic compositing still needs review. It can preserve source material while producing a misleading assembly. Match the visible construction first, then address lighting differences. Avoid sending an approved composite through another generative pass without inspecting the clothing again.
For outer-edge isolation and scene changes, the product background guide covers the adjacent task. The extra challenge here is the relationship between the garment's inner and outer surfaces.
Review the empty spaces as carefully as the fabric
Put the original photographs beside the candidate and make three passes. Inspect at close zoom, then repeat the review at the intended product-page size. A join can look acceptable when enlarged yet collapse into a dark stripe in a small product card.
First, follow each opening. Trace the neckline from one shoulder to the other. Then inspect both armholes or cuffs and any visible hem opening. Ask which areas are fabric, which are background, and whether a leftover support fragment remains. Look for an opening that ends abruptly or an inner surface that appears pasted across the front.
Second, verify the garment around those openings. Removing a support should not require moving a pocket, changing a button count, or making both sides identical when the real design is asymmetric. For the waistcoat, compare the four buttons, two pockets, shoulder widths, and hem points independently. Check trim thickness and the boundary between lining and outer fabric.
Third, judge the overall volume. Look for inflated shoulders, a pinched waist, balloon-like sleeves, or an unnaturally rigid torso. An image can satisfy every small-detail check while communicating the wrong silhouette. Return to the supported photograph when judging shape; a generated shadow alone cannot establish depth.
Use the following decisions to keep review concrete:
- Interior unknown: obtain a photograph or choose a view that does not reveal it.
- Join misplaced: retry with clearer reference roles or align the real photographs externally.
- Outer construction changed: reject the candidate even if the hollow effect looks convincing.
- Fabric hard to inspect: retain a real detail photograph rather than approving an ambiguous texture.
- Shape unsupported: use a verified photograph for fit-related presentation.
Take extra care with lace, mesh, sheer fabric, and open knits. Check whether genuine holes survive, whether the background is visible in the right places, and whether the process has made the material look opaque. Keep real material photographs for transparency claims.
Once the image passes, reopen the actual export and review its crop, edge quality, and small details. Follow the product image export guide for file preparation. Record the SKU, source images, final filename, and intended use. Any later edit or alternate view needs its own check.
Frequently Asked Questions
Can AI make ghost mannequin photos from a flatlay?
It can generate a hollow clothing presentation from a supported reference input, but it must infer volume that a flatlay does not show. Supply real interior photographs and compare the generated silhouette with a supported or on-body view. Keep the flatlay when you cannot verify the new shape.
Do I need a photograph of the inside neckline?
You need evidence for any interior that will be visible. A front photograph with a mannequin blocking the neck cannot document that hidden area. Capture the actual inside finish rather than approving a plausible generated substitute.
Is background removal enough for the ghost mannequin effect?
It can isolate the exterior, but it cannot reveal fabric that was never photographed. The final hollow appearance may need additional interior views or a photographic composite. Check the neck, armholes, and other openings separately.
Can I use one reference to generate front and back views?
A front-only source does not establish rear seams, closures, lining, or adjustment straps. Photograph the back and create a separately reviewed rear image. Do not treat a convincing generated back as evidence of the actual construction.
Will a ghost mannequin image prove the garment's fit?
A generated image cannot verify fit, stretch, or how a particular size behaves on a person. Pair it with accurate measurements and real fit photographs where those properties matter. Approve it for the specific presentation it supports.
Start with one complete garment reference set
Useful AI ghost mannequin photography begins with clear exterior and interior evidence. Keep the view simple, inspect the openings, and choose a photographic composite when generated construction drifts.
Open Oxava, try one reference-led clothing image, and compare it with the real garment before extending the workflow to your catalog.
Oxava Team
Egemen Küpçü is the founder of Oxava, with 10+ years of hands-on experience in 3D and visual production. He writes about the craft of generating product, brand and campaign visuals with AI.
Related Articles
ALL POSTS
Subscribe to our newsletter
Be the first to hear about new techniques, model updates and ideas on AI generation.