
An AI product rotation video can make a static product photo feel dimensional. It can also reveal a charging port your product does not have. The difficult part is deciding which views you can support with real references, then checking that the generated motion stays faithful to them.
For a short promotional shot, a shallow camera arc may be enough. For a shopper who needs to inspect the back, underside, or connections, a plausible-looking spin is insufficient evidence. You need actual coverage of those surfaces and a workflow that preserves it.
This guide focuses on that decision: how to plan the visible angles, write a restrained motion request, and reject clips that quietly redesign the item. If you need the broader generation process first, start with our product-photo-to-video workflow.
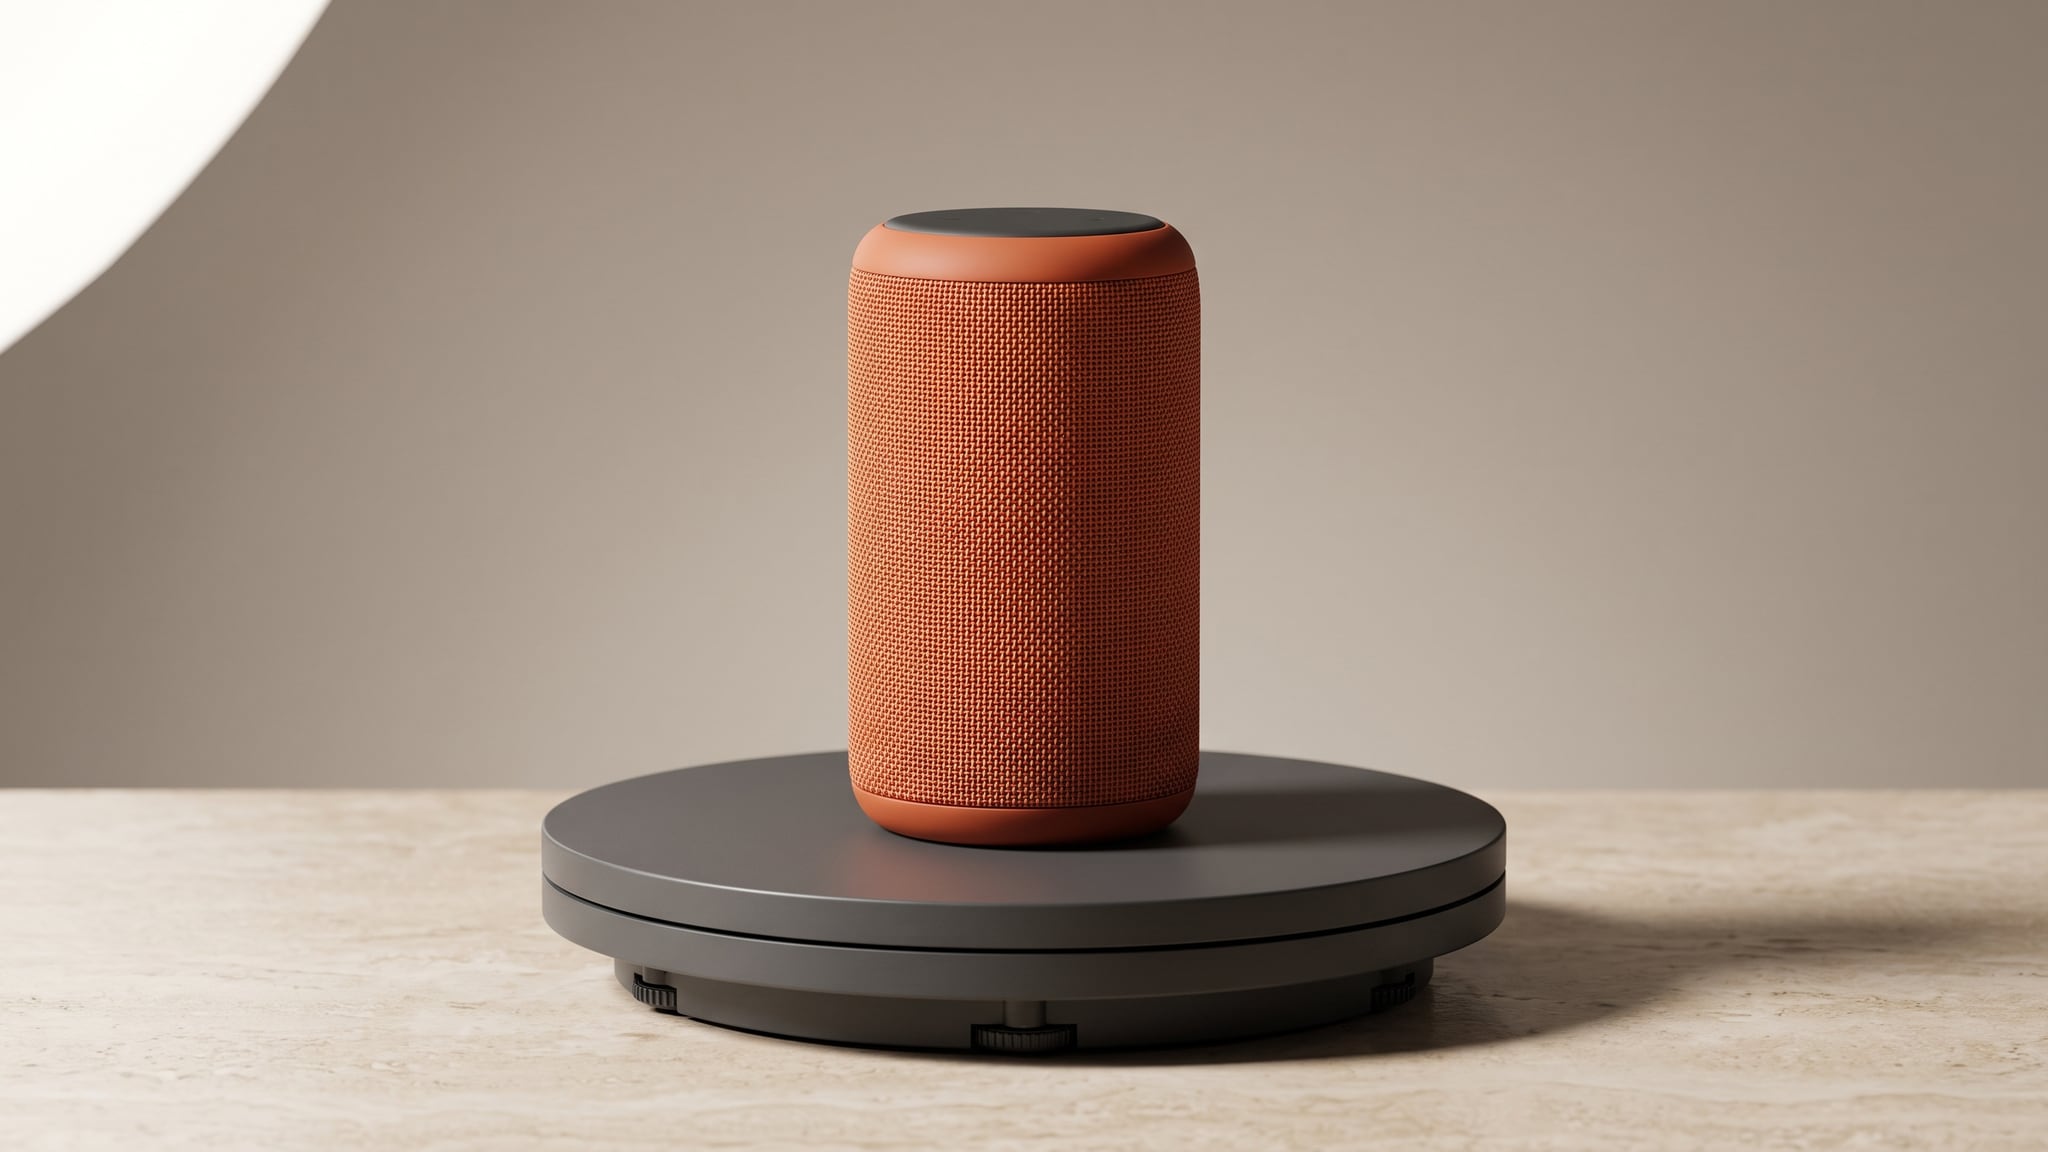
The cover is an AI-generated editorial illustration of a terracotta-colored speaker on a turntable. It is not a tested video output, a reference photograph, or evidence of a real product's construction.
Decide what your AI product rotation video needs to show
Three different deliverables often get called a “360 product video.” Separate them before generating anything.
A camera orbit moves the viewpoint around an object. A product turn keeps the camera in place while the object rotates. An interactive 360 view lets the viewer choose angles, usually through an image sequence or a 3D viewer. A video of a rotating object does not automatically provide that interaction.
WebRotate 360's viewer overview describes importing photographed or rendered image sets into its viewer. That is a separate production route from asking a video model to imagine motion from a photograph.
Choose the deliverable according to the buyer's question:
| What the viewer needs | Sensible starting route | What you must verify |
|---|---|---|
| A little depth in a campaign shot | Short AI camera arc near a real source view | Every visible feature through the movement |
| A clear look at a particular side | Actual side photography or footage; optionally test a limited AI transition | The side's shape, attachments, and surface details |
| Inspection of all sides | Captured rotation sequence or an accurate, reviewed 3D model | Complete coverage and faithful geometry/materials |
| A fictional concept or mood exploration | Generative rotation with an appropriate illustrative context | That the asset is not presented as evidence of a real item |
Build a reference map before choosing the movement
Imagine a compact speaker with a fabric front grille, a strap attached on one side, and a charging port on the rear. A front-quarter photo may show the grille and strap clearly while revealing nothing about the connector.
That missing information is not a prompt-writing problem. It is a reference gap.
Make a simple checklist outside your generation tool. For each surface the proposed shot would reveal, record what you actually have:
- Front: clear photograph, grille pattern visible
- Strap side: separate photo, attachment position visible
- Opposite side: no usable reference yet
- Rear: photograph available, port and controls readable
- Underside: unphotographed
Keep these photos available for comparison even if your chosen video mode accepts only one source image. A review reference is useful without being a generation input. Conversely, uploading several photos to a mode that supports them does not establish that the output will preserve every detail.
In its first-party test of single-image 360 generation, WebRotate 360 reports testing services that advertise generation from one to four product images and finding altered shapes, materials, and small features. It is a vendor's own test, not a universal benchmark, but it illustrates why an attractive result still needs comparison with the product.
Define a visible-angle boundary
For our fictional speaker, the first brief could be: “Move slightly across the front while keeping the strap-side edge visible.” That is more reviewable than “show every side beautifully.”
If the clip must reveal the rear, retrieve or photograph the real rear panel first. If that is impossible, change the brief. A front-facing detail shot can still communicate finish and presence without claiming unseen construction.
An AI-generated side view cannot validate another AI-generated side view; both may share the same invented detail.
Prepare one clear source frame and a simple motion brief
Choose a source image that already suits the intended shot. The full product should be visible, with enough space around it for the planned framing. Check the outline, material boundaries, and small identifying features at a useful viewing size.
For an upright tabletop object, a clear contact point helps you judge whether the output lifts, slides, or changes its base. Avoid beginning with a source that already contains distorted edges or a confusing shadow. Those defects make later comparisons harder.
Write down the things the shot must preserve: perhaps the grille width, strap position, corner radius, and color. These are acceptance criteria for your review, not promises that a text instruction will enforce.
Then choose one movement. A stationary product with a moving camera is easier to describe than a product that spins while the camera circles and zooms. The latter changes several relationships at once, making a bad result harder to diagnose.
Runway's image-to-video guide recommends using the image for visual information and focusing the text on motion, starting simply before adding detail. Its guidance is written for its own model workflow; use it as a useful prompting principle rather than a guarantee about every generator.
Our cinematic video prompting guide explains the movement vocabulary in more depth. For this task, you mainly need to specify what moves, what stays still, and how far the view should change.
You can begin a restrained product-motion experiment in Oxava's studio, using a video mode that supports your source and intended workflow. Check the available controls before assuming it accepts multiple references or a specified ending frame.
Three starting prompts for a controlled product reveal
The following prompts are untested starting points, written for the fictional speaker. They describe intended behavior, not validated results or precise camera controls. Replace the subject and movement boundary to match your real reference coverage.
1. Shallow camera arc around a stationary product
The camera moves slowly through a shallow arc across the front of the stationary speaker, keeping the front grille and strap-side edge in view. Camera height and distance stay steady. The speaker remains upright on the tabletop. One continuous shot.
Use this when your source clearly shows the front and near side. During review, watch the far edge: that is where the clip may begin introducing unsupported surfaces. If the camera travels too far, shorten the request or choose a smaller movement.
2. Partial product turn with a locked camera
Locked camera at tabletop height. The speaker turns slowly from its front view toward a slight strap-side angle, then settles. The product remains centered and upright on its base. The framing and background remain steady throughout the continuous shot.
This brief assigns movement to the object instead of the camera. Inspect the base and tabletop relationship as well as the product itself. A sliding contact point, changing footprint, or strap that swaps sides is a rejection signal.
3. Front-view fallback when side coverage is missing
The speaker remains stationary and front-facing on the tabletop. The camera makes a gentle, straight push-in toward the front grille. The product stays centered and upright, with steady lighting and a continuous shot.
This is deliberately a different shot, not a disguised 360 view. Use it when the original brief asks for more geometry than your references can support. Confirm that the apparent detail remains faithful as it gets larger; moving closer can expose invented texture too.
For all three, change one part of the request between attempts. Keep the same source while adjusting the movement, or keep the movement while replacing a poor source.
Check newly exposed surfaces and reject bad frames
Do not approve a rotation because its first and final frames look convincing. A strap can detach halfway through and reconnect before the clip ends.
Start with a normal-speed viewing. Then scrub slowly through the whole clip in a suitable video player or editor. As a practical first pass, compare the beginning, quarter points, middle, and end with your reference photos. Add checks wherever a surface first comes into view or a detail crosses the silhouette. Those checkpoints help organize review; they do not replace watching the intervening frames.
Review geometry before polish
For the speaker example, ask:
- Does the grille retain its position and proportions?
- Does the strap attach to the same side throughout?
- Are buttons and ports present only where the real references show them?
- Does the body remain rigid, with the same corners and base?
- Do material boundaries stay attached to the same parts?
- Does the shadow remain consistent with the product's contact and movement?
Fine repeating patterns also deserve attention: a grille can drift while the outer shape remains convincing.
| Failure you observe | Next action |
|---|---|
| A newly revealed side contains invented hardware | Obtain a real reference or remove that reveal from the brief |
| The silhouette swells or narrows during the turn | Simplify the movement; reject the clip if the body still changes |
| Camera movement and object rotation become confused | Request only one type of movement in the next attempt |
| Details are accurate early but drift later | Consider a shorter usable segment, checking every retained frame |
| Several regenerated attempts repeat the same invention | Stop treating regeneration as verification; change the source or production route |
Trimming is appropriate only if the retained portion is accurate and still serves its purpose. A cut immediately before the back appears should not be labeled a complete 360 view. Trimming, stabilizing, and assembling footage are external editing steps unless your chosen tool explicitly provides them.
If you later need a repeating playback, use our seamless product-video loop guide. A clean loop boundary is an additional check, not a substitute for product accuracy inside the clip.
When actual capture or a reviewed 3D model is the better route
If customers need to inspect mounting points, connections, closures, or asymmetrical construction, start with footage or photographs of the actual item. You can capture a real turn or assemble an image sequence for a suitable viewer. Alternatively, render from a 3D model whose geometry and materials have been checked against the product.
A generated mesh is not automatically an accurate model. Neither is a scan automatically ready to publish.
Shopify's 3D scanner documentation describes a capture process with three scans and recommends reviewing the resulting model from all angles. It also notes that characteristics such as reflective surfaces, flexibility, and fine structures can make capture harder. Treat scanning as a separate workflow with its own review requirements, rather than a guaranteed fix for every product.
Frequently Asked Questions
Can one product photo produce an accurate 360 video?
It can produce a rotation-style clip, but a single view does not document hidden surfaces. Do not treat the generated rear or underside as verified without comparing it with real product evidence.
Is a camera orbit the same as rotating the product?
No. An orbit changes the camera's position around a stationary subject; a product turn moves the object relative to the camera. Specify one first so you can judge whether the output follows the intended movement.
How many reference photos do I need?
There is no universal count that guarantees accuracy. Gather clear views of every surface and important feature the planned clip will reveal, and check which inputs your chosen workflow actually supports.
Can a rotation video replace an interactive 360 viewer?
A normal video plays a fixed sequence, while an interactive viewer lets the shopper select viewpoints. Choose according to whether the goal is a promotional moment or detailed inspection.
What if the AI invents the back of my product?
Reject that portion rather than assuming the invented detail is close enough. Get real rear coverage, reduce the reveal, or use actual capture or a reviewed 3D production route.
Start with the smallest useful movement
A strong AI product rotation video brief begins with evidence: which surfaces you know, what the viewer needs, and what would make a frame unacceptable. Generate the smallest movement that answers the brief, then inspect it before expanding the shot.
Try a product-motion concept in Oxava with a clear source image and one restrained movement. Keep your real reference photos beside the output: they remain the authority on what the product looks like.
Oxava Team
Egemen Küpçü is the founder of Oxava, with 10+ years of hands-on experience in 3D and visual production. He writes about the craft of generating product, brand and campaign visuals with AI.
Related Articles
ALL POSTS
Subscribe to our newsletter
Be the first to hear about new techniques, model updates and ideas on AI generation.