
Makeup swatch photography should help a shopper inspect a real application: how much skin shows through, where pigment gathers, and what the finish looks like under the recorded light. An attractive stripe that invents those details answers a different question. It shows a visual idea rather than what the product actually did.
Here, a swatch means photographed cosmetic application, not a colored button in a product selector. The workflow below connects each photograph to its application conditions, then separates that evidence from creative scene work. All examples and the prompt are hypothetical; they are not results of a photography session or model test.
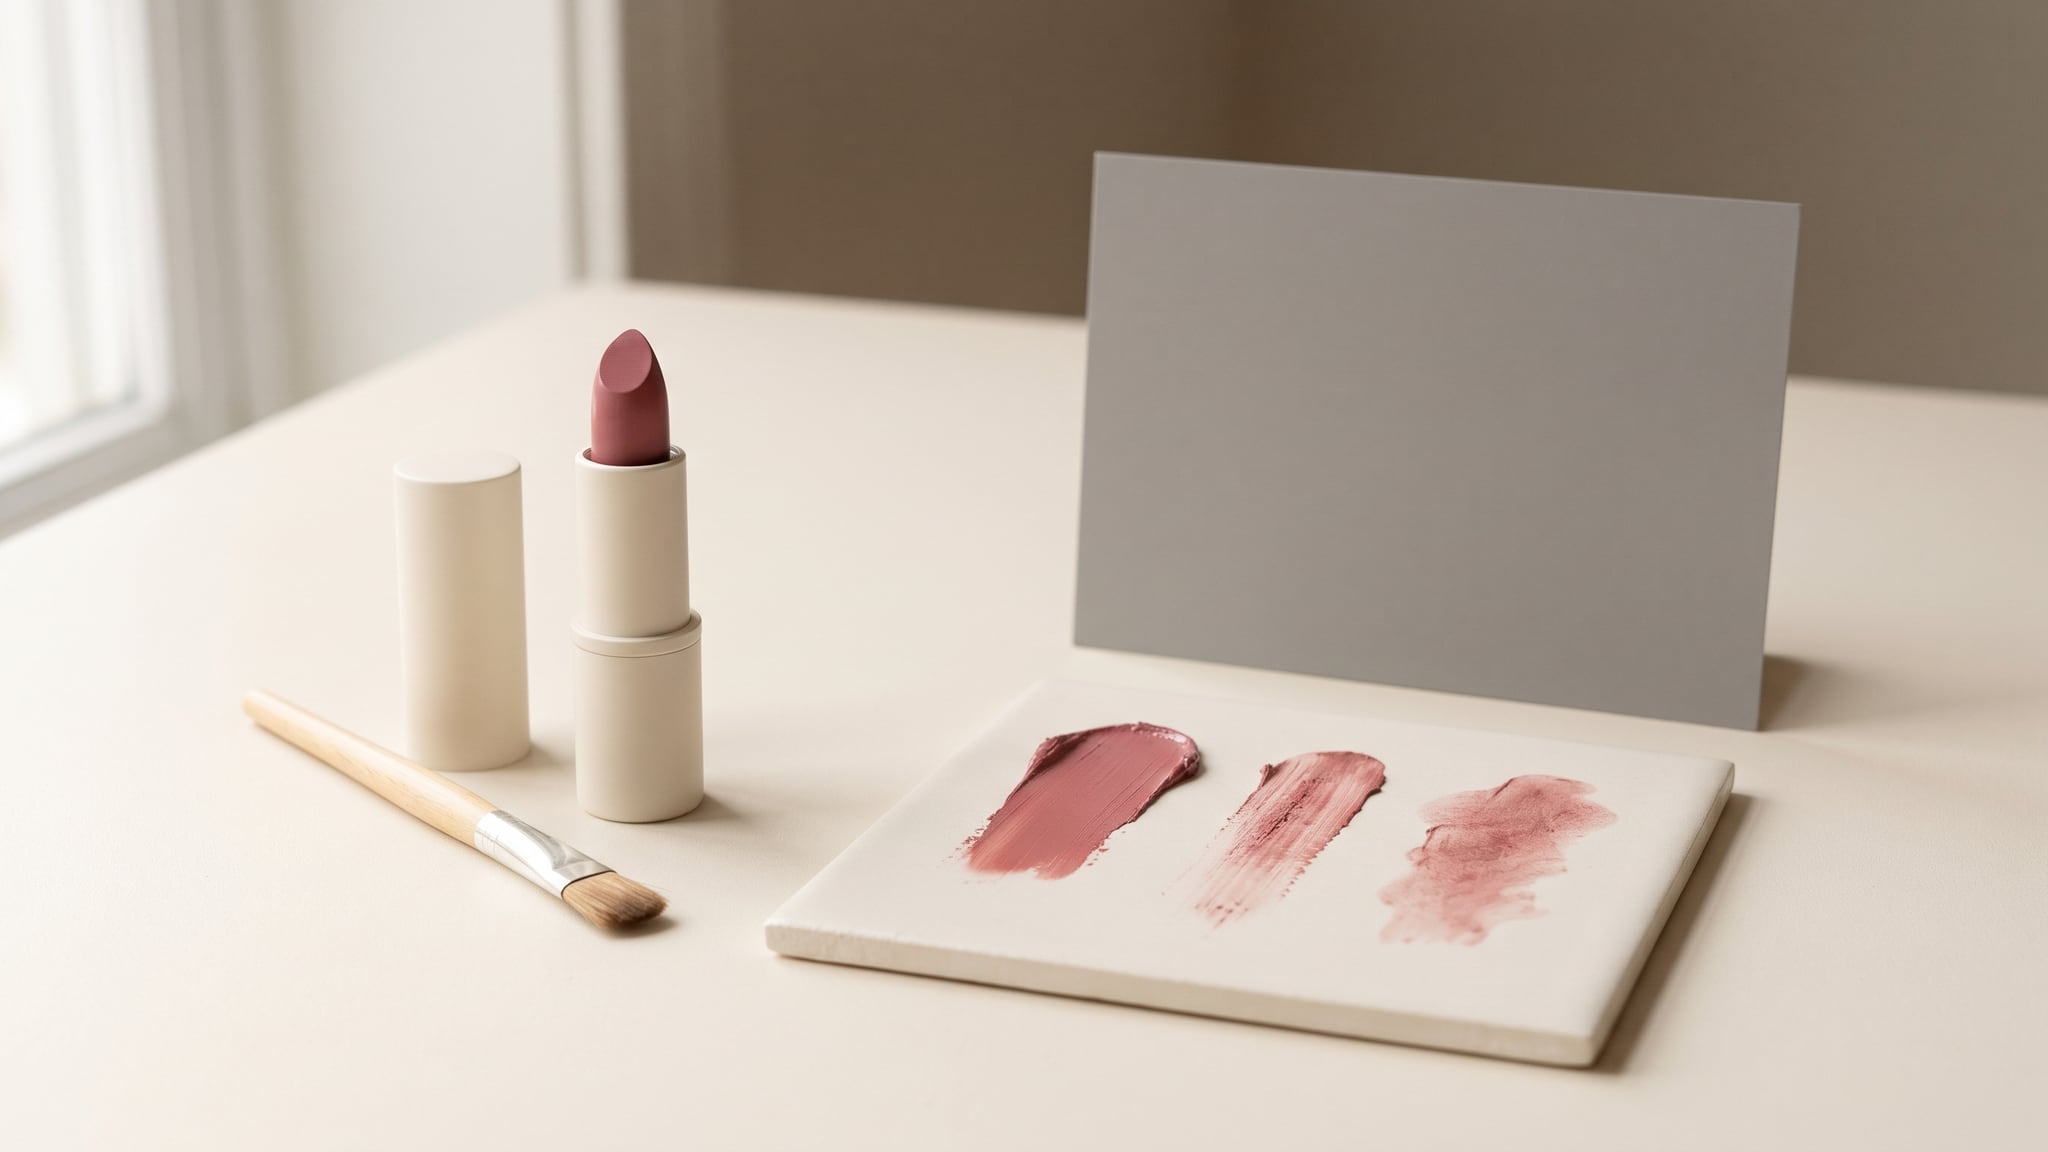
Cover: a conceptual AI illustration of a fictional lipstick, brush, three illustrative cosmetic strokes on a ceramic tile, and a blank gray card. It is not a real product swatch, color measurement or calibration test.
Decide what your makeup swatch photography must show
Write the buyer's question before making the shot list. “How sheer is this tint in a light application?” needs different material from “What does the tube look like?”
Keep these assets distinct:
- Packshot: identifies the package and shade label.
- Formula smear: shows material placed on the photographed surface, such as a tile.
- On-skin swatch: records application on an actual person and body area.
- Creative illustration: explores styling without documenting product behavior.
A tile smear does not establish how a lip tint looks on lips. A brand HEX value does not describe a formula's transparency, deposited amount or reflective particles. Recoloring a stripe to that value cannot fill those gaps.
For each proposed photograph, choose the detail it needs to preserve: shade appearance, opacity at the stated application, or finish under the stated light. A fresh swatch alone does not substantiate wear duration, transfer resistance or suitability for everyone.
If the sample is missing, hold the factual swatch. You can plan the layout while waiting, but label any placeholders internally and keep them out of the customer-facing evidence panel. If the sample exists, photograph the actual application rather than reconstructing it from packaging.
This boundary complements our wider AI product photography guide. It is an editorial production recommendation, not a claim that every market legally requires this exact workflow.
Write the application record before the shot list
A photograph becomes easier to interpret when you can answer how it was made. Keep a short record beside the source files, using your own spreadsheet or asset system.
Record what changed the visible application
Include:
- Product identity: product, shade, SKU and formula version if known.
- Participant and surface: a consented internal participant reference and the photographed body area. Keep personal details out of public filenames.
- Preparation: bare skin, primer, base product or other relevant preparation.
- Application: applicator, application method and a plain description of passes or layers.
- State at capture: freshly applied or allowed to set, with recorded timing when that distinction matters.
- Capture conditions: light arrangement, viewpoint, camera settings and reference frame.
- File trail: original filename, edited version, intended caption and reviewer.
“One pass” is useful context, but it does not standardize the amount picked up, pressure or area covered. Avoid implying laboratory precision unless you actually have a supported measurement procedure. Describe what happened closely enough that the next reviewer understands the image.
Follow the product's application instructions and use hygiene appropriate to the product and body area. Do not share used applicators between participants or apply products to irritated skin for the sake of completing a panel.
Beauty publisher Temptalia's review FAQ describes its own application and photography methods, including preparation and accuracy-oriented editing. The useful principle is that application context belongs with the image. That publisher's method is not a universal testing standard, and adopting a record does not turn your shoot into an efficacy test.
Choose views that answer the product question
For a hypothetical sheer lip tint, plan a real lip application if the customer question concerns lip appearance. If you also show an arm swatch, label it separately. Do not silently substitute one surface for the other.
For a cream blush, you might photograph an initial application and a separately documented blended application. Those are two application states, so their captions should explain the difference. Blending the first photograph digitally would not document the second state.
For a shimmer shadow, plan an additional real angle if the main view hides the reflective finish. Identify it as another view of the application. It should not look like a different shade, extra layer or later wear observation without supporting records.
Photograph different skin tones without inventing comparisons
When showing makeup swatches on different skin tones, photograph an actual application on each person shown. Copying a stripe onto another arm or recoloring the original skin creates a simulation. Neither supplies the missing observation.
Choose useful participant descriptions with the people involved. Do not infer ethnicity, undertone or product suitability from pixels, and do not imply that a small panel represents every possible customer. There is no universal participant count in this workflow. The important question is whether your caption accurately describes the examples you have.
Keep the intended comparison consistent
For a shade comparison, keep the lighting arrangement, camera position, framing and application method consistent where practical. Note deviations. If one swatch was photographed beside a window and another beneath a different lamp, do not present the pair as though lighting was controlled.
Consistency does not mean forcing everyone's skin to the same pixel brightness. Record necessary exposure changes rather than bleaching or darkening skin to make a layout look uniform. Review each photograph against its source, not against a visual target borrowed from the neighboring person.
Avoid comparing a close-up with a distant crop and interpreting the difference as coverage. Match the useful viewing scale while preserving enough surrounding skin to understand the application edges.
Use a real neutral reference, with realistic expectations
Place a suitable photographic neutral reference under the light used for capture. Nikon's D850 manual documents measuring preset white balance from a gray or white reference under the final photograph's lighting. The exact controls are camera-specific; the relevant practice is establishing the reference in the actual setup.
Adobe's white-balance guidance explains color casts and the difficulty of correcting mixed lighting. A stable light setup and documented corrections provide a clearer starting point than trying to neutralize several different light sources afterward. Use RAW capture when available and appropriate for your workflow, while retaining the original files.
A gray card supports white-balance work. It does not certify every pigment, recover missing detail, or make all customer screens agree. A generated gray rectangle in a concept image is not a measured reference from the shoot.
For finish, supplementary photographs under another actual angle or lighting arrangement can be useful. Label the change. Do not add generated sparkle to explain a shimmer that the source photograph did not capture.
Give AI the surroundings, not the shade evidence
Separate the photographic record from the campaign design. One practical route is to place a clearly bounded, real swatch photograph on a neutral panel, with an independently generated background outside it. Assemble the layout in a suitable external editor.
This lets the scene carry the brand mood without pretending the application happened inside an invented environment. Keep the approved photo's contents intact while arranging the panel. Avoid skin transfers, regenerated edges, relighting or other treatments that change what the product appears to have done.
You can explore an empty scene concept in Oxava before arranging the actual photographs elsewhere. This is a scene-planning use, not a swatch-specific validation feature or a promise of automatic pixel preservation.
An untested background prompt could read:
Create an empty editorial background for a beauty product layout. Use a quiet warm-gray surface, soft background shadows and generous clear space for a separate rectangular photograph panel. Include no people, hands, skin, cosmetic strokes, powders, text, products or product claims.
Review the result before using it. An instruction such as “preserve the exact swatch” describes a wish, not a lock on the original image. If you send the photograph through a generative editing step, inspect the returned application closely; a familiar overall shape does not prove unchanged opacity or finish.
Documented corrective editing is different from invented product behavior. Adjustments intended to address a capture issue still need source comparison and a clear edit history. Do not smooth away pigment gaps, intensify payoff or remove skin texture merely because a cleaner panel looks more premium.
Review three hypothetical assets before release
The following exercises show how to turn a visual concern into a specific decision. Each begins with the buyer's question and the available evidence.
Case 1: a sheer berry tint becomes an opaque stripe
Buyer question: How much natural skin remains visible through a light application?
Evidence supplied: An original photograph records one light application. Skin remains visible and the edges are uneven. The candidate image shows a dense, uniformly saturated stripe resembling the tube's printed shade.
Mismatch: The candidate changes apparent opacity and pigment distribution. Matching the packaging color does not justify that change.
Decision: Reject the altered stripe and return to the real application record. If the team wants to demonstrate a heavier application, photograph and label that separate condition. Do not manufacture it by increasing saturation or painting over the gaps.
Acceptable context: A clearly captioned light application, with visible irregularities retained. It supports inspection of that application, not a general claim about coverage under every method.
Case 2: a shimmer shadow gains invented sparkles
Buyer question: What reflective finish can I see under the shown light?
Evidence supplied: The main photograph shows a soft sheen. A campaign candidate adds bright individual sparkles and a new light direction.
Mismatch: The candidate introduces finish details that are absent from the provided observation. The team cannot determine their accuracy from the shade name alone.
Decision: Use the original view, or obtain a real secondary photograph that shows the finish from a relevant angle. Label any lighting or viewpoint change instead of presenting two different conditions as a controlled comparison.
Acceptable context: Two real views with captions explaining their relationship. Neither view establishes wear duration or proves that the finish stays unchanged throughout the day.
Case 3: two photographed participants become a six-person panel
Buyer question: How does this product look on the people shown?
Evidence supplied: Real application photographs exist for two participants. The proposed layout fills four empty positions with recolored versions of the same arms and copied stripes.
Mismatch: The layout implies six observed applications when only two were photographed. The additional skin appearances do not establish corresponding real product behavior.
Decision: Publish an accurately scoped two-person panel, or obtain additional real applications before expanding it. Keep unused positions out of the published design. A layout requirement is not evidence for a missing photograph.
Acceptable context: Each shown participant has their own source record, and the copy avoids claiming that the panel covers every skin tone or predicts everyone's match.
Review what the whole placement implies
For UK non-broadcast advertising, ASA/CAP guidance on cosmetic production techniques addresses misleading exaggeration of product effects and explains that qualifications cannot cure an inherently misleading impression. This is UK guidance, not a universal ban on AI or all retouching.
Our conservative recommendation is to keep shopper-facing application evidence tied to real photographs. An “AI-generated” caption does not supply evidence for invented coverage. For broader questions about ingredient props, skin outcomes and neighboring copy, use our cosmetic visual-claims checklist.
Approve the record and the customer-facing layout
Review the original, approved master and export together. Check the swatch edges, visible skin, pigment distribution and reflective details. Then inspect the full page: a strongly colored surround or new crop can change the impression even when the photo panel itself is unchanged.
Keep captions close enough to their photographs to remain understandable on mobile. State the shade, order, body area and material application conditions. Mention lighting differences when they affect the comparison. Do not use a small qualification to excuse a contradictory main image.
Before release, confirm:
- Every factual swatch maps to an actual application and source file.
- Labels identify the right shade, person reference and application state.
- Corrections preserve relevant skin and product details.
- Generated surroundings do not imply additional product evidence.
- The export and intended placement have been reviewed together.
- The reviewer, approved caption and edit history are retained.
Attach this record to your SKU image quality-control workflow. If an approved master changes appearance only after upload, follow the separate washed-out product colors guide rather than compensating by changing the swatch.
Useful makeup swatch photography preserves the conditions behind the picture. Open Oxava to explore a separate scene concept, then build the customer-facing layout around the real application photographs and their approved captions.
Frequently Asked Questions
Can AI generate accurate makeup swatches from packaging?
Packaging can identify a shade, but it does not document how the formula deposits on skin. A generated stripe cannot establish actual opacity, finish or application behavior. Photograph the product on the surface you intend to show, and keep generated concepts separate from factual swatch imagery.
Can I recolor one arm to show makeup on different skin tones?
That would create a simulation rather than photographs of separate real applications. It cannot establish how the product looks on those people. For a factual comparison, photograph each person shown and describe the scope of the examples without claiming they represent every customer.
Does a gray card guarantee accurate makeup colors on every screen?
No. A suitable neutral reference helps establish white balance under the capture lighting. It does not prove that every pigment or reflective finish is reproduced accurately, or control the customer's display. Keep the reference with the source files and review the final export separately.
Can an arm swatch tell me whether foundation will match my face?
It shows that application on that person's arm under the recorded conditions. It does not establish a facial match for someone else. Treat it as one source of shade information, and avoid turning a photographed example into a universal suitability claim.
Oxava Team
Egemen Küpçü is the founder of Oxava, with 10+ years of hands-on experience in 3D and visual production. He writes about the craft of generating product, brand and campaign visuals with AI.
Related Articles
ALL POSTS
Subscribe to our newsletter
Be the first to hear about new techniques, model updates and ideas on AI generation.