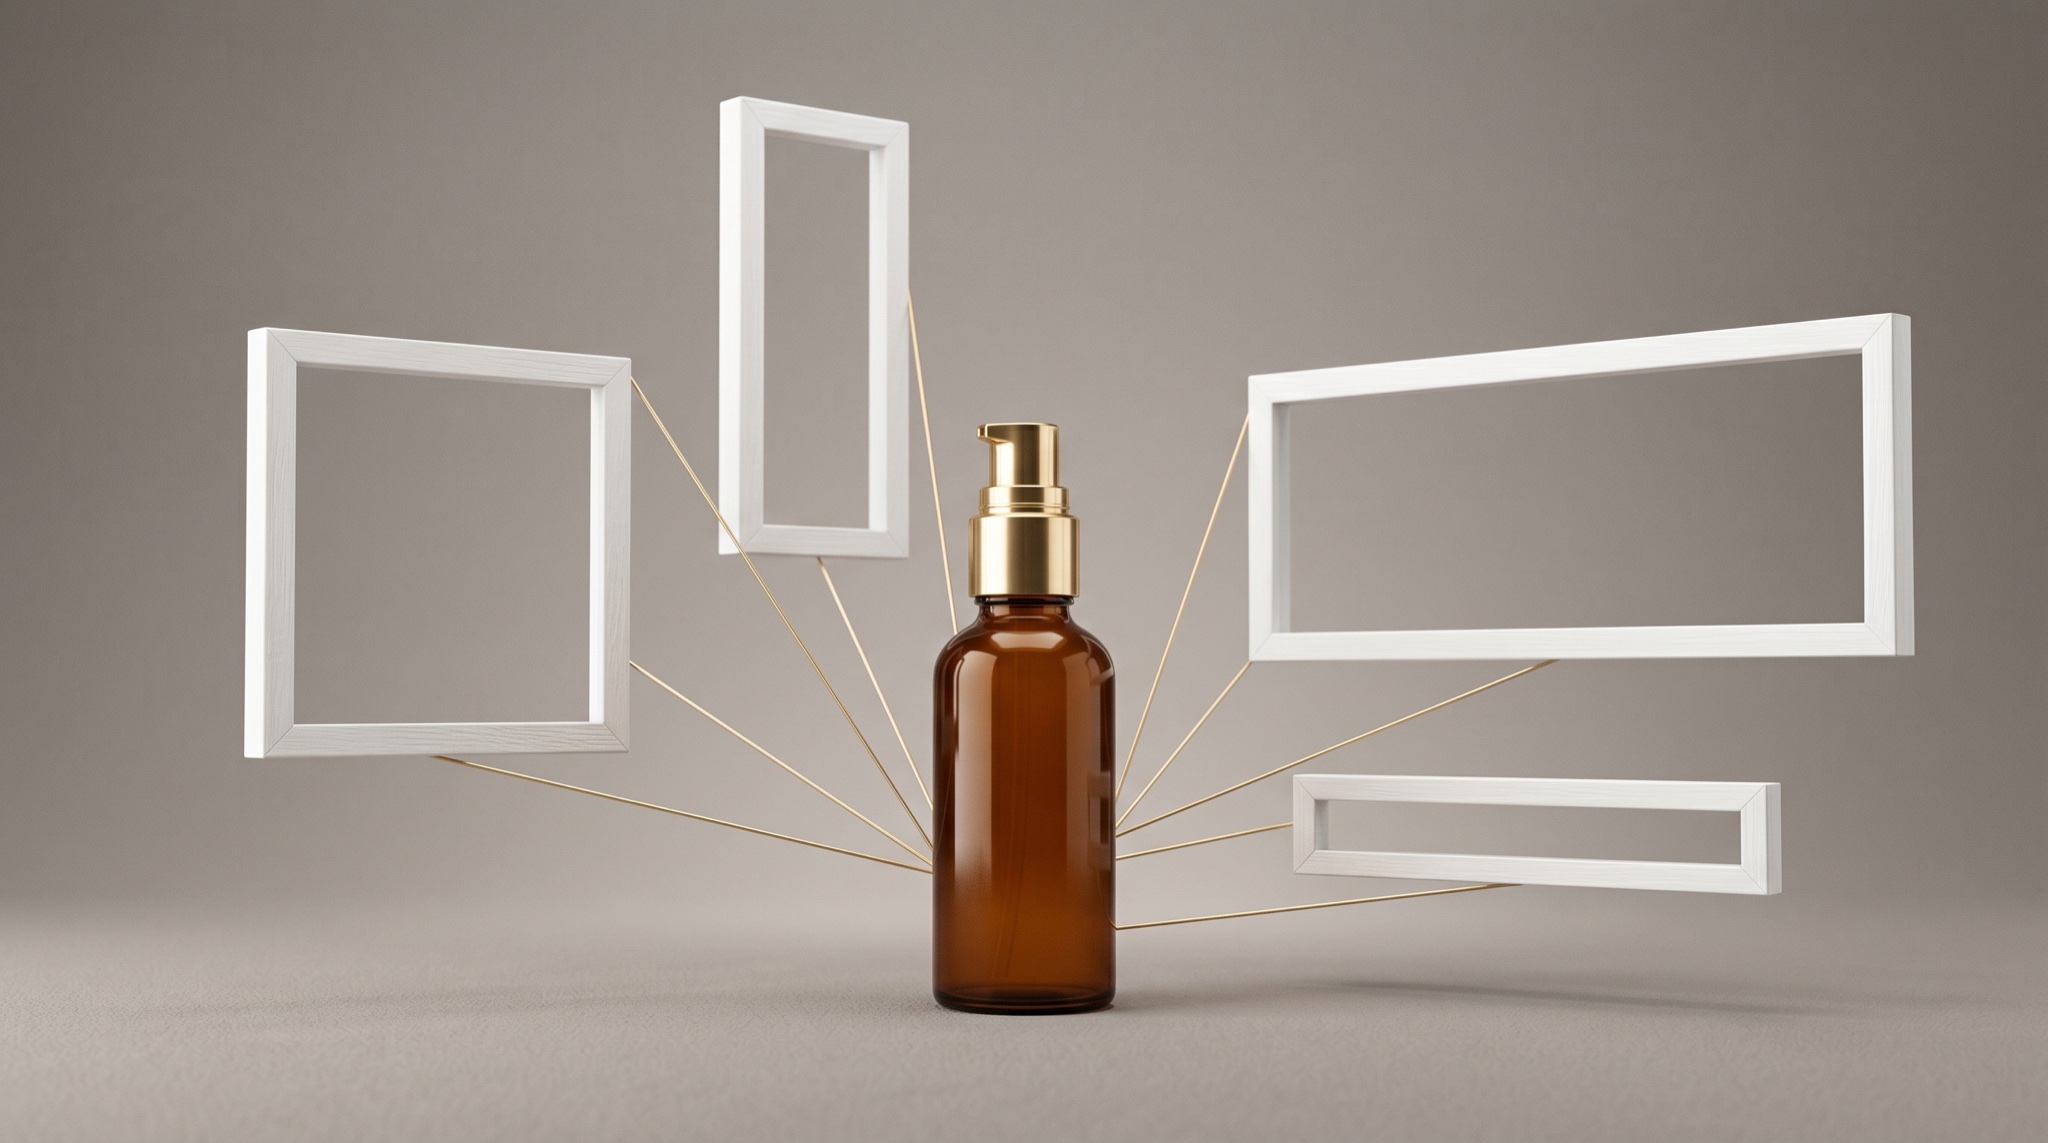
When you need to turn one image into multiple formats for social media — plus email headers and display ads — the instinct is to book a reshoot or brief a designer for "just a few resizes." But here's what most teams miss: you don't need to remake the image. You need to reframe it. With AI outpainting and image-to-image editing, a single approved hero becomes an Instagram square, a vertical Story, a wide LinkedIn banner, and an email header, all sharing the same subject, lighting, and brand feel. No reshoot. Just a wider canvas and a steady hand.
This guide is about that exact move: taking a single locked hero and expanding it into a full campaign stack, aspect ratio by aspect ratio, without the look drifting from one format to the next. The mental shift is small but it changes everything — your source image isn't the final asset, it's the seed. The subject stays fixed; the canvas changes around it. By the end you'll have a repeatable workflow that turns "I need this in five sizes" from a half-day scramble into a focused thirty minutes, with a square, a story, a banner, and a header that all clearly came from the same campaign.
Why One Image Is All You Need to Cover Every Social Media Format
The economics here are stubborn. A proper photo shoot — talent, set, lighting, retouch, approvals — is expensive and slow, and reshooting an approved asset just to get different dimensions is the worst kind of cost: you're paying again for a picture you already own. Meanwhile, almost every team already has the thing they need. Buried in a Drive folder is at least one strong, on-brand hero that someone has already blessed. That's not a starting-from-zero problem. That's an expansion problem.
What changed is that AI made expansion nearly free. Outpainting — generating new, context-aware image content beyond the original edges — lets a model look at your existing scene and continue it outward: the same surface, the same backdrop, the same light falloff, extended into whatever new canvas shape you need. Pair that with image-to-image (i2i), where the model refines a generation while holding the subject steady, and you have everything required to stretch a 4:5 product shot into a 9:16 story without it looking like a square photo with awkward bars glued on.
So the only real constraint left is format. Each platform wants a different rectangle, and historically that rectangle was the wall you hit — you either composed for one shape or you cropped and prayed. AI removes the wall. The hero stays the hero; the platform's dimensions become a parameter, not a barrier. The rest of this guide is the disciplined version of that idea: which ratios to build, in which order, how to keep the subject and logo safe, and how to catch the seams before anyone else does.
One boundary worth setting now, because it keeps this guide focused. This is about multiplying formats from one fixed subject — same hero, new canvas. It's a cousin of a few neighboring jobs: building a whole brand system from scratch, spinning up an ad-test matrix, or producing product color/angle variants. Those each get their own playbook, linked where relevant below. Here, the subject is locked and the canvas is the variable.
Social Media Formats to Target Before You Generate Anything
Outpainting blind is how you waste an afternoon. Before you touch a tool, decide exactly which rectangles your campaign actually ships into — because the target dimensions dictate which direction you expand and how much. Here's the working reference for the formats most campaigns need.
| Format | Pixel size | Aspect ratio | Where it lives |
|---|---|---|---|
| Instagram feed | 1080×1080 / 1080×1350 | 1:1 / 4:5 | grid post |
| Instagram / Reels Story | 1080×1920 | 9:16 | full-screen story & reels |
| Facebook / LinkedIn banner | 1200×628 | ~16:9 | horizontal feed & link ad |
| Email header | 600×200–300 | ~3:1 | email blast |
| Display banner | 728×90 / 300×250 | various | leaderboard / MPU ad |
A few of these specs carry more weight than they look. The single most useful rule: start vertical, not square. A 4:5 or 9:16 source survives almost every crop down — a tall frame can always be cropped to a square, a wide banner, or a header, because you're removing pixels you have. But a square cannot be recovered into a wide horizontal banner without inventing the left and right thirds of the scene from nothing. Building "up" (adding canvas) is what outpainting is for; building "down" (cropping) is free. So where you have a choice, anchor your campaign on the tallest format and expand sideways from there.
The second rule is safe zones, especially for Story and Reels. A 9:16 frame looks edge-to-edge, but the top and bottom roughly 250–310px get covered by the profile chip, caption, and the action buttons stacked on the right. Anything load-bearing — the product, a face, the logo, the one line of text you'll add later — has to sit in the central band. When you outpaint to 9:16, you're not just filling space; you're deliberately generating empty breathing room at the top and bottom so the platform's UI lands on background, not on your hero.
Internalize the targets first, and every generation afterward becomes a decision you've already made. You're not improvising five images — you're executing a short, known list.
Step 1: Prepare Your Source Image (The 15-Minute Audit)
Outpainting amplifies whatever you feed it, so a weak master makes weak variations. Spend fifteen minutes auditing the source before you expand a single pixel. Run it against four checks:
- Resolution. The short edge should be at least 1080px. Outpaint adds new canvas at roughly the source's pixel density, so a small, soft original yields a small, soft expansion. If your hero is below that, upscale it first (more on that in the FAQ).
- Subject position. This is the one people skip and regret. If the subject is dead- center and tightly cropped, you have nowhere to grow — every expansion direction fights the edge of the subject. You actually want a little asymmetry and a little air around the hero, because that margin is where the outpaint breathes.
- Background simplicity. A clean, continuous backdrop — a seamless surface, an even gradient, soft studio light — extends beautifully. A busy, detailed background (a crowded shelf, intricate tile, a complex skyline) is far harder for the model to continue convincingly, and seams show up fast.
- Rights. Obvious but non-negotiable: you can only expand what you're licensed to use. An approved hero is approved; a random stock grab with unclear terms is a liability.
If the audit turns up a hero that's cropped in too tight — subject jammed against the frame — don't try to outpaint straight to 9:16 in one leap. Do a preparatory pass first: a small outpaint in every direction just to add breathing room around the subject, re-centering it inside a slightly larger, neutral canvas. In Oxava, this is the expand tool used gently — a modest border of new background — so that when you then push to the real target ratios, the model has room to work and the subject isn't being stretched against an edge. A good master, framed with intent, makes every step after this nearly automatic.
Step 2: Generate the Outpaint Stack (Aspect Ratio by Aspect Ratio)
Now the core move. You're going to expand the prepared master into each target shape, in a deliberate order, holding the look constant. The order matters because each step can inherit context from the last:
- 4:5 feed — the workhorse. Often closest to your native crop, so it's the gentlest expansion and a good warm-up.
- 9:16 Story — the tallest. Build the vertical breathing room and safe zones here.
- 16:9 banner — the widest. This is where outpainting earns its keep, inventing the left/right thirds of the scene.
- 3:1 email header — the most extreme horizontal. Expand wide and thin, usually from the banner's logic.
Two techniques make these expansions clean instead of obviously-AI.
Expand gradually, never in one giant leap. The biggest mistake is asking the model to fill a huge new area in a single pass — a tiny square ballooned to a wide banner in one shot. That's how you get a visible "horizon" where the original ends and the invention begins. Instead, grow in steps of roughly 20–30% of the canvas at a time, then expand again from the result. Each pass only has to reason about a manageable strip of new content, continuous with what's already there. Most expansion tools also let you set an overlap — how much of the existing image the model "sees" as context when generating the new strip. Keep that generous, around 30–50%, so the new pixels blend into real context rather than guessing at the edge.
Lock the look with prompt and seed. Every outpaint pass should carry a short, fixed description of the original scene — the same way you'd hand a stand-in a reference: "soft diffused studio light from the upper left, seamless warm-grey backdrop, low saturation, shallow depth of field." Repeating that block on every expansion keeps the model from quietly drifting the lighting or color as it invents new canvas. And where your tool allows it, fix the seed and generate two or three variations of the same expansion, then pick the one with the cleanest seam. Same seed plus same scene-lock prompt is what makes all four formats feel like one shoot instead of four guesses. In Oxava's expand tool, this is the loop: set the target ratio, keep the scene-lock prompt pasted, expand in measured steps, and compare a couple of seeds per step.
The output of this step is a rough stack — square, story, banner, header — all expanded from one hero, all sharing the same scene description. Rough, because the next step is where you tighten it.
Step 3: Reinforce With i2i (Subject Lock and Tonal Variants)
Outpainting is excellent at extending a scene, but it occasionally lets the subject itself soften — a product edge that's slightly less crisp, a color that's drifted a shade, a texture that's gone a touch generic at the new boundary. The fix is a light image-to-image pass to put the polish back.
The key is a low strength (sometimes called denoising) setting — think 0.25 to 0.40, not higher. At a low strength, i2i refines what's there: it sharpens the subject, re-aligns the palette, and smooths the join, while leaving the composition intact. Push the strength high and you're no longer refining — you're regenerating, and you'll lose the very subject you fought to keep. So this pass is a finisher, not a do-over. Feed your expanded format back in, keep the scene-lock prompt, set strength low, and let it tighten the subject's texture, color, and the seam in one move. The full mechanics of holding a subject steady while you edit around it — strength settings, masking, chaining edits — are covered in the AI image-to-image editing workflow guide, the deeper companion to this section.
Where a single stubborn spot resists — a smudgy patch where two outpaint passes met, a bit of background that came out wrong — switch from full-frame i2i to inpainting: mask just that region and regenerate only it, leaving the rest untouched. It's the surgical version of the same idea, and it's how you fix a flaw without risking the whole image.
If your campaign needs tonal variants — say a warmer, golden-hour version of the banner alongside the neutral one — branch them here, from the locked format, rather than re-outpainting from scratch. Take the finished banner, run an i2i pass with a tone shift in the prompt ("warmer light, golden cast") at a modest strength, and you get a sibling variant that still shares the exact composition. That keeps your warm and neutral cuts matched in everything but the mood you deliberately changed.
Step 4: QA Checklist Before You Export
Outpaint failures hide at normal zoom and reveal themselves at 100%, so QA is not optional — it's the step that separates "looks shot this way" from "obviously stretched." Before anything leaves your machine, run each format through this list:
- Seam test at 100% zoom. Zoom all the way in and walk the boundary where the original met the new canvas. You're hunting three failures: a color shift (the expanded area is subtly cooler or warmer), a texture/perspective break (the surface pattern or floor angle doesn't continue truthfully), and a subject-proportion error (the expansion warped the hero). Any of these means another gradual pass or an inpaint fix.
- Safe-zone check. Overlay the platform's UI in your head (or with a template): on the 9:16, is the subject clear of the top/bottom 250–310px? On a banner that will carry a headline, is there clean negative space for it? Logos and the eventual text need to land on quiet background, not on the hero.
- Pick from a spread. Generate three or four candidates per format and choose the cleanest, rather than shipping the first acceptable one. The marginal cost is tiny; the quality difference is not.
- Know what outpaint can't do. Faces, legible text, and strict symmetry are outpainting's weak spots — a model asked to invent half a face or continue a logo will usually botch it. If a format demands expanding into one of those, fix it by inpaint, recompose so the tricky element stays inside the original frame, or leave that format off the outpaint path entirely.
Finally, name your files so the stack stays legible: keep the source as
hero-master.png and export the set as hero-1x1.jpg, hero-9x16.jpg, hero-16x9.jpg,
hero-3x1.jpg. When the next campaign reuses this hero, you'll thank yourself for the
naming.
This same expand-and-lock discipline is the backbone of staying on-brand across any output, which is why it sits inside a larger system. If you want the full framework — a fixed brand recipe, reference anchoring, and a review process that keeps every asset coherent as your output scales — our AI brand visual consistency guide is the pillar this workflow plugs into. And if you're starting with no hero at all and need to build a complete format set from zero, the social media visual kit guide covers that ground-up build instead of this expand-an-existing-one path.
When to Expand a Single Image vs. Start Fresh
A quick gut-check, because not every campaign asset wants outpainting. The decision comes down to whether you're multiplying formats of a fixed subject, or multiplying subjects:
| Your situation | Best move | Why |
|---|---|---|
| One approved hero, need 5 sizes | Outpaint + i2i (this guide) | Subject is locked; only the canvas changes |
| Same product, new colors/angles | Variant workflow | The subject itself changes, not the frame |
| Whole new format set, no source | Build a kit from scratch | Nothing to expand from yet |
| A/B test pile of ad variations | Ad-creative matrix | Goal is performance variation, not reframing |
If you landed in the first row, you're in the right guide. If you're changing the thing rather than the frame — recoloring a product, re-angling it, generating per-SKU shots — that's the variant problem, and the product variant images guide handles the subject-changes-but-must-stay-consistent case in detail. Same family of discipline, different axis of change.
Frequently Asked Questions About Turning One Image Into Multiple Formats
My outpaint has an obvious line where the original ends. How do I fix it?
That visible seam is almost always caused by one big expansion in a single pass — the model had to invent too much, too far from real context. Redo it gradually: expand in steps of about 20–30% of the canvas at a time, and turn the overlap up to around 40% so each new strip blends into existing pixels instead of guessing at the edge. If a seam still lingers after gradual passes, mask just that boundary and inpaint it, or run a low- strength (0.25–0.35) i2i pass over the whole format to smooth the join.
Can I use these expanded images directly in a paid ad?
Usually yes, with one caveat: platforms enforce minimum pixel sizes (Meta, for instance, wants a minimum around 600px on a side, with higher recommended). Outpainting adds canvas at the source's density, so if your starting hero was small, the expanded banner can land below spec or look soft on retina screens. Check each format against the platform's minimums, and if you're short, upscale before you ship — our AI image upscaling guide for creators walks through picking the right resolution for ads, social, and print.
How do I keep all the formats looking like the same "shoot"?
Three locks, used together. First, fix the seed across the expansions so the model's randomness is consistent. Second, paste the same scene-lock prompt — your exact description of the original light, backdrop, and color — into every outpaint and i2i call, so nothing drifts as new canvas appears. Third, run the light i2i finishing pass on each format to re-align the palette and subject. Same seed, same scene description, same finisher: that's what makes a square, a story, and a banner read as one campaign instead of three lookalikes.
My original is already vertical. Do I still need to outpaint everything?
Less than you'd think, which is the upside of starting tall. A vertical 4:5 or 9:16 hero often is native for your feed and story formats, or just needs a crop down — no outpainting required. The work is in the horizontal direction: expanding sideways to build the 16:9 banner and the wide 3:1 email header, where you genuinely have to invent the left and right of the scene. So a vertical original flips the workload — most of your crops are free, and your outpainting effort concentrates on the wide formats.
How many formats can I realistically build from one image in a session?
Once your master is audited and your scene-lock prompt is written, a full campaign stack — square, 4:5, story, banner, and email header — is realistically a thirty-minute job. The slow part (choosing the hero, framing it, writing the lock prompt) happens once; each additional format is then a measured expand, a quick i2i pass, and a QA glance. The first format takes the longest because you're establishing the look; every one after rides on it.
Turn One Image Into a Full Campaign Stack — Starting Today
The ability to turn one image into multiple formats for social media — and email and display — doesn't require a reshoot. It requires one strong image and a method for reframing it. Audit your source, build the outpaint stack vertical-first and in gradual steps, lock the look with a fixed seed and a scene-lock prompt, reinforce the subject with a light i2i pass, and QA every seam at 100% before export. That's an Instagram square, a Story, a LinkedIn banner, and an email header that all unmistakably belong to the same campaign — produced in the time it used to take just to brief the resize request.
The fastest way to feel the difference is to do it once, end to end. Pick your hero image, open the Oxava Studio, and have your full campaign stack ready before your next meeting: use the expand tool to outpaint into each ratio, the i2i tool to lock the subject and polish the seams, and watch one approved image become five on-brand formats without a single new photo. To make the look compound across everything you produce, pair this with the AI brand visual consistency guide; and when those formats head toward paid placements, the guide to creating AI ad creatives without a designer picks up the test-and-scale loop from here.
Oxava Team
From the Oxava content team. Writing about the creative side of generating images and video with AI.
Related Articles
ALL POSTS
Subscribe to our newsletter
Be the first to hear about new techniques, model updates and ideas on AI generation.